Customer Support: http://www.pandigital.net/kodaksupport 15
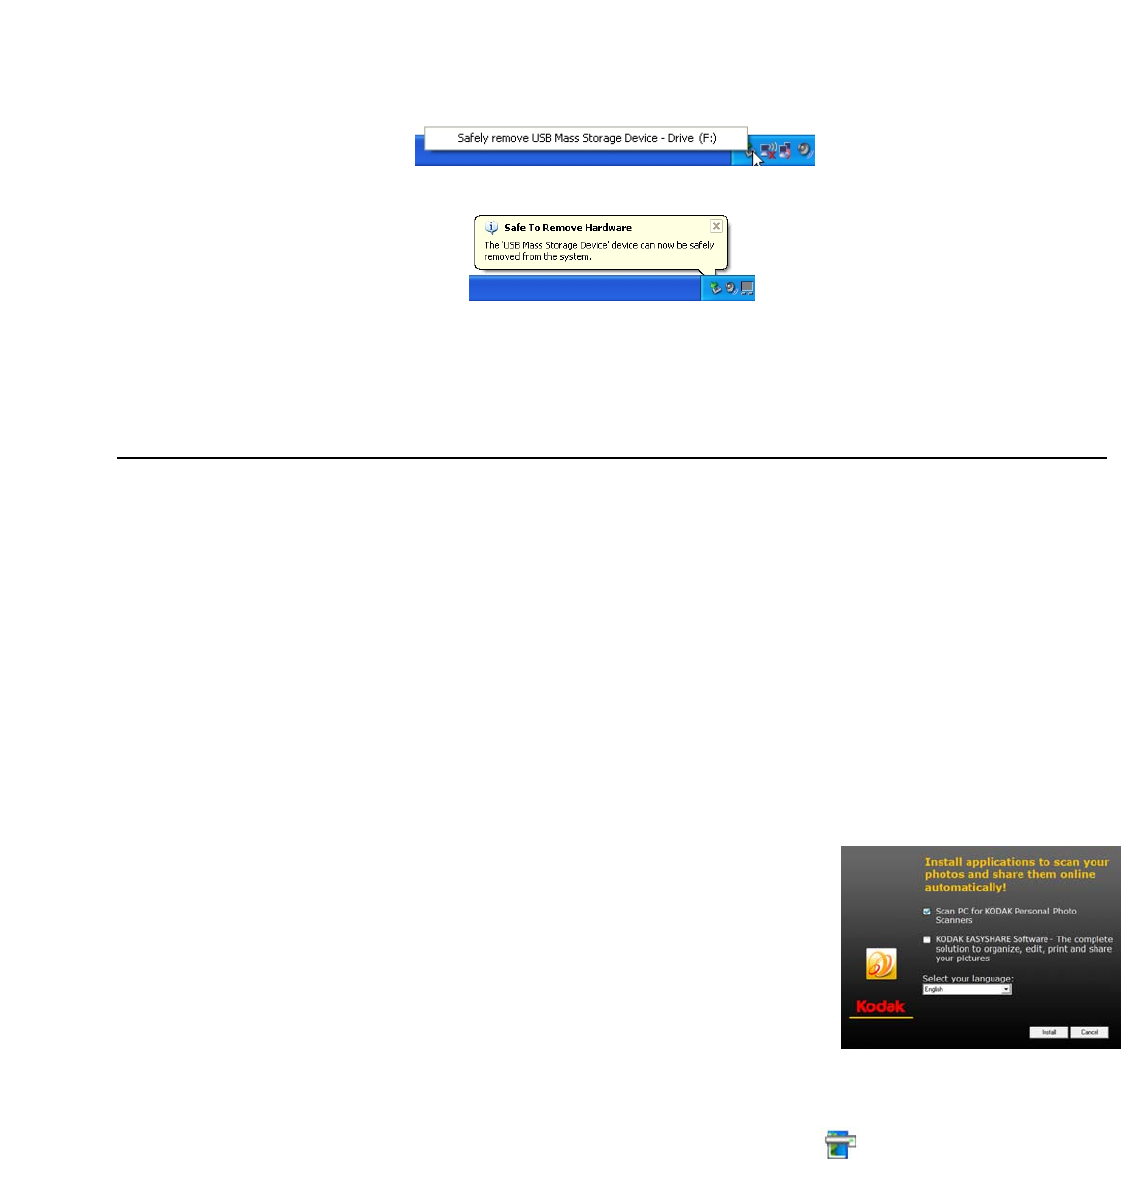
2. Click the ‘Safely remove USB mass Storage device’ message with the corresponding Drive.
3. When the ‘Safe to Remove Hardware’ message appears, you can safely remove the scanner’s USB cable.
For MAC users
On the desktop, right-click on the KODAKSCN volume, then select Eject “KODAKSCN”.
Scan PC Software for KODAK Personal Photo Scanners
With the Scan PC Software for KODAK Personal Photo Scanners (Scan PC Software), you can easily scan photos and save the
scanned pictures directly to the connected PC.
System Requirements
Operating system: WINDOWS, XP SP2 or later, VISTA, WINDOWS 7 - 32-Bit
The Scan PC Software is not supported on the MAC OS
INTEL PENTIUM IV processor
1.2 GHz processor speed
512 MB RAM minimum
10MB free hard disk space for Scan PC Software for KODAK Personal Photo Scanners
200MB free hard disk space for KODAK EASYSHARE Software
NOTE: APPLE QUICKTIME Player is required for some software features. Visit APPLE to download the latest version of
the QUICKTIME Player.
Install Scan PC Software
1. Connect the scanner to your PC (see page 13), using the KODAK MICROSD
Mobile Memory Card
2. Open a Windows Explorer window.
3. Select
KODAKSCAN>KODAK>Software>KODAK_Scan_PC_Software_Setup_Vxxxx
4. Double-click the
ScanPC_KODAK_Scanner_Setup_Vxxxx.exe file.
5. In the Install Wizard window, click
Next.
6. Click
Next to install in default location, or select desired location and then click
Next.
7. In the Ready to Install window, click
Install.
8. After the software is installed, click
Finish
Once installed, the
Scan PC Software runs automatically upon PC startup, and the icon stays on the system tray.
If you want to close the
Scan PC for KODAK Personal Photo Scanners software temporarily, right-click on the icon and
select Exit.


