


16 Customer Support: http://www.pandigital.net/kodaksupport
Using the Scan PC Software
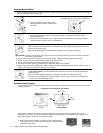
CAUTION: To maximize memory usage, close all other applications programs before scanning multi-image filmstrips.
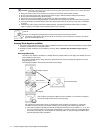
After your first scan, a folder titled PHOTO1 is added to the file structure as follows:
~ Memory Card: \PHOTO1
~ Scan to PC: WINDOWS 2000 and XP: C:\Documents and Settings\(your username)\My Documents\My Pictures\PHOTO1
WINDOWS VISTA or WINDOWS 7: C:\Users\(your username) \Pictures\PHOTO1
You can click the
button to select a different location if desired.
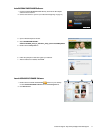
4. Scan your original as instructed beginning on page 9.
5. The scanned picture is saved to the location you selected in step 2 above.
Each scanned picture is given a file name with the prefix
EK_ followed by a 4- digit sequential number in the order the
pictures are stored. For example,
EK_0001.jpg, EK_0002.jpg.
If the file name reaches
EK_9999.jpg in the PHOTO1 folder, a new folder titled PHOTO2 is automatically created to
store subsequent new files, and so on.
Note: There can be up to 9 folders (
PHOTO1..9, EK_0001... EK_9999) on a memory card. If exceeded, the
Status/Card indicator light blinks.
Launch Scan PC Software Manually
Uninstall the Scan PC Software
1. From the PC Start menu, select All Programs > Scan PC Software > Uninstall.
2. Follow the uninstall wizard to uninstall the software.
3. Restart your PC when prompted to do so.
If you choose to restart later, be aware that the
Scan PC Software uninstall is not completed until you restart the PC.
KODAK EASYSHARE Software for PC
After using Scan PC Software for KODAK Personal Photo Scanners to scan and store your pictures on your PC, if desired, you
can use KODAK EASYSHARE Software to organize, edit, print, and share your pictures online.
System Requirements
Operating system: WINDOWS XP, WINDOWS VISTA, WINDOWS 7
Intel Pentium IV processor
1.2GHZ or better processor speed
512MB RAM
200MB free hard disk space
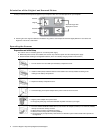
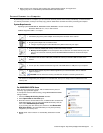
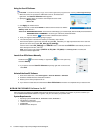
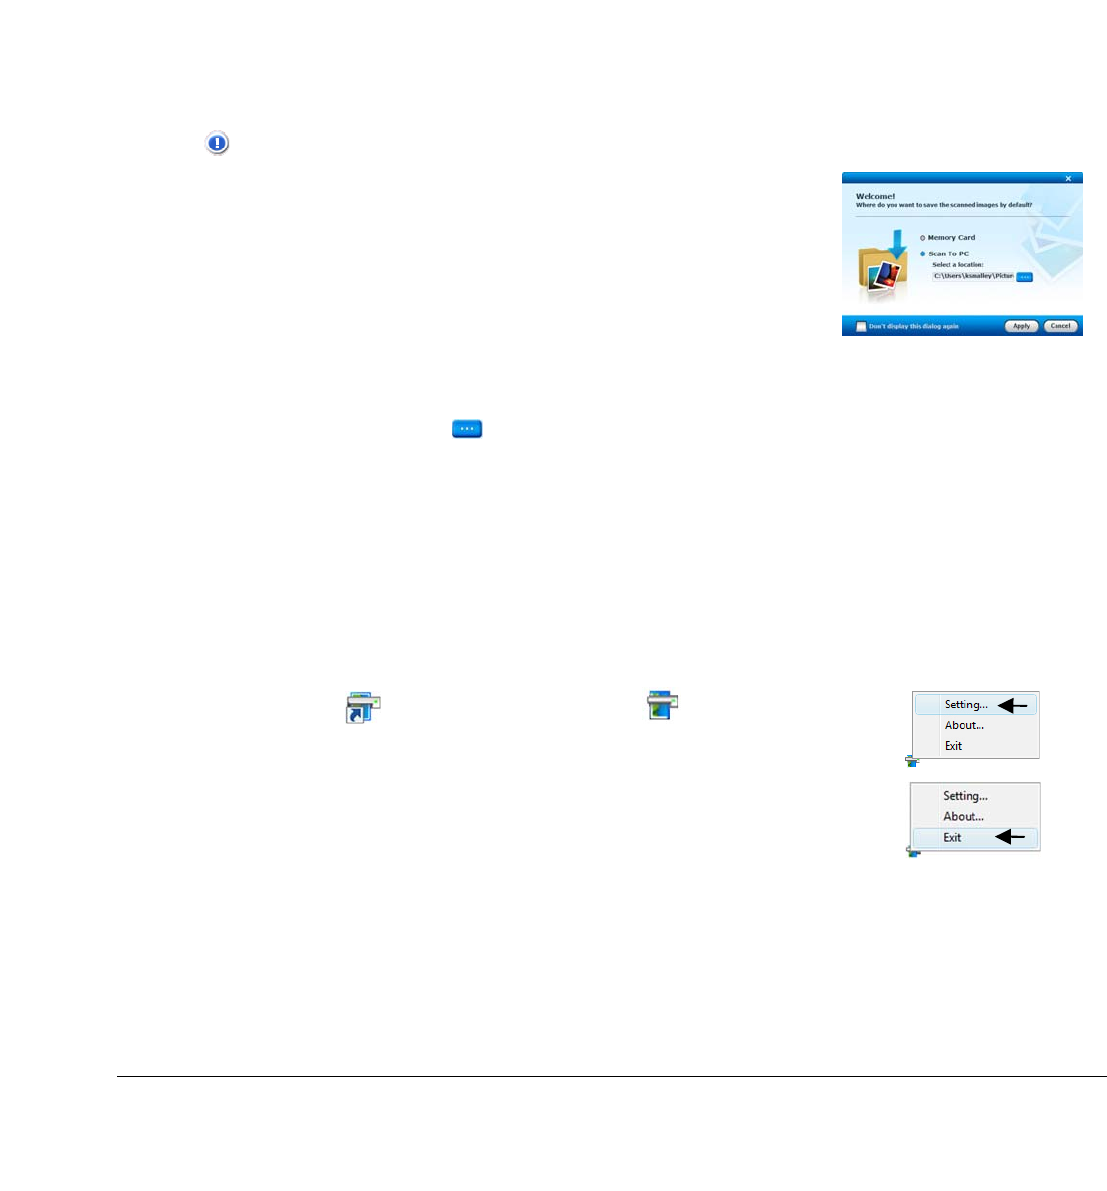
1. When the scanner is connected via USB cable to the PC, the Status/Card
light blinks. The
Scan PC Software window appears.
2. Specify the location where you want the scanned pictures to be saved:
~ Memory Card
~ Scan to PC
3. Click
Apply; the window closes.
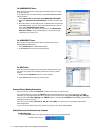
Double-click the
icon on the Desktop, or right-click the icon in the system tray
and select
Setting.
If you want to close the Scan PC Software temporarily, right-click on the icon and
select
Exit.