


8 Customer Support: http://www.pandigital.net/kodaksupport
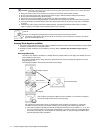
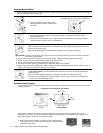
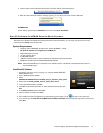
Orientation of the Original and Scanned Picture
It’s easy to see how scanned pictures appear on your computer. Note: You can rotate pictures on your computer.
Scanning the same original in different orientations may produce scanned pictures that look slightly different in color tones and
brightness. This is not a malfunction.
Operating the Scanner
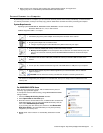
Preparation and Initial Setup
The scanner can run on battery power or an external power supply.
When both power sources are available, the scanner only consumes power from the external power supply.
Recommended Ni-MH type rechargeable batteries. (There is no battery charging function in the scanner.)
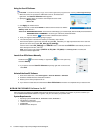
1. Turn the scanner over and slide open the battery compartment cover.
2. Install four AAA (UM-4) batteries. Make sure the batteries are correctly installed according to the
markings in the battery compartment.
3. Replace the battery compartment cover.
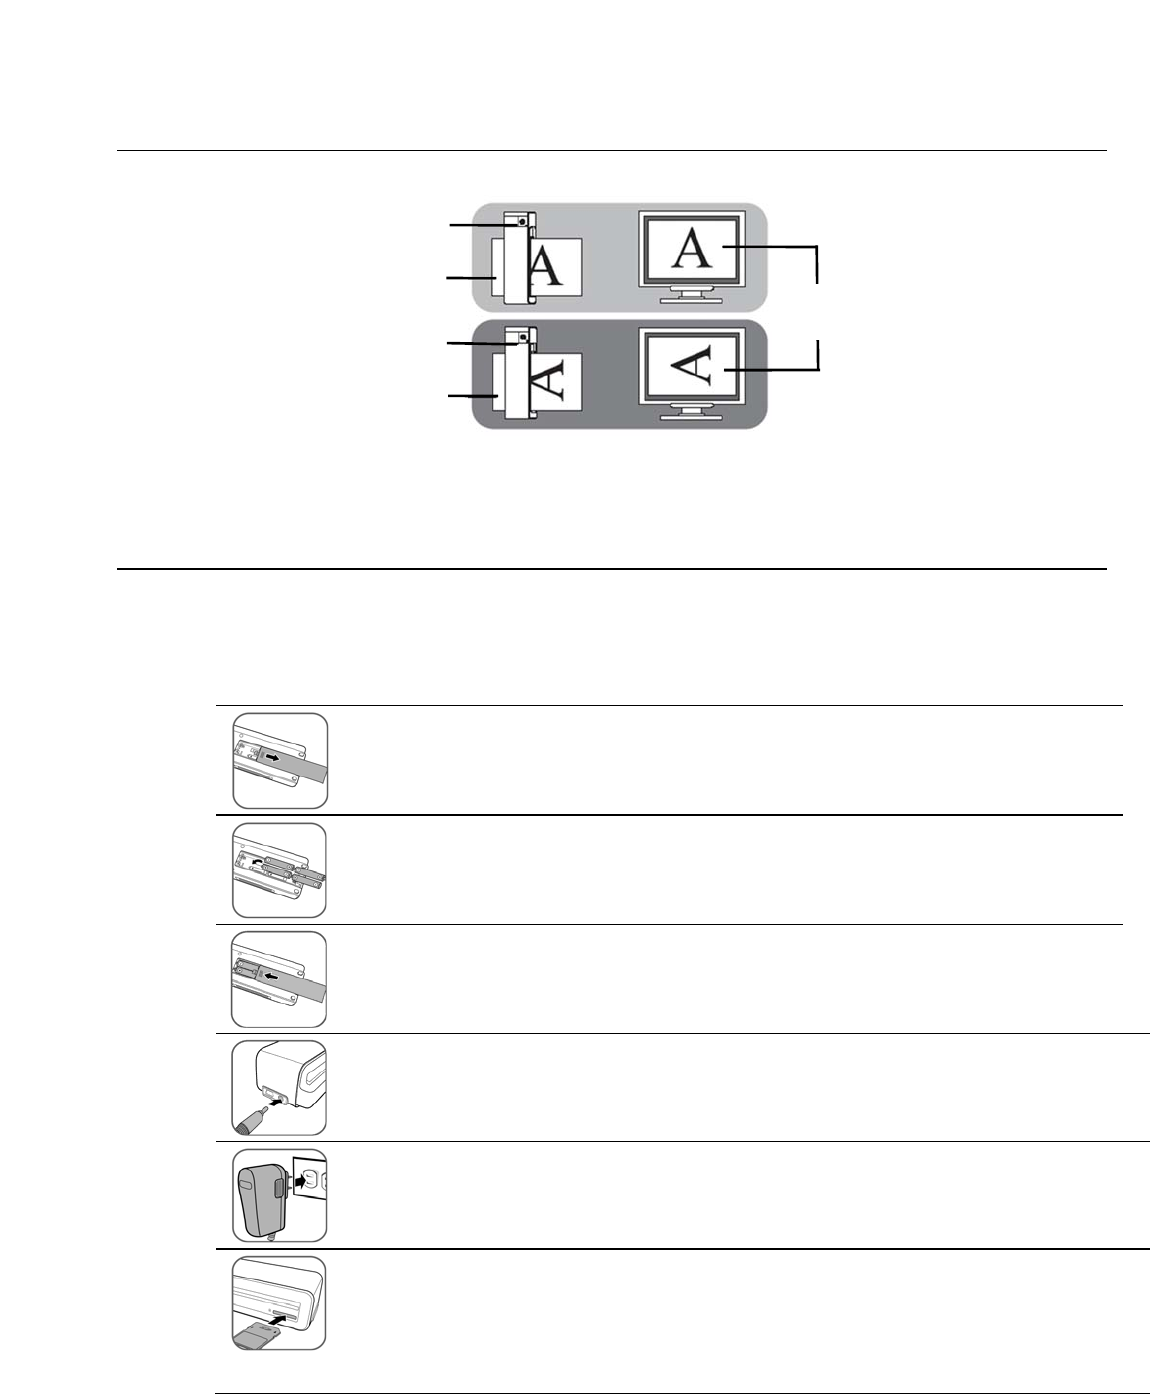
4. Connect the plug on the power adapter to the power connector on the scanner.
5. Plug the power adapter into a power outlet.
The type of power plug and socket illustrated may differ from that of your region.
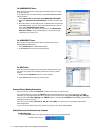
6. Insert the KODAK MICROSD Mobile Memory Card into the SD adapter (included) or an unlocked (writable)
memory card into the memory card slot.
Always insert a memory card before scanning.
Make sure the memory card is unlocked (writable)
The scanner only accepts memory cards in FAT or FAT32 file system. NTFS and other file systems are
not supported.
Scanne
r
Original
Scanne
r
Original
Scanned image when
displayed on-screen