


18 Customer Support: http://www.pandigital.net/kodaksupport
Uninstall the KODAK EASYSHARE Software
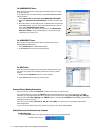
1. Open WINDOWS Control Panel.
2. WINDOWS VISTA: Select
Programs>Uninstall a Program
WINDOWS 7: Select
Programs and Features
WINDOWS XP: Select
Add or Remove a Program
3. Select
Kodak EASYSHARE Software, and then click Uninstall.
4. Follow the prompts to complete.
Scanner Maintenance
Cleaning the Scanner
In order to maintain the scanned image quality and prevent dust accumulation, it is recommended that you clean the
scanner (outer casing, image sensor and roller inside the scanner) approximately every 50-100 scans.
Clean the scanner also if:
vertical lines or stripes appear on the scanned picture
photos or filmstrip will not feed
Use only the recommended and supplied tools to clean the scanner.
WARNING: Do not use any solvents or corrosive liquid (i.e., alcohol, kerosene, etc.) to clean any part of the scanner.
Otherwise the plastic material will be permanently damaged.
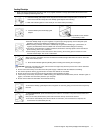
Clean the Outer Casing
1. Use a suitable dust blower to blow off the dust on the scanner.
2. Use a slightly dampened cloth to wipe off any smears on the surface of the scanner.
3. Wipe the scanner with a dry and clean lint-free cloth.
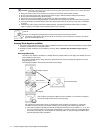
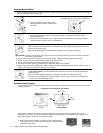
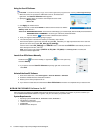
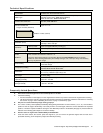
Clean the Photo Image Sensor
1. Clean the scanner’s outer casing first.
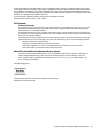
2. With the scanner turned off and disconnected from the power supply, insert the photo image
sensor cleaning swab into one end of the photo output slot.
Make sure there is no visible dust on the swab before inserting it into the output slot.
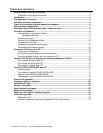
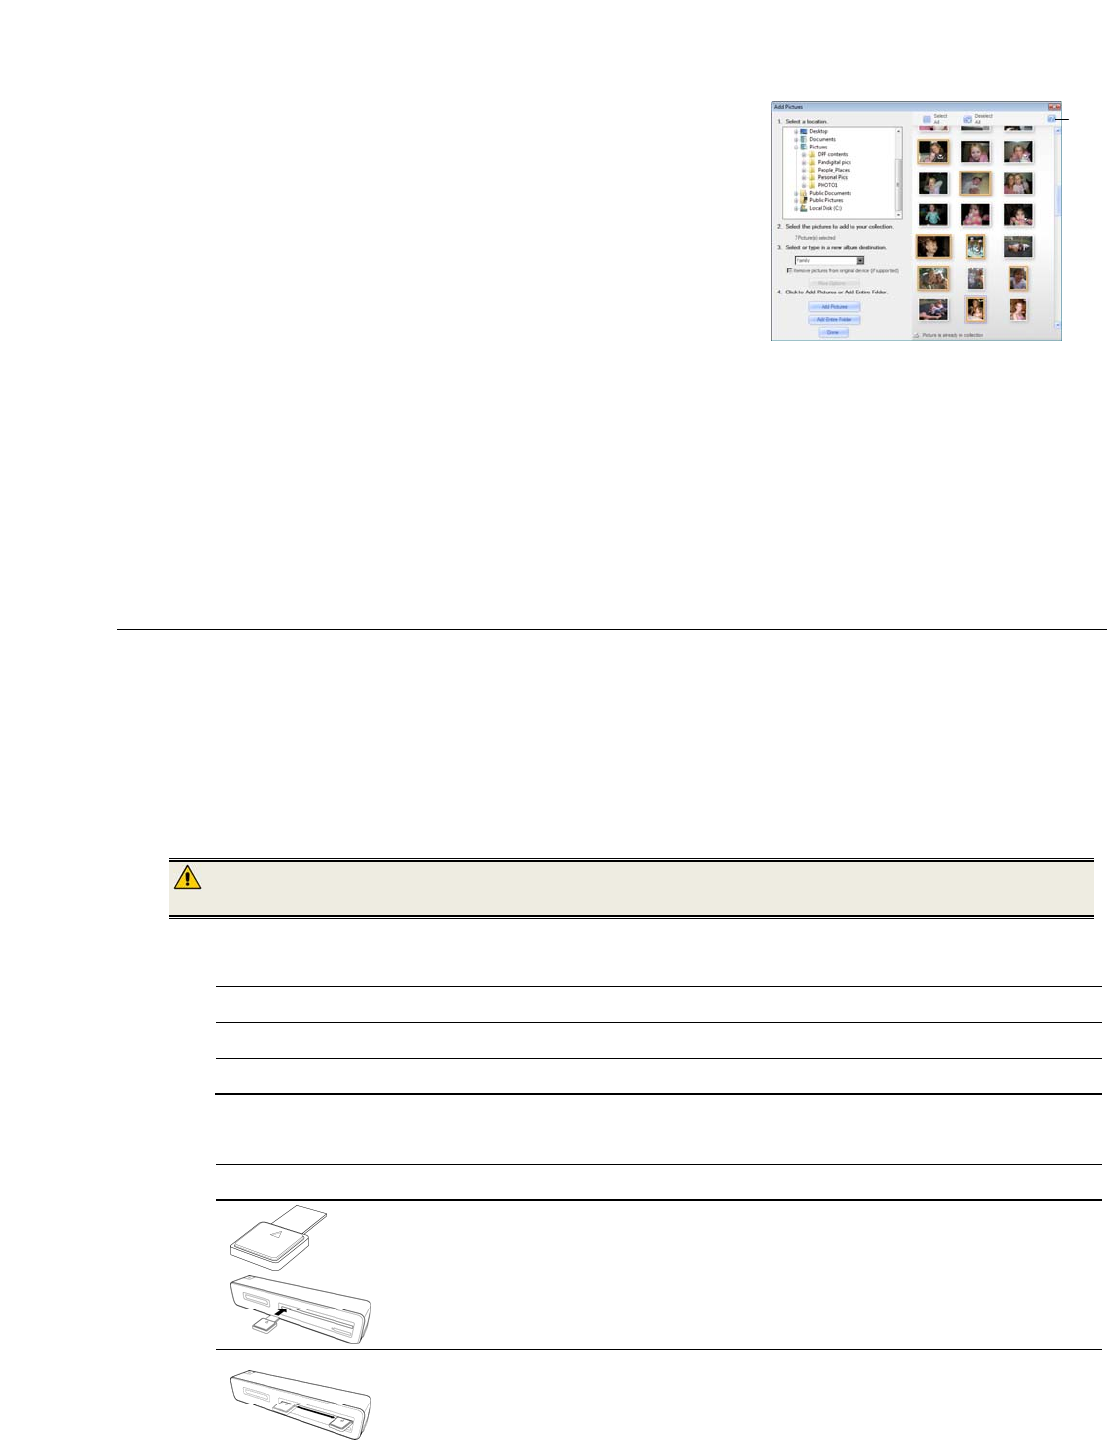
3. Gently slide the swab back and forth from one end of the slot to the other, five or six times
consecutively.
Do not apply too much force on the swab.
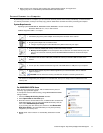
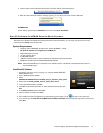
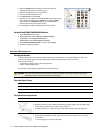
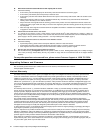
3. Select the PHOTO1 folder containing the scanned pictures (as
designated during the Scan PC usage, pg. 16).
4. Select the desired pictures to add to an Album.
5. Enter a new Album destination name.
6. Click
Add Pictures, and then Done.
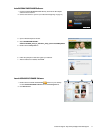
7. Using the top row of options in the EASYSHARE window, pictures that
you’ve copied into Albums can be edited and enhanced, copied to
other locations, and uploaded directly into your FACEBOOK or
FLICKR accounts for quick and easy sharing.
8. Use the
Help for complete usage instructions on all features.