Customer Support: http://www.pandigital.net/kodaksupport 19
4. Remove the swab from the slot and store it in a safe place, protected from dust.
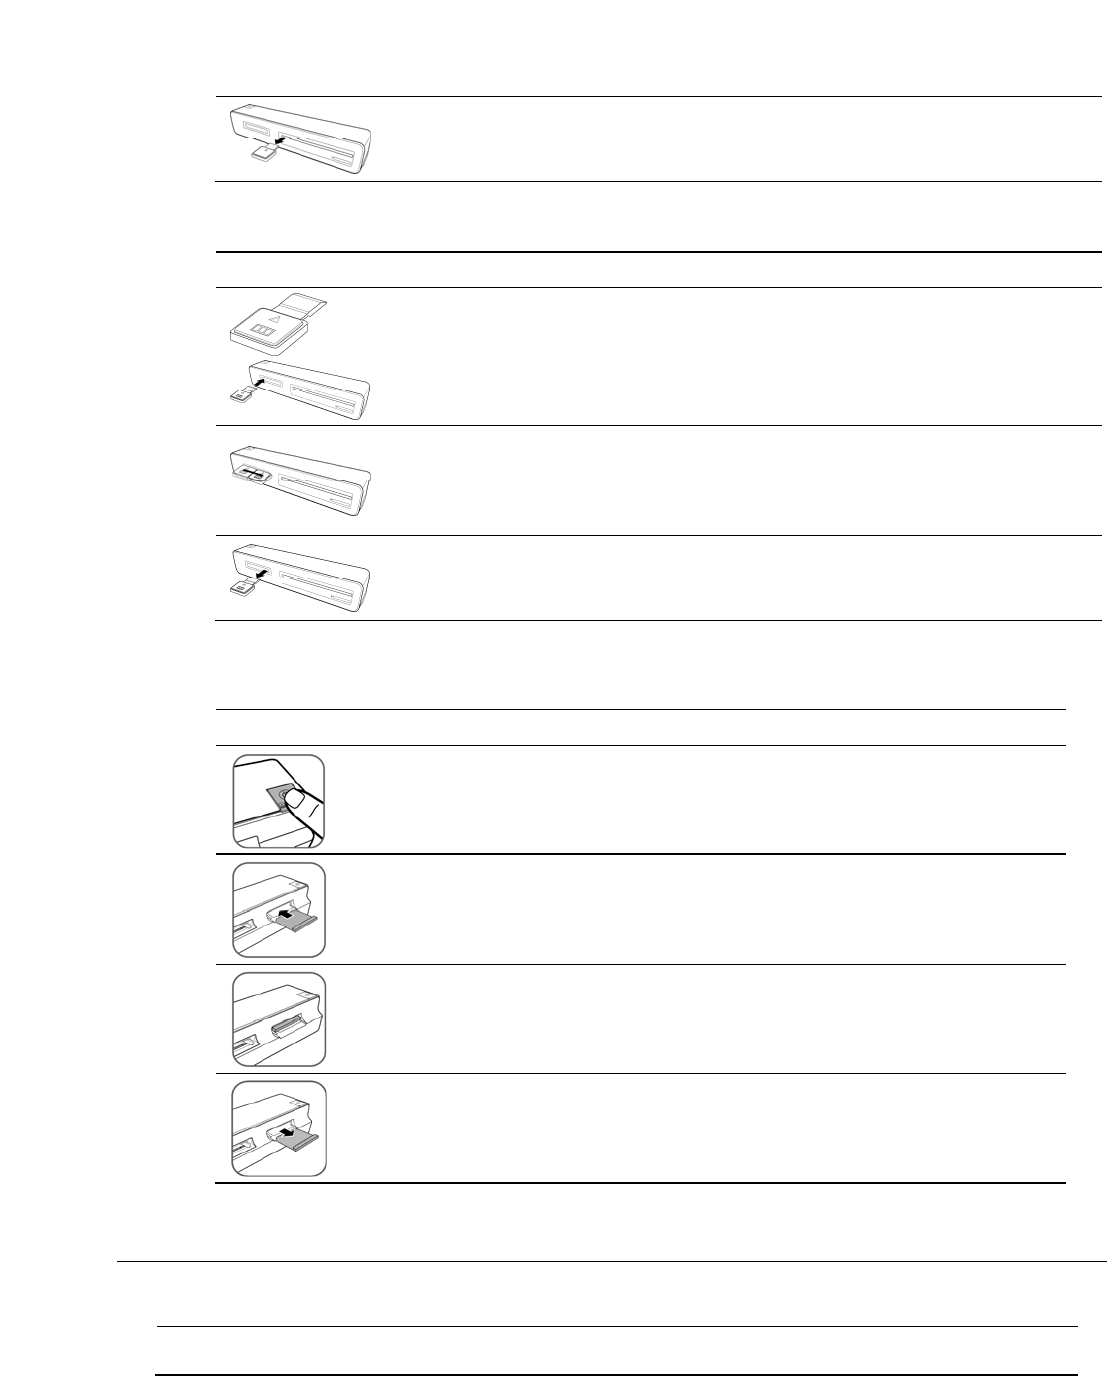
Clean the Transparency Image Sensor
1. Clean the scanner’s outer casing first.
2. With the scanner turned off and disconnected from the power supply, insert the photo image
sensor cleaning swab into one end of the transparency output slot.
Make sure there is no visible dust on the swab before inserting it into the output slot.
3. Gently slide the swab back and forth from one end of the slot to the other, five or six times
consecutively.
Do not apply too much force on the swab.
4. Remove the swab from the slot and store it in a safe place, protected from dust.
Clean the Roller
1. Clean the scanner’s outer casing first.
2. With the scanner turned off, press and hold the Power button for 5 seconds. The scanner
enters into the cleaning mode. The Power and Status/Card indicators are on.
3. Insert the supplied roller cleaning sheet into the transparency feed slot as shown.
Note the direction of the white sponge on the sheet when inserting.
Make sure that there is no visible dust on the sheet before inserting it into the feed slot.
The cleaning sheet is brought into the feed slot automatically, and the cleaning process begins.
During the cleaning process, the Power and Status/Card indicator lights blink slowly and
simultaneously.
When the cleaning process is completed, the cleaning sheet is ejected from the feed slot, and the
power indicator lights go off.
4. Remove the cleaning sheet. Store it in a safe place and protect it from dust.
Calibrate the Scanner
If the scanned picture looks fuzzy or there are strange stripes on it, the scanner may need calibrating in order for the sensor to
resume its original precision.
Follow the instructions beginning on page 18 to clean the roller and the image sensor, and then follow the instruction in “Initial
Setup” on page 8 to prepare the scanner for scanning.


