


Recording pictures (basic)
46
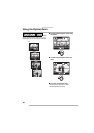
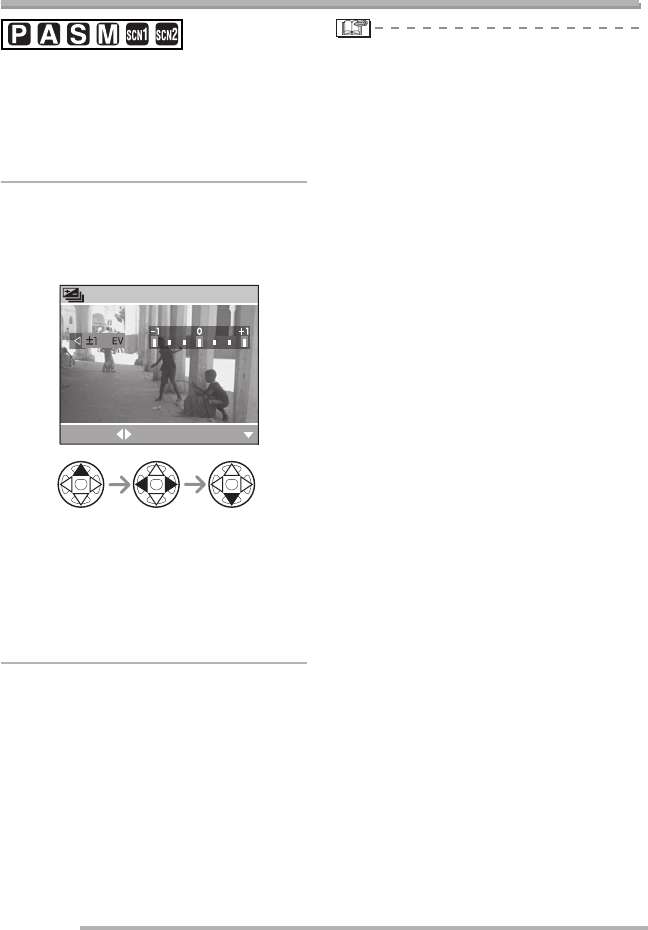
Taking Pictures using Auto Bracket
In this mode, 3 pictures are automatically
recorded by each press of the shutter
button according to the compensation
range of the exposure.
You can select the desired exposure
among the 3 types of pictures.
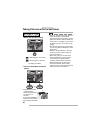
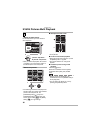
1
Press e several times until
[BAUTO BRACKET] appears
and then set the compensation
range of the exposure.
• You can select the exposure from –1 EV
to +1 EV in steps of 1/3 EV.
• When you do not use auto bracket, select
[OFF].
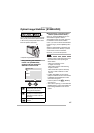
• When setting the auto bracket, the auto
bracket icon appears on the lower left of
the screen.
• You cannot use auto bracket when there
are only one or two pictures remaining.
• When taking pictures using auto bracket
after the exposure compensation, the
pictures are based on the compensated
exposure.
When the exposure is compensated, the
compensated exposure value appears on
the screen.
• When the flash is activated, you can take
only 1 picture.
• When setting auto bracket, you cannot
use the audio recording function.
• When setting auto bracket and the burst
mode simultaneously, auto bracket will be
performed.
• The exposure may not be compensated
with auto bracket depending on the
brightness of the subject.
• Auto review works if you activate auto
bracket, irrespective of the auto review
setting. (But the picture is not enlarged.)
You cannot change the auto review
setting in the setup menu.
• Setting ISO sensitivity to [ISO400]
increases the
time lapse between pictures
to allow for the noise reduction process.
• You cannot use auto bracket if you have
set quality to [TIFF] or [RAW].
• You cannot use auto bracket with
[STARRY SKY] in scene mode.
• When using Shutter-priority AE [N] or
Manual exposure [O] mode and you
have set the shutter speed to more than
1.3 second, auto bracket does not work.
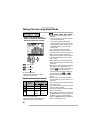
AUTO BRACKET
SELECT EXIT