19
Chapter 6: Installing and Using the Wireless-B Internet Video Camera Viewer & Recorder Utility
Using the Viewer & Recorder Utility
Wireless-B Internet Video Camera
Using the Viewer & Recorder Utility
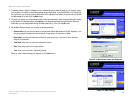
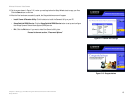
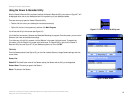
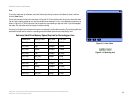
After the Viewer & Recorder Utility has been installed, the Viewer & Recorder Utility icon, shown in Figure 6-7, will
be displayed twice, one on your desktop and one in the system tray of your desktop’s taskbar.
There are two ways to open the Viewer & Recorder Utility:
• Double-click the icon on your desktop (the icon acts as a shortcut)
• Right-click the icon in the system tray, and then click Main Program.
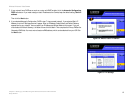
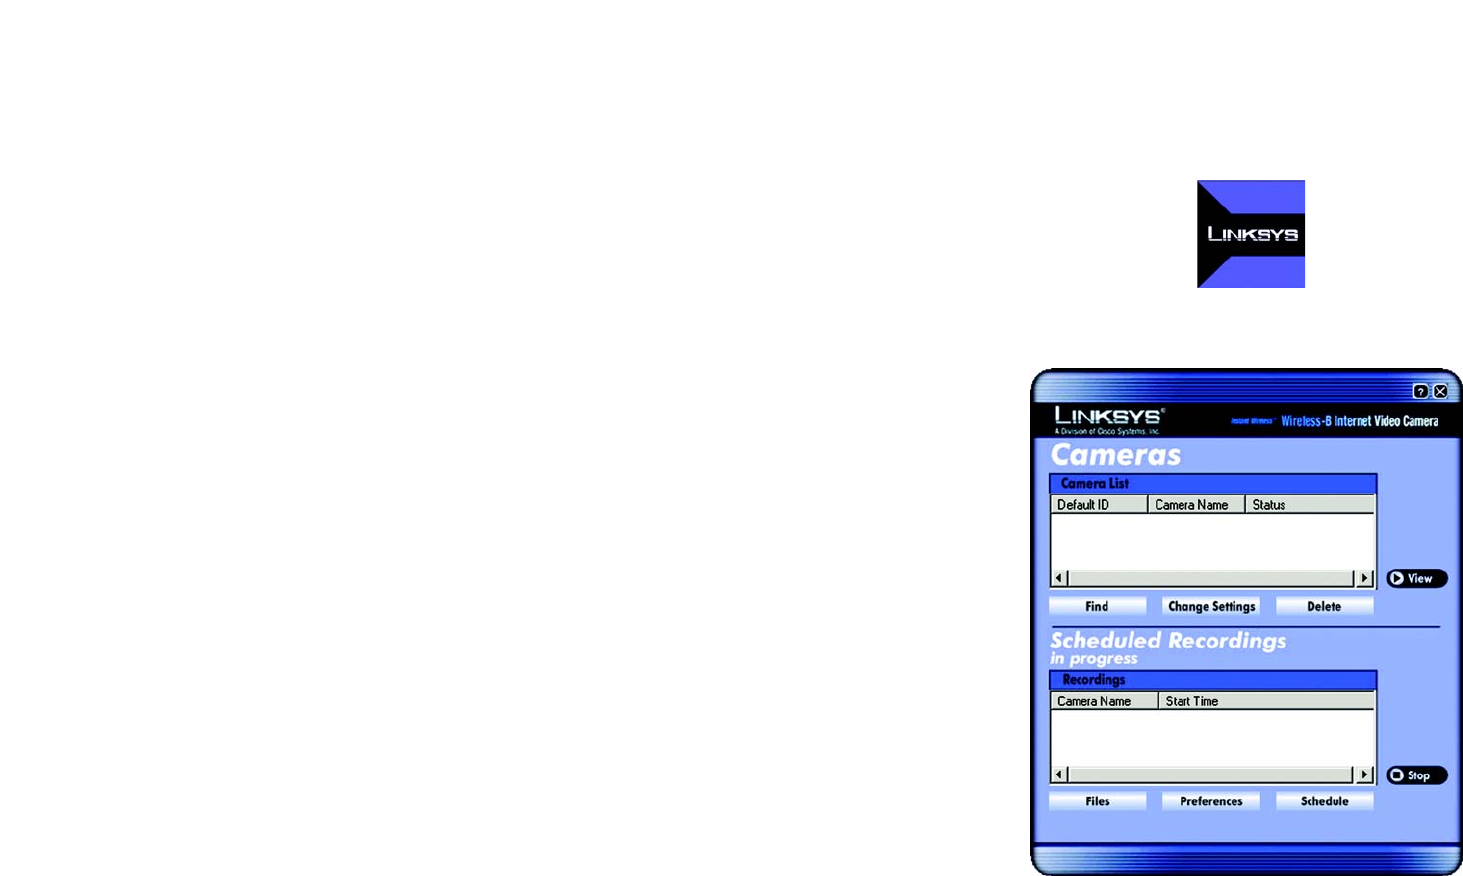
You will see the Utility’s main screen (see Figure 6-8).
It is divided into two sections, Cameras and Scheduled Recordings in progress. From this screen, you can control
Cameras, view video, and schedule recordings.
To minimize any of the Utility’s screens, click the X button in the upper right-hand corner. To request help
information, click the ? button in the upper right-hand corner. To close the Utility, right-click the Viewer &
Recorder Utility icon (see Figure 6-7) in your desktop’s system tray. Then click Exit.
Cameras
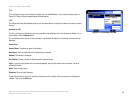
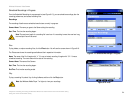
From the Cameras section (see Figure 6-8), you can find or delete Cameras, change Camera settings, and view
current video.
Camera List
Default ID. The identification name of the Camera used by the Camera and the Utility to exchange data.
Camera Name. The name you gave to the Camera.
Status. The status of the Camera.
Figure 6-7: Viewer & Recorder Utility Icon
Figure 6-8: Main Screen


