87
EN
Customizing camera settings
10
Option Description
g
Dial Function Choose the roles played by the main and sub dials. You
can also use the MENU button to choose dial rotation and
cursor movement directions.
—
Dial Direction Choose the direction in which the dial is rotated in increase
or decrease shutter speed and aperture.
—
T Release/j
MENU
c
T
Option Description
g
Rls Priority S If [On] is selected, the shutter can be released even when
the camera is not in focus. This option can be set separately
for S-AF (P. 43) and C-AF (P. 43) modes.
—
Rls Priority C
j L fps
Choose the frame advance rates for [S] and [T]. Figures
are the approximate maximums.
56
j H fps
j + IS Off
If [On] is selected, image stabilization will turn [OFF] during
sequential shooting.
—
Half Way Rls
With IS
Select [On] to enable image stabilization when the shutter
button is pressed halfway.
—
U Disp/8/PC
MENU
c
U
Option Description
g
HDMI [HDMI Out]: Selecting the digital video signal format for
connecting to a TV via an HDMI mini-cable.
[HDMI Control]: Select [On] to allow the camera to be
operated using remotes for TVs that support HDMI control.
74
Video Out Choose the video standard ([NTSC] or [PAL]) used in your
country or region.
74
KControl
Settings
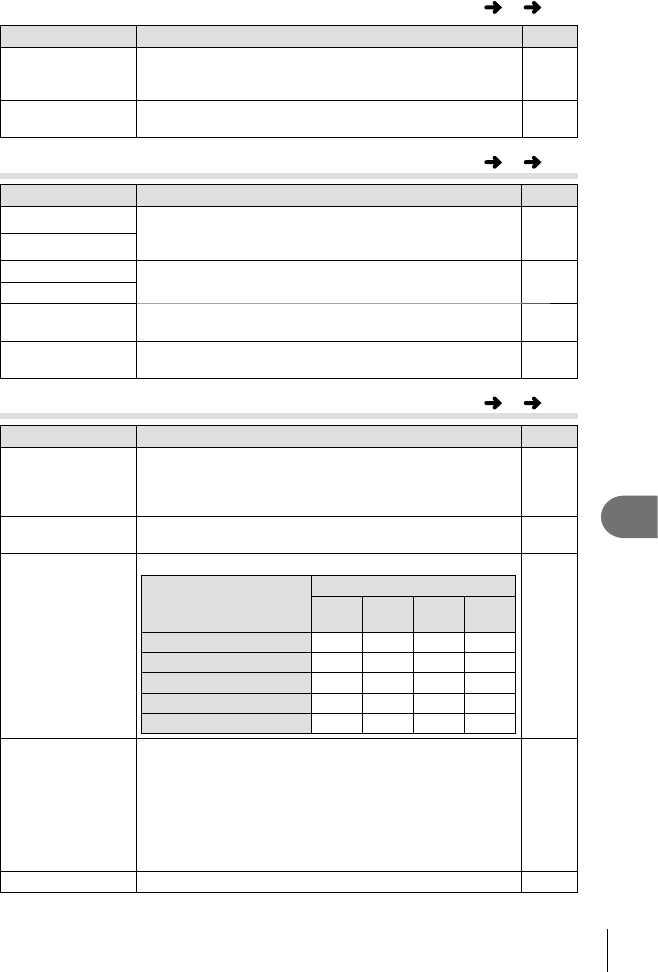
Choose the controls displayed in each shooting mode.
Controls
Shooting mode
P/A/
S/M
A
ART SCN
Live Control (P. 24) On/Off On/Off On/Off On/Off
Live SCP (P. 22) On/Off On/Off On/Off On/Off
Live Guide (P. 21) – On/Off – –
Art Menu – – On/Off –
Scene Menu – – – On/Off
39
G/Info Settings
Choose the information displayed when the INFO button is
pressed.
[qInfo]: Choose the information displayed in full frame
playback.
[LV-Info]: Choose the information displayed when the
camera is in shooting mode.
[G Settings]: Choose the information displayed in index
and calendar playback.
39, 40,
69
Displayed Grid Display a framing grid in the monitor. —
S Button/Dial
MENU
c
S


