60
Dubbing (continued)
You can perform dubbing with a high image quality
by means of digital signals by using a DV
(IEEE1394) cable to connect this unit to a digital
video unit equipped with a DV (IEEE1394)
connector.
Read the connected digital video unit’s instruction
manual carefully.
1 Connect the digital video equipment to this
unit. (Page 54)
2 Set the player unit and recorder unit to the VCR
mode.
• Press the CAMERA/VCR button for this unit.
3 Start playing back in the player.
If you are using this unit, move the operation
lever [q].
4 Start recording in the recorder.
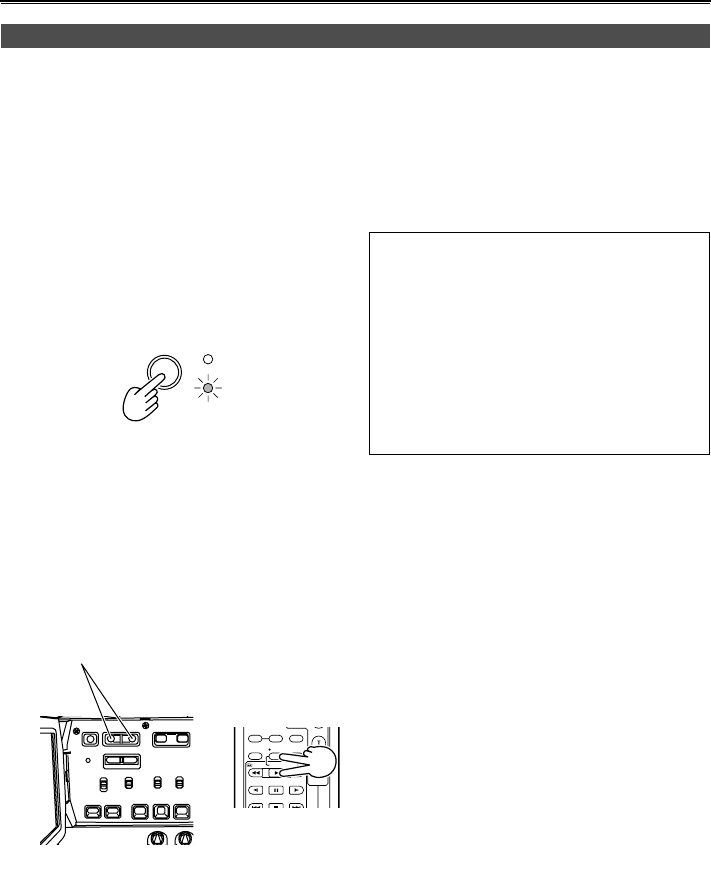
• If you are using this unit, press the two VCR
REC buttons at the same time. On the remote
control unit, press the PLAY button while
holding down the REC button.
• If you press these two buttons during pause,
the unit will go to shooting standby mode.
Each time you press the OPERATION lever
[h], the unit switches between shooting and
the shooting standby mode.
5 Stop recording in the recorder.
• If you are using this unit, move the operation
lever [g].
6 Stop playback on the other unit.
• If you are using this unit, move the operation
lever [g].
Digital input/output
CAMERA
VCR
COUNTER
RESET TITLE
STILL ADV
PAUSE
STILL ADV
INDEX
— VOL +
STOP INDEX
MULTI/
P-IN-P
REC A.DUB
PLAY/REW FF/
ZOOM
VCR REC button
Camera or Remote control
• When dubbing through digital input, audio is
recorded in the same mode as the playback
source irrespective of the settings on the
recording unit.
• If you have set 1394TC REGEN or 1394UB
REGEN to on in the recording unit’s menus you
can copy the time code and user information from
the playback source (Page 74). Do not start
recording until you can see the images on the
recording unit’s screen. Time code and user
information may not be correctly recorded if you
start recording before the images are received.


