• Preset map-shot: Eight thumbnail images of the preset position 1-8 (®page 65) will be displayed
orderly on a newly displayed window. When a thumbnail image is clicked, the camera moves to the
respective position and live images will be displayed on the “Live” page.
Note
• Do not operate the browser until all the thumbnail images are displayed and the camera returns to
the original position (where the camera was when “360 map-shot” or “Preset map-shot” was carried
out).
• When “Preset map-shot” is carried out with an unregistered preset position (among preset position
1-8), the thumbnail image of the preset position before the unregistered preset position will be
displayed.
In this case, the camera will not move when the thumbnail image is clicked.
• The camera will not always return to the exactly same position where it was before “Preset
map-shot” was carried out. (It may sometimes be slightly different.)
• The window on which the thumbnail images are displayed will close when clicking the following
buttons that can switch the camera channel or reload images: [Live], [Multi-screen], [H.264],
[JPEG], [Stream], [Image capture size], [Image quality], [Setup].
To display the thumbnail images again, carry out “Preset map-shot” again.
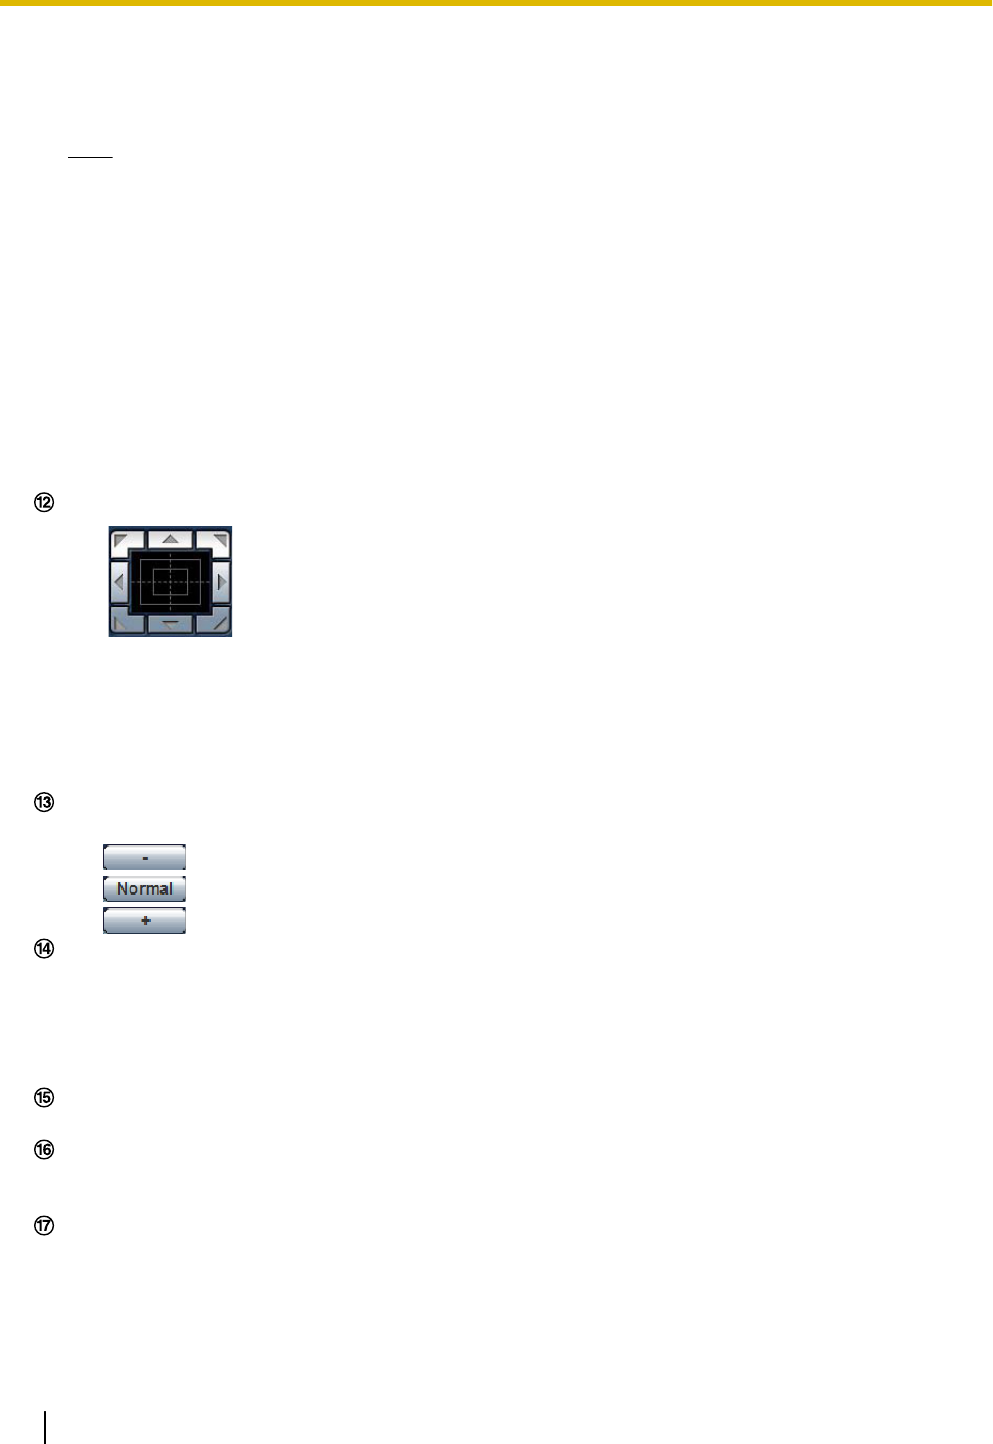
Control pad/buttons
*2
• : Left-click on the control pad to adjust the horizontal/vertical position of the camera
(panning/tilting). Panning/tilting speed will be faster if a clicked point gets farther from the center point
of the control pad.
It is also possible to pan/tilt the camera by dragging the mouse.
Zoom can be adjusted by right-clicking. When an upper/lower area of the control pad is right-clicked,
the displayed image will be zoomed in/out on.
Zoom can also be adjusted using the mouse wheel.
[Brightness] buttons
*2
Available range: 0 - 127
•
button: The displayed image will be darker.
• button: The adjusted brightness will return to the default brightness (64).
• button: Image will be brighter.
[Preset]
*2
Select a preset position from the pull-down menu and click the [Go] button. The camera will move to the
selected preset position (®page 65). “H” next to the preset position number indicates the home position.
When “Home position” is selected, the camera will move to the home position. (®page 55) When “Preset
ID” is registered for a preset position, the registered preset ID will be displayed next to the preset position
number.
Camera title
The camera title entered for “Camera title” on the [Basic] page will be displayed. (®page 39)
Alarm occurrence indication button
*2
This button will be displayed and will blink when an alarm has occurred. When this button is clicked, the
alarm output terminal will be reset and this button will disappear. (®page 30)
Full screen button
Images will be displayed on a full screen. To return to the “Live” page, press the [Esc] key. The aspect ratio
of displayed images will be adjusted in accordance with the monitor.
12 Operating Instructions
1 Monitor images on a PC
