


10
Gain
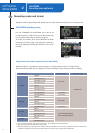
Adjust the gain when shooting at outdoor locations, or other places where the
brightness is outside the standard range. The toggle switch on the side of the
camera has three sensitivity settings assigned standards of 0db / +6db /
+12db, but it is possible to change each number individually, shifting
according to the lens one is using.
The ?12db setting gives a grainy image, and is rarely used. When possible, it
is best to assign a value of +9dB instead.
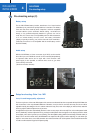
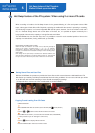
Flange Back = Back Focus = Rear Focus
Because cameras such as the AG-HPX500 that use B4 mounts are
designed to allow easy lens removal, the distance from the mount to the light-
incident surface of the CCD (the "flange-back" distance) sometimes differs
slightly depending on the camera (or lens) used. So if you change the lens-
camera combination, the back focus will need to be adjusted. If the back
focus is incorrect, images will not be correctly focused for either macro shots
or telephoto shots. Adjust the flange back (F/B) distance using a chart such
as the one attached.
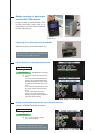
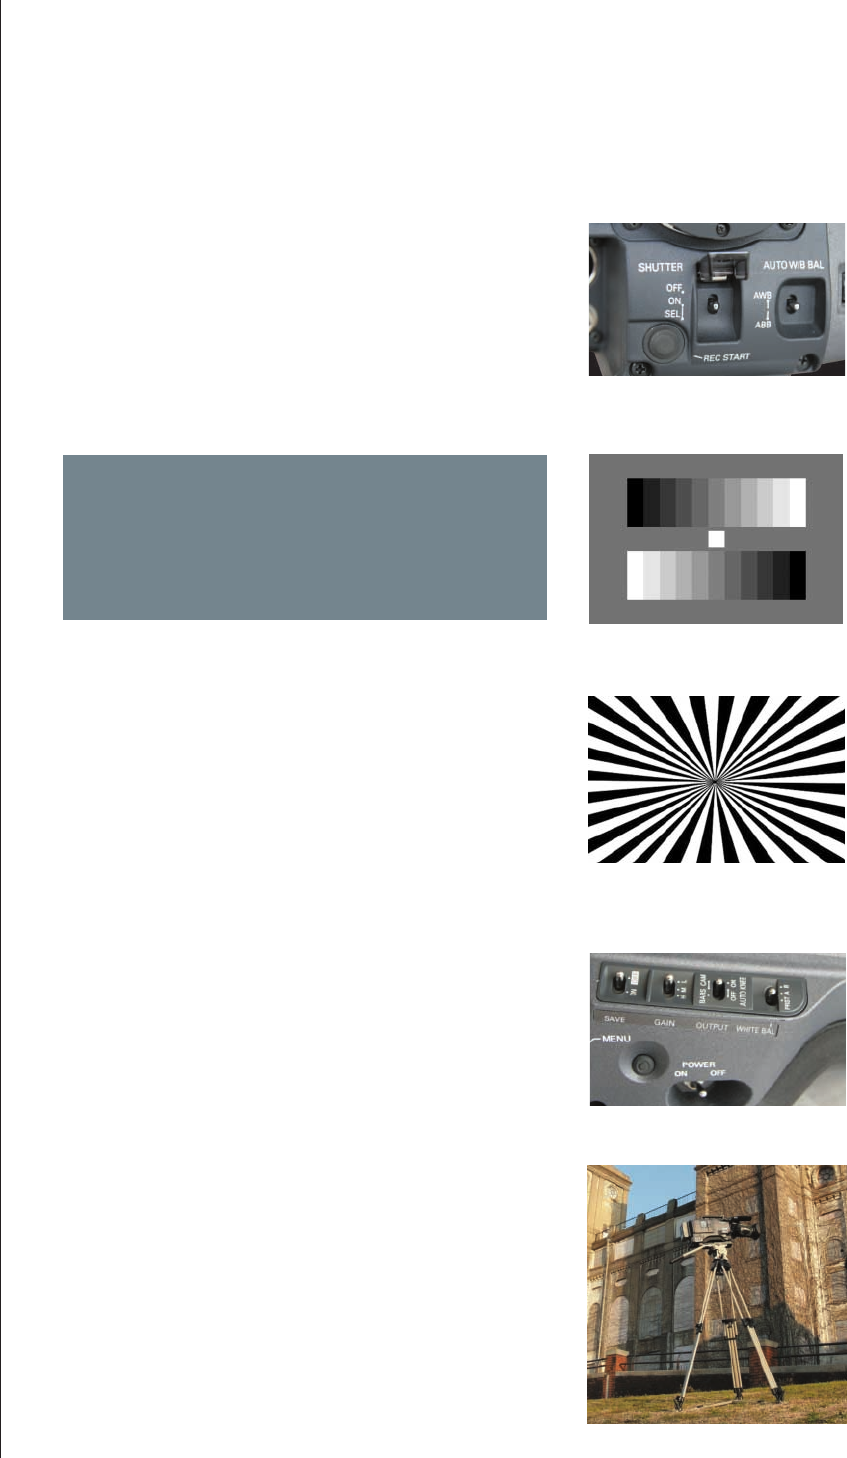
Selecting a tripod
It is assumed that the AG-HPX500 will rarely be swung around freely in the manner of
the AG-HVX200, and even when shooting the same scene, the AG-HPX500 has
different requirements. It may be necessary to set Gamma, to adjust the black level to
boost reproduction of dark areas, and during extremely slow zoom-in/zoom-out, or for
simple fixes, especially with interval shooting (see p. 15), a tripod allowing firm
positioning and very smooth movement is a necessity. Compared with the AG-
HVX200, it is a larger camera both in terms of chassis and in terms of mass, and a
suitable tripod must be selected or it will be unstable.
Stable picture quality can be obtained by selecting a tripod by a well-known maker,
such as the Sachtler System 18, the Vinten Vision 11, or a comparable tripod.
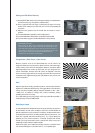
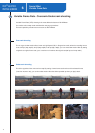
WB adjustment technique
When setting the WB, one can experiment with disrupting the color
temperature and giving the image a warmer feel by selecting warmer color.
Some high-grade inkjet papers have a small amount of blue mixed in, in
order to bring out the white more, and it can be interesting to line up a few
different types of "white" paper and observe the differences in hue.
(Another trick is to cover the lens with a white.)
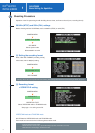
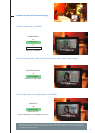
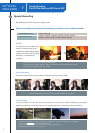
Setting the WB (White Balance)
(1) Set the WHITE BAL switch to A or B. Separate settings are created for the
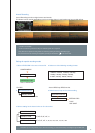
A and B channels (e.g.: Cloudy/Fine, Outdoor/Indoor).
(2) Place a grayscale chart (see right) or a white piece of paper in the same
location as the setting for your shot and zoom in so that it completely fills
the screen.
(3) Adjust the lens aperture. Use the normal Auto Iris function to set the
aperture.
(4) Push the AWB switch upwards to set the white balance.
(5) Push the AWB switch downwards to set the black balance (BB).
(6) Push the switch up again to set the white balance more precisely.