108
6
Playback/Deleting/Editing
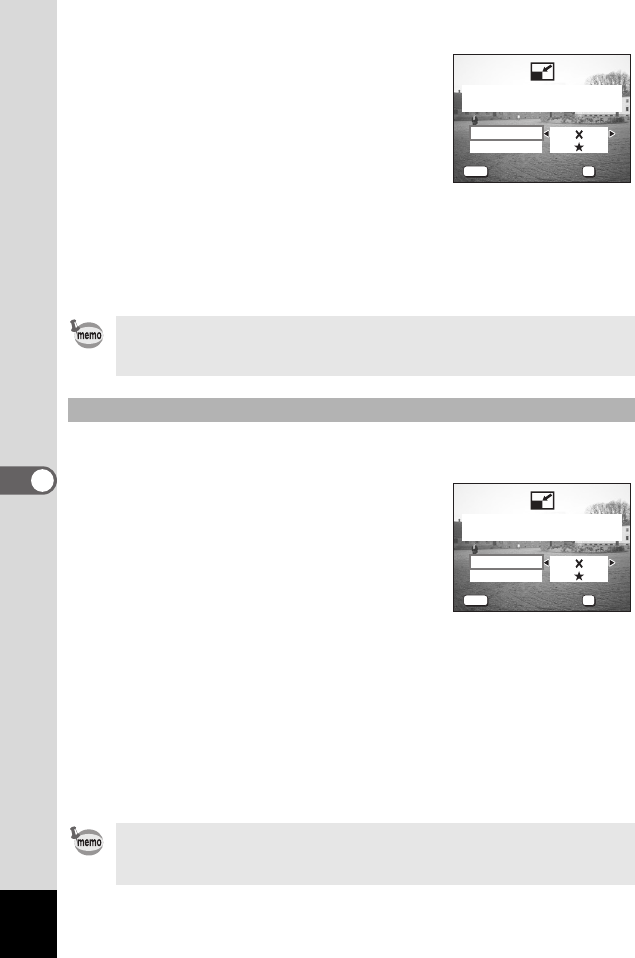
6 Use the four-way controller (45)
to change the size.
7 Press the four-way controller (3).
The frame moves to [Quality Level].
8 Use the four-way controller (45)
to change the quality.
9 Press the OK button.
10 Use the four-way controller (23) to select [Overwrite]
or [Save as].
11 Press the OK button.
The resized image is saved.
You can change the size of all the images saved on the SD Memory
Card or in the built-in memory.
4 Press the DISPLAY button in Step
3 on the previous page.
The Resize All screen appears.
5 Use the four-way controller (45)
to change the size.
6 Press the four-way controller (3).
The frame moves to [Quality Level].
7 Use the four-way controller (45) to change the quality.
8 Press the OK button.
9 Use the four-way controller (23) to select [Overwrite]
or [Save as].
10 Press the OK button.
All the images that are bigger than the selected size are resized and
saved.
• Moving pictures cannot be resized.
• You cannot select a larger size than that of the original image.
• You cannot select a higher quality than that of the original image.
Resizing All Images
• Moving pictures cannot be resized.
• Images that are smaller than the selected size are not resized.
• Protected images (with the Z icon) cannot be overwritten.
100-0010
100-0010
MENU
OK
640 480
Exit
Exit
OK
OK
Select resolution and
quality
Recorded Pixels
Quality Level
100-0010
100-0010
MENU
OK
640 480
Exit
Exit
OK
OK
Recorded Pixels
Quality Level
Resize all. Select
Recorded pixels/Quality.
e_kb364.book Page 108 Monday, February 16, 2004 3:50 PM
