


E-16
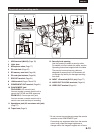
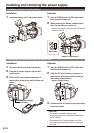
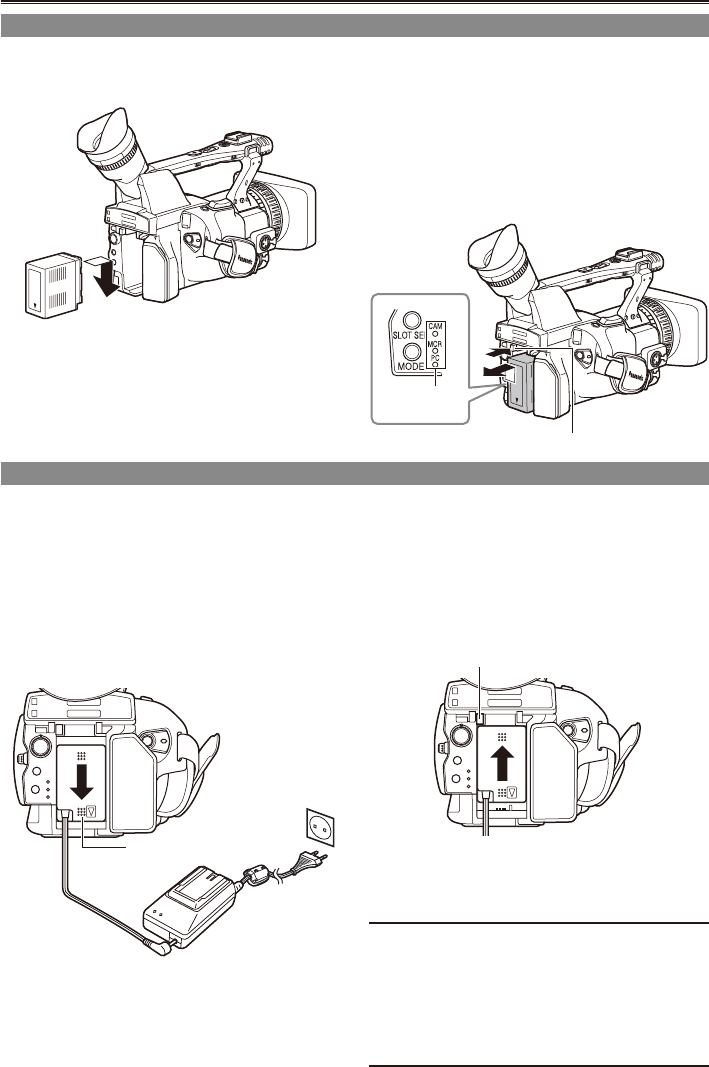
Installing and removing the power supply
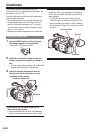
Installing and removing the battery
Installation
1 Insert the battery until it clicks into place.
Removal
1 Set the POWER switch to OFF, and check
that the mode lamp is off.
2 While pressing the battery release button,
raise up the battery to remove it.
Support the battery with your hand to ensure
that it will not fall.
Battery release button
Mode lamp
•
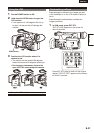
Connecting and disconnecting the power cord
Installation
1 Connect the DC cord to the AC adapter.
2 Plug the AC power supply cord into the
power outlet.
3 Slide the DC cord’s battery connector to
the direction of the arrow until it clicks into
place.
DC cord’s battery
connector
Removal
1 Set the POWER switch to OFF, and check
that the mode lamp is off.
2 Slide the DC cord’s battery connector to
the direction of the arrow while pressing
the battery release button.
Battery release button
3 Disconnect the AC power supply cord from
the power outlet.
CAUTION:
You cannot charge the battery when
supplying power to the camera-recorder from
the AC adapter.
Disconnect the AC power supply cord from
the power outlet when the unit is not going to
be used.
•
•