


77
3
Shooting
Interval (Time-lapse) Recording
The camera can be set to take pictures automatically at preset intervals. The
interval can be set in steps of 30 seconds in the range of 30 seconds to 3
hours.
For example, if you set an interval of 1 hour, the shutter will be released every
hour, taking pictures continuously until the storage memory in the recording
destination runs out of available memory.
Important
Note
• Check the recordable picture count in the storage memory before
starting interval (time-lapse) recording.
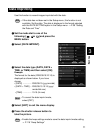
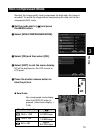
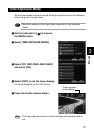
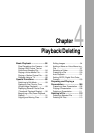
A Set the mode dial to [ ] or [ ] and press the MENU button.
B Select [INTERVAL MODE].
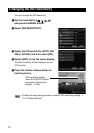
C Set the time interval and select [OK].
The interval timer is now set.
See
• P.34 “How to Use the Spin Box ( )”
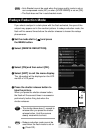
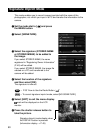
D Select [EXIT] to exit the menu display.
Note
• To cancel interval (time-lapse)
recording, set the mode dial to
another setting or switch the camera
off while the “INTERVAL” message
is lit.
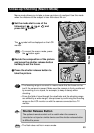
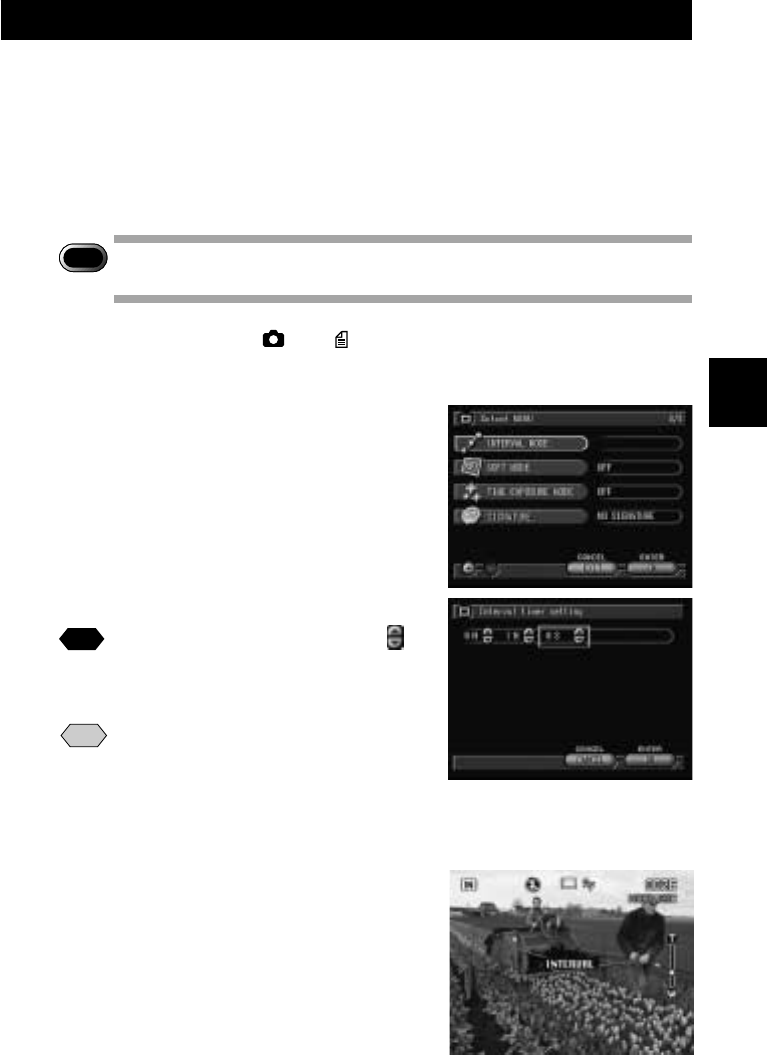
E Press the shutter release button.
The first photograph will be taken and then
additional photographs will be taken at the
preset time interval.
The “INTERVAL” message will blink during
interval (time-lapse) recording. Picture taking
will end when the storage memory runs out
of memory.