


117
Various Shooting Functions
1
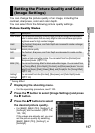
You can change the picture quality of an image, including the
contrast, sharpness, color and color depth.
You can select from the following picture quality settings.
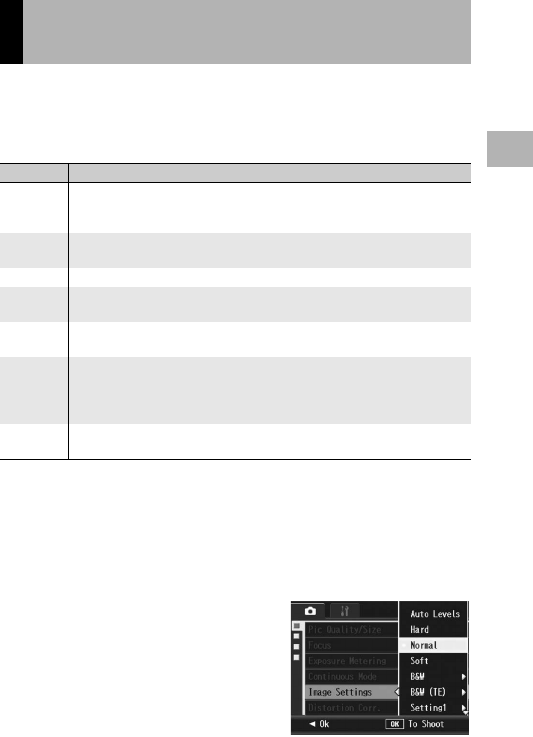
Picture Quality Modes
* Toning Effect
1
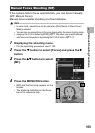
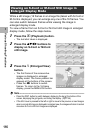
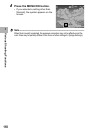
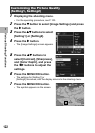
Displaying the shooting menu.
• For the operating procedure, see P.103.
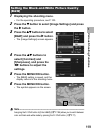
2
Press the " button to select [Image Settings] and press
the $ button.
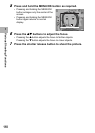
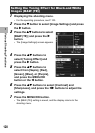
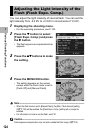
3
Press the !" buttons to select
the desired picture quality.
• For [B&W], [B&W (TE)], [Setting1], or
[Setting2], set the values. (GP.119,
120, 122)
If the values are already set, you can
set the picture quality by selecting
[B&W], [B&W (TE)], [Setting1], or
[Setting2].
Setting the Picture Quality and Color
(Image Settings)
Type Description
Auto Levels The camera automatically corrects image tone when images are recorded in
order to reduce areas that are overly bright or dark and achieve appropriate
brightness even for high contrast images.
Hard The Contrast, Sharpness, and Color Depth are increased to create a stronger,
sharper image.
Normal Normal picture quality
Soft The Contrast, Sharpness, and Color Depth are decreased to create a softer
image.
B&W Creates a black and white picture. You can select from five [Contrast] and
[Sharpness] levels. (GP.119)
B&W (TE)
*
You can set the toning effect for black-and-white images. You can select from
five [Toning Effect], [Color Depth], [Contrast], and [Sharpness] levels. You can
select from [Sepia], [Red], [Green], [Blue], and [Purple] for the [Toning Effect].
(GP.120)
Setting1
Setting2
You can select from five [Contrast], [Sharpness], and [Color Depth] levels.
(GP.122)