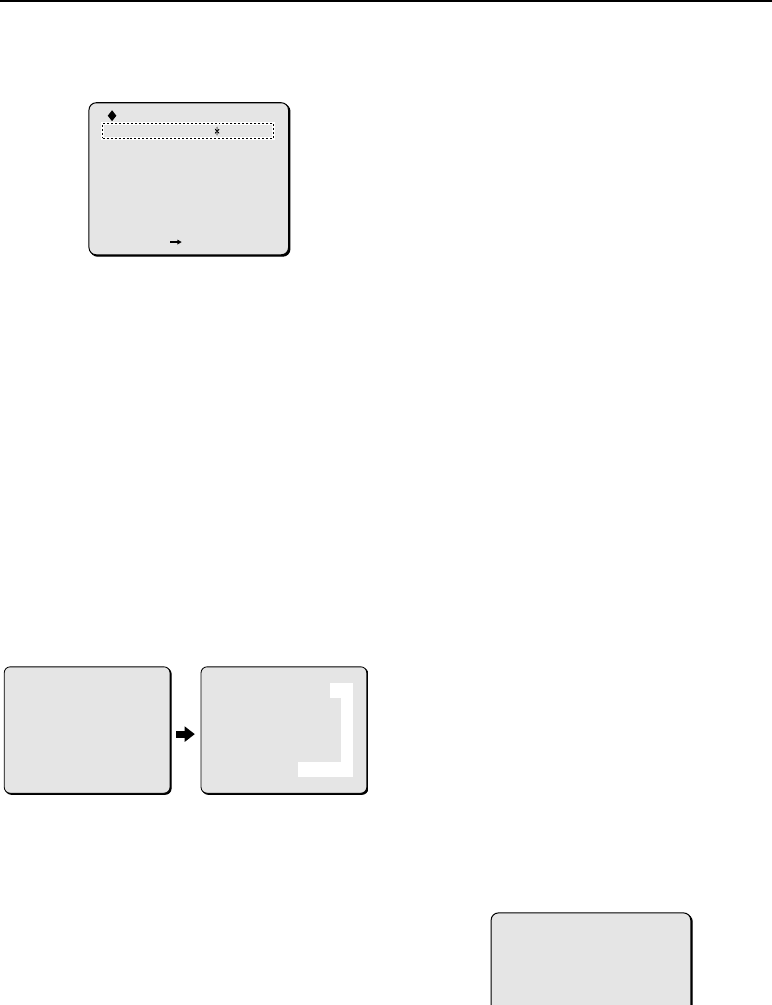
SETTING THE CLOCK (CLOCK SET)
You need to set the date and time in order to use the camera. The recording functions of this camera cannot
be used if the date and time have not been set. In addition, if the accessory Ni-Cd battery (for backup) which
is used for running the clock and for hard disk backups has been replaced, you must reset the clock.
•
The setting time is displayed when “CONDITION” is selected from the MAIN MENU screen.
Note: The clock is set when the camera is first
used, but if summer time has been set, the
time will advance by one hour automatically
during the summer time application period,
so you may need to reset the clock.
Setting example: To set the clock to 15:15:20
on 2 August 2002
Press the MENU button to return to the SETTING
screen.
1 Use the CURSOR (l) button to select
“SETTINGS” and then press the SET button.
The SETTINGS screen will be displayed.
2 Use the CURSOR (l) button to select
“CLOCK SET” and then press the SET
button.
The CLOCK SET screen will be displayed.
3 Use the CURSOR (l) button to select
“YEAR ... 2001” and then use the CURSOR
(d or c) button to set the year to “2002”.
4 Use the CURSOR (l) button to select
“MONTH ... 01” and then use the CURSOR
(d or c) button to set the month to “08”.
5 Use the CURSOR (l) button to select
“DAY ... 01” and then use the CURSOR (d
or c) button to set the day to “02”.
6 Use the CURSOR (l) button to select
“HOUR ... 00” and then use the CURSOR
(d or c) button to set the hour to “15”.
7 Use the CURSOR (l) button to select
“MINUTE ... 00” and then use the CURSOR
(d or c) button to set the minutes to
“15”.
8 Use the CURSOR (l) button to select
“SECOND ... 00” and then use the CURSOR
(d or c) button to set the seconds to
“20”.
9 Use the CURSOR (l) button to select
“FORM ... MM/DD/YYYY” and then use
the CURSOR (d or c) button to set the
desired format.
•
YYYY/MM/DD: Year/Month/Day
•
MM/DD/YYYY: Month/Day/Year
•
DD/MM/YYYY: Day/Month/Year
10 Use the CURSOR (l) button to select
“CLOCK START ... YES” and then press the
SET button.
The CLOCK START screen will be displayed,
and the date and time which have been set
will appear on the screen. The camera will
return to recording mode after approximately
30 seconds.
If you select “NO”, the clock setting will not
be changed, and the screen will return to the
SETTINGS screen.
CONDITION
TIME: 08/02/2002 15:34:26
PRE: 15MIN POST: 30MIN
SUSPICION: 150/ 6834PCS
FRAMERATE: 3FPS ST/DL: ON
FILE ID: A ID:
COMMENT:
[MENU] (MAIN MENU)
(CLOCK SET)
YEAR------------------2001
MONTH----------------- 01
DAY------------------- 01
HOUR------------------ 00
MINUTE---------------- 00
SECOND---------------- 00
FORM----------- MM/DD/YYYY
CLOCK START----------- YES
(Before setting) (After setting)
(CLOCK SET)
YEAR------------------2002
MONTH----------------- 08
DAY------------------- 02
HOUR------------------ 15
MINUTE---------------- 15
SECOND---------------- 20
FORM----------- MM/DD/YYYY
CLOCK START----------- YES
(CLOCK START)
2002/08/02 15:15:20
L42A4/US (DSR-C100) GB 2001, 4, 16
22 English


