SETTING THE RECORDING METHOD
Post-alarm recording
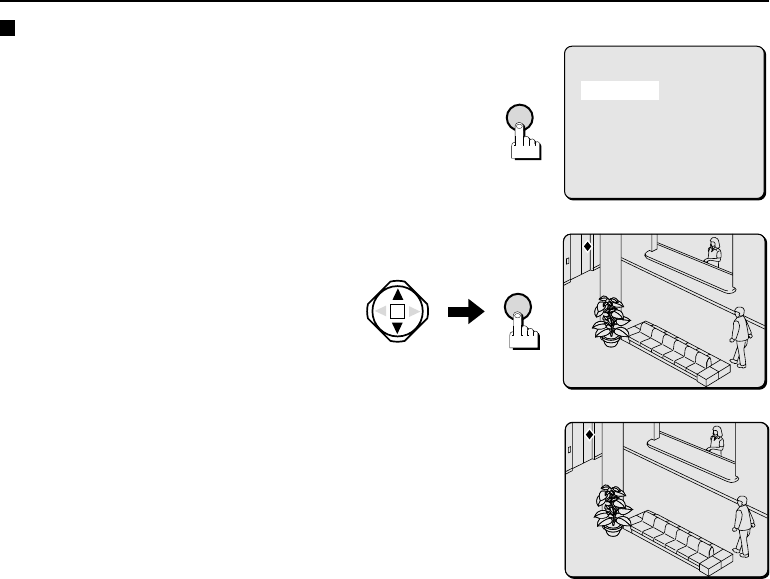
1 Press the MENU button.
The MAIN MENU screen will be displayed.
2 Use the CURSOR (j or l) button to select
“RECORD START” and then press the SET button.
The warning indicator and caution
indicator both light during post-alarm
recording.
“PRE1-ALARM REC” will be displayed and
pre-alarm (PRE1) recording will then start.
3 Press and hold the H (HOLD-UP) switch (rear panel).
“POST1-ALARM REC” will be displayed and post-alarm
1 (POST1) recording will start.
Post-alarm recording will stop when the hold-up switch is
released, or when the post-alarm recording time which
was initially set has passed.
4 Release the H (HOLD-UP) switch to stop recording.
•
If there is 20 minutes or more of available recording time remaining in the post-alarm recording
area, pre-alarm 2 (PRE2) recording starts automatically.
•
When the recording area becomes full, “ALARM REC FULL” will be displayed and recording will no
longer be possible.
(MAIN MENU)
RECORD START
PLAYBACK
SETTINGS
CONDITION
MENU
SET
PRE1-ALARM REC
REMAIN SHOTS: 6834
PRE1-ALARM REC
REMAIN SHOTS: 6834
POST1-ALARM REC POST1-ALARM REC
REMAIN SHOTS: 6834 REMAIN SHOTS: 6834
POST1-ALARM REC
REMAIN SHOTS: 6834
L42A4/US (DSR-C100) GB 2001, 4, 16
English 43


