15
Preparation
Changing to the 24-hour
Time Mode
1 After performing step 10 above, press
l or m to select “12H/24H”, then
press the center of the Operation
button.
2 Press l or m to select “24H”, then
press the center of the Operation
button.
3 Press the DISPLAY button to turn off
the menu screen.
Notes:
• The date and time, once set, are internally
recorded even when not displayed on the
screen.
• The menu screen automatically turns off if no
settings are made within 5 minutes.
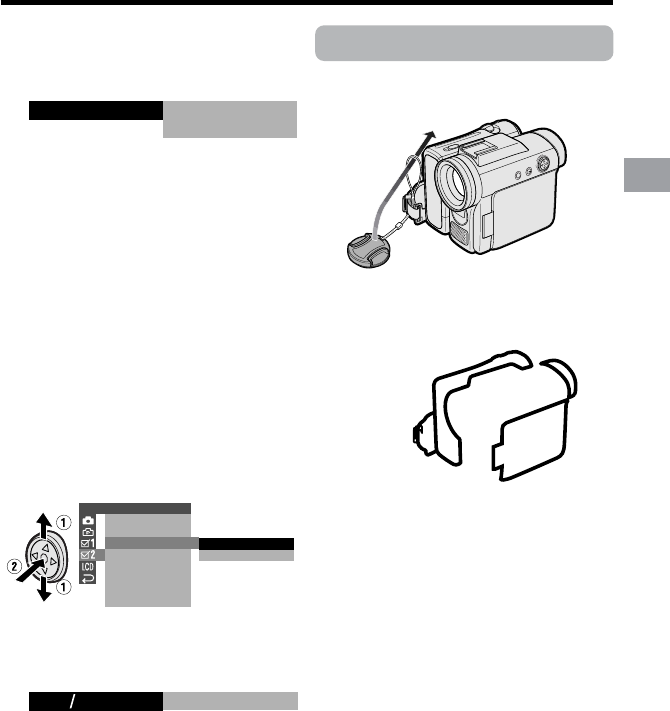
Using the Lens Cap
Attach the strap of the lens cap to the hand
strap as shown below.
When attaching or removing the lens cap,
grasp the indents on both sides of the cap.
When recording, remove the lens cap and
attach the lens cap cord to the fastener so
that the cap will not get in the way.
Note:
• Always attach the lens cap over the lens
when not using the camcorder.
24H
21H24H
10
Press m or l to select “30” (minute),
then press the center of the Operation
button.
• The internal clock now starts
operating with the seconds display.
11
Press the DISPLAY button to turn off
the menu screen.
Note:
• If the date and time have been set, the
SETTING 1 screen (T) appears in step 4.
Select “SETTING” in the OTHERS 2 screen
(~) using the Operation button.
JUN.
100030 AM
::
2 2004.
SETT ING
OTHERS 2
T IME CODE
TC OUT
24H
12H
RETURN
SETTING
12H 24H/


