


69
Advanced Features
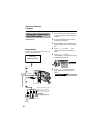
Audio Dubbing
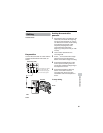
1 Play back the Mini DV cassette
recorded in SP mode and locate the
tape position where you wish to start
audio dubbing.
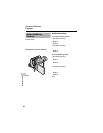
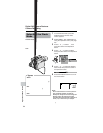
2 Press m on the Operation button to
pause playback.
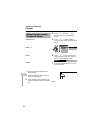
3 Press the DISPLAY button until the
mode screen appears.
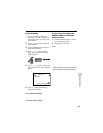
4 Press l or m to select “AUDIO
DUB”, then press the center of the
Operation button.
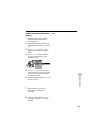
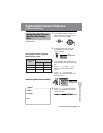
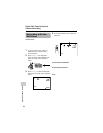
5 Press l or m to select “EXECUTE”,
then press the center of the Operation
button.
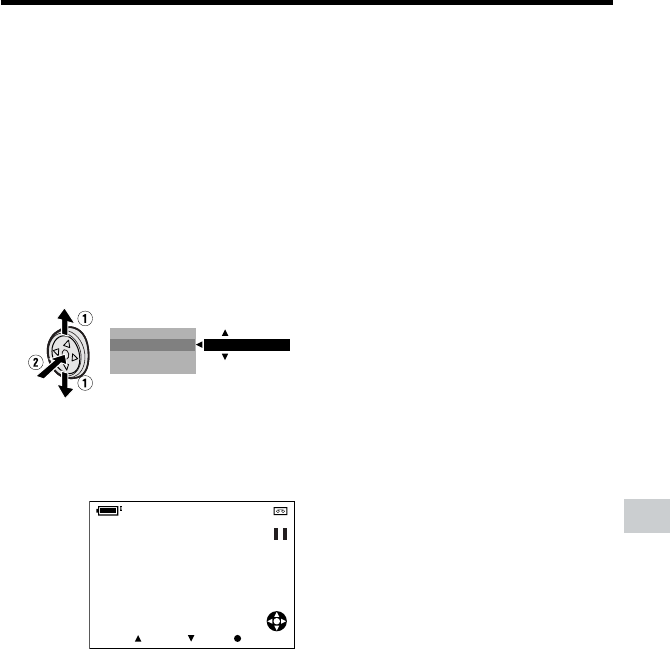
• The audio dubbing screen appears.
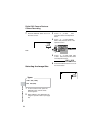
6 Press m to begin audio dubbing.
Record your narration.
To pause audio dubbing
Press l. To resume audio dubbing, press
m again.
To cancel audio dubbing
Press the center of the Operation button in
step 5. The audio dubbing screen disap-
pears.
If you wish to change the
dubbed audio or dub addi-
tional scenes
1 Press the DISPLAY button to turn off
the audio dubbing screen.
2 Repeat steps 1 to 6 above.
Notes:
• It is recommended that you use Audio
Dubbing only with recordings made with this
camcorder. Use of recordings made with
other digital video equipment may result in
poor audio quality.
• Audio dubbing will automatically pause if the
original audio changes from 12-bit mode to
16-bit mode or vice versa. Press m to
resume operation.
• Audio dubbing will automatically stop if a
portion recorded in LP mode or an unre-
corded portion of the tape is encountered.
• You can play back the dubbed audio and the
original audio together or separately (see
page 70).
• “AUDIO DUB” cannot be selected when the
Mini DV cassette is recorded in LP mode.
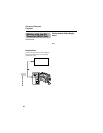
DATE DISP.
AUDIO DUB
PIC.EFFECT
M
ENU
EXECUTE
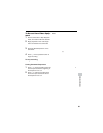
AUDIO
AUDIO DUB
21
+
START STOP CANCEL
00:00:0
TC