


12
GB
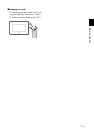
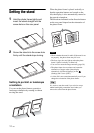
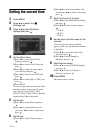
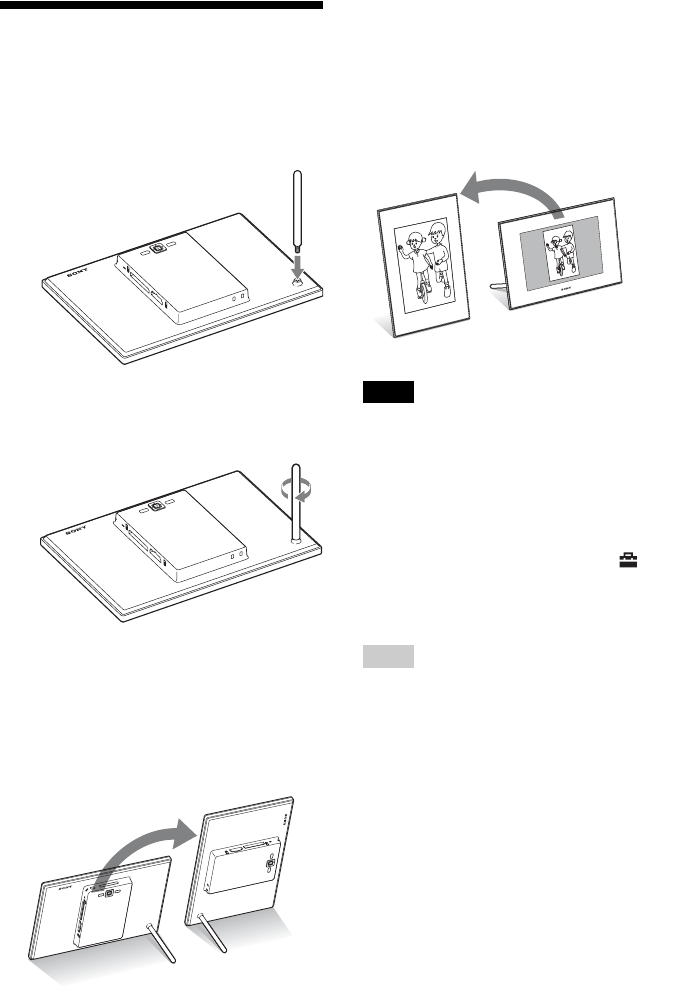
Setting the stand
1 Hold the photo frame tightly and
insert the stand straight into the
screw hole on the rear panel.
2 Screw the stand into the screw hole
firmly until the stand stops turning.
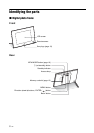
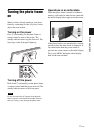
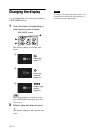
Setting to portrait or landscape
orientation
You can set the photo frame to portrait or
landscape orientation by rotating it without
moving the stand.
When the photo frame is placed vertically so
that the operation buttons are located on the
left, the display is also automatically rotated to
the portrait orientation.
The directions indicated on the direction button
on the rear panel depend on the orientation of
the photo frame.
Notes
• Check whether the stand is stable. If the stand is not
set properly, the photo frame may fall over.
• The Sony logo does not light up when the photo
frame is placed vertically or turned off.
• You can also rotate the image manually (page 38).
• The photo frame does not detect and rotate the
orientation of images when [Auto display
orientation] of [General Settings] on the
(Settings) tab is set to [OFF].
• A video file is not rotated automatically even if you
change the orientation of the photo frame
.
Tip
It is easier to turn the stand if you wind or wrap a
rubber band tightly around the stand when you
remove the stand from the photo frame.