13
GB
Basic operations
Turning the photo frame
on
When you have already turned on your photo
frame by connecting it to the AC power source,
skip to the next section.
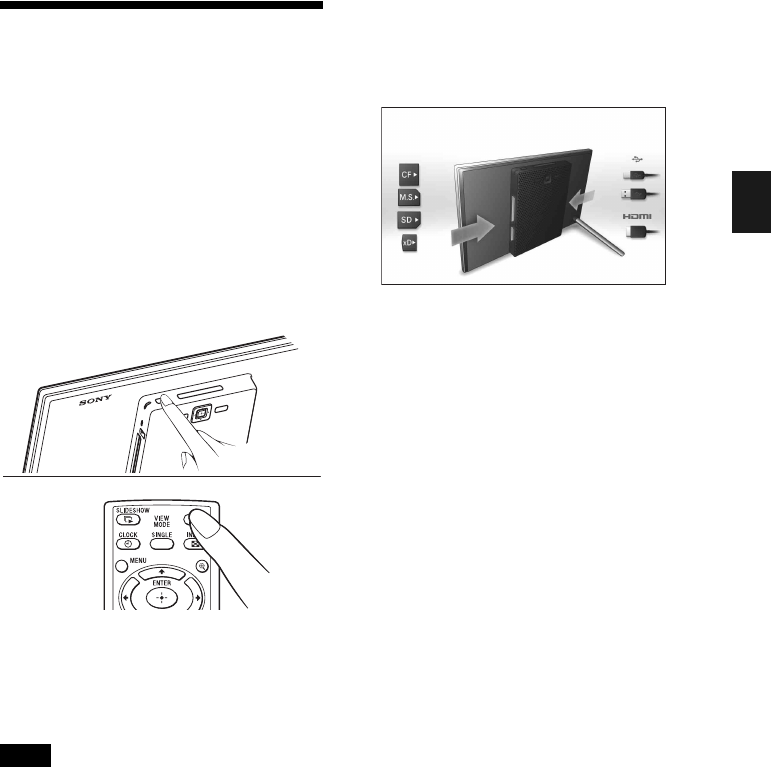
Turning on the power
Press 1 (on/standby) on the photo frame or
remote control to turn on the power. The
standby indicator turns to green from red. The
Sony logo on the front panel lights up.
Turning off the power
Hold down 1 (on/standby) on the photo frame
or remote control until the power turns off. The
standby indicator turns to red from green.
Note
Do not disconnect the AC adaptor from the photo
frame or the AC outlet before the standby indicator
turns red. Doing so may damage the photo frame.
Operations in an initial state
When the photo frame is turned on without a
memory card loaded or other device connected,
the initial display below appears on the screen.
If the photo frame is not operated for a certain
period of time, the demo mode is displayed. If
any other button than the power button is
pressed, the screen returns to the initial display.
First, press MENU during the initial display
then set the date and time.


