


14
GB
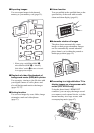
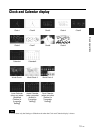
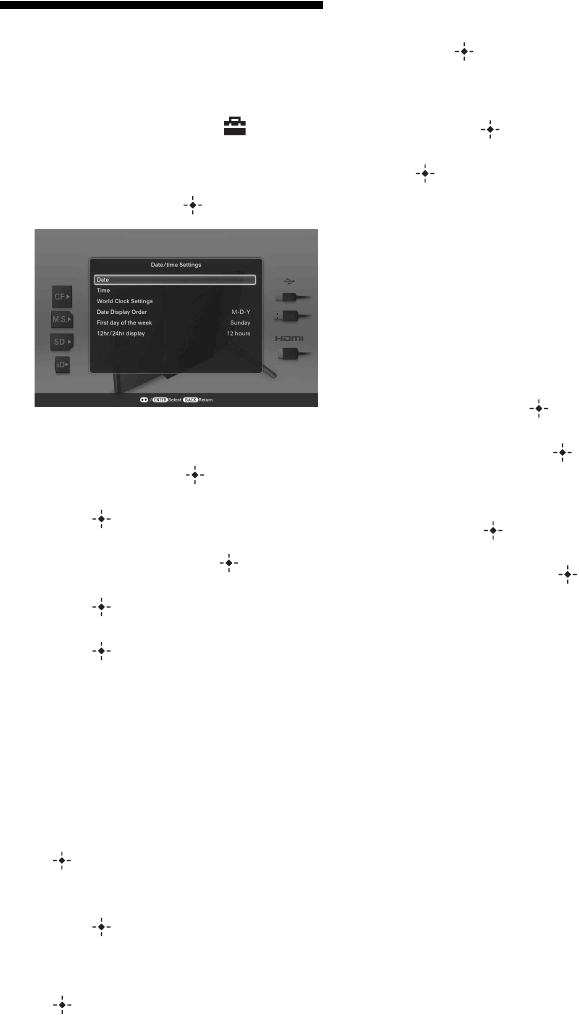
Setting the current time
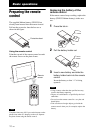
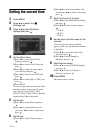
1 Press MENU.
2 Press B/b to select the
(Settings) tab.
3 Press
v
/V
to select [Date/time
Settings] and press .
4 Set the World clock.
1Press v/V to select [World Clock
Settings] and press .
2Press v/V to select [Local Time] and
press .
3Press v/V to select the region where
you are living and press .
4Press v/V to select [Local DST] and
press .
5Press v/V to select [ON] or [OFF] and
press .
6Press BACK.
You can set up to three world clocks other
than the clock for your region. Proceed
steps
2 to 5 to set [Clock 1 Time],
[Clock 2 Time], [Clock 3 Time], and their
respective day light saving times.
5
Set the date.
1Press v/V to select [Date] and press
.
2Press B/b to select month, day and
year, press v/V to select a value, then
press .
6
Set the time.
1Press v/V to select [Time] and press
.
2Press B/b to select hour, minute, and
second, press v/V to select a value, then
press .
7 Select the format of the date.
1Press
v
/V
to select [Date Display Order],
and press
.
2Press v/V
to select a format and press
.
•Y-M-D
• M-D-Y
•D-M-Y
8 Set the day to start the week for the
calendar.
You can set the day of the week that
appears on the very left when the calendar
is displayed.
1Press v/V to select [First day of the
week] and press .
2Press v/V to select
[Sunday] or
[Monday]
and press .
9
Select the time display.
1Press
v
/V to select [12hr/24hr display]
and press .
2Press
v
/V to select [12 hours] or
[24 hours] and press .
10 Press MENU.
The menu screen is closed.