


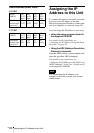
15
GB
Installing the Unit
Basic Installation and Connections
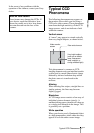
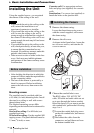
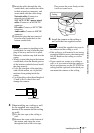
3Insert the cables through the side
conduit hole, and connect the cables
to their respective connectors, and
secure them with the cable clamp.
Network cable: Connect to a
network port of this unit.
24 V AC/12 V DC (power input)
cable: Connect to an AC/DC IN
connector.
I/O cable: Connect to EXT CTRL
connector.
Audio cable: Connect to MIC/SP
connector.
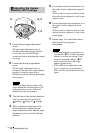
4Attach the plug that was removed
from the side conduit hole to the
bottom conduit hole.
• When you connect a pipe/plug to the
conduit hole, be sure to turn the pipe/
plug all the way and lock it in place.
Otherwise, moisture may leak into the
casing.
• When you insert the plug in the bottom
conduit hole, clean the thread grooves
of the bottom conduit hole and install
the plug securely.
• Cover the joint part of the pipe/plug
with silicon sealant, etc. to prevent
moisture from getting inside the
casing.
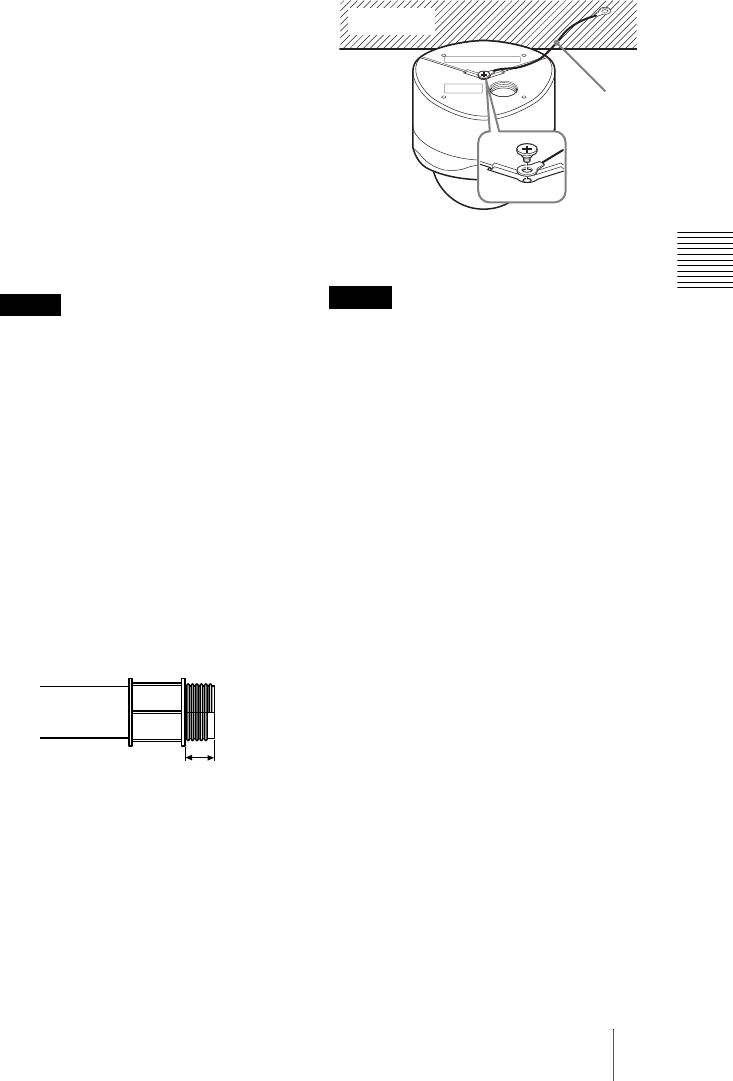
• Use a pipe/plug with a thread length of
12 mm or less so that it does not
damage the camera.
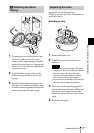
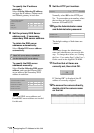
4 When installing on a ceiling or wall,
fix the supplied wire rope to the
bottom of the camera and the ceiling
(or wall).
1
Fix the wire rope to the ceiling or
wall.
2Remove the screw on the bottom of
the camera, and string the screw
through the hole of the wire rope.
Then secure the screw firmly so that
it will not come loose.
5 Install the camera on the ceiling or
wall with the four supplied screws.
• Be sure to install the supplied wire rope to
the camera and the ceiling or wall.
• If the ceiling or wall material is not strong
enough to hold the screws, the camera may
fall off. Reinforce the ceiling or wall as
needed.
• If you cannot use screws on a ceiling or
wall, or if you want to hide the camera to
be less conspicuous, use the YT-ICB70 in-
ceiling bracket (optional) with which you
can mount the camera on the ceiling.
Notes
12 mm or less
Notes
Wire rope
Ceiling