4-112
DVW-790WS/709WS/707 P2V1
DVW-790WSP/709WSP/707P P2V1
4-2. Parts Replacement
Removal
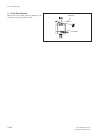
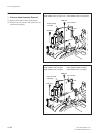
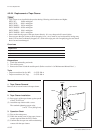
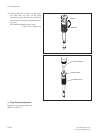
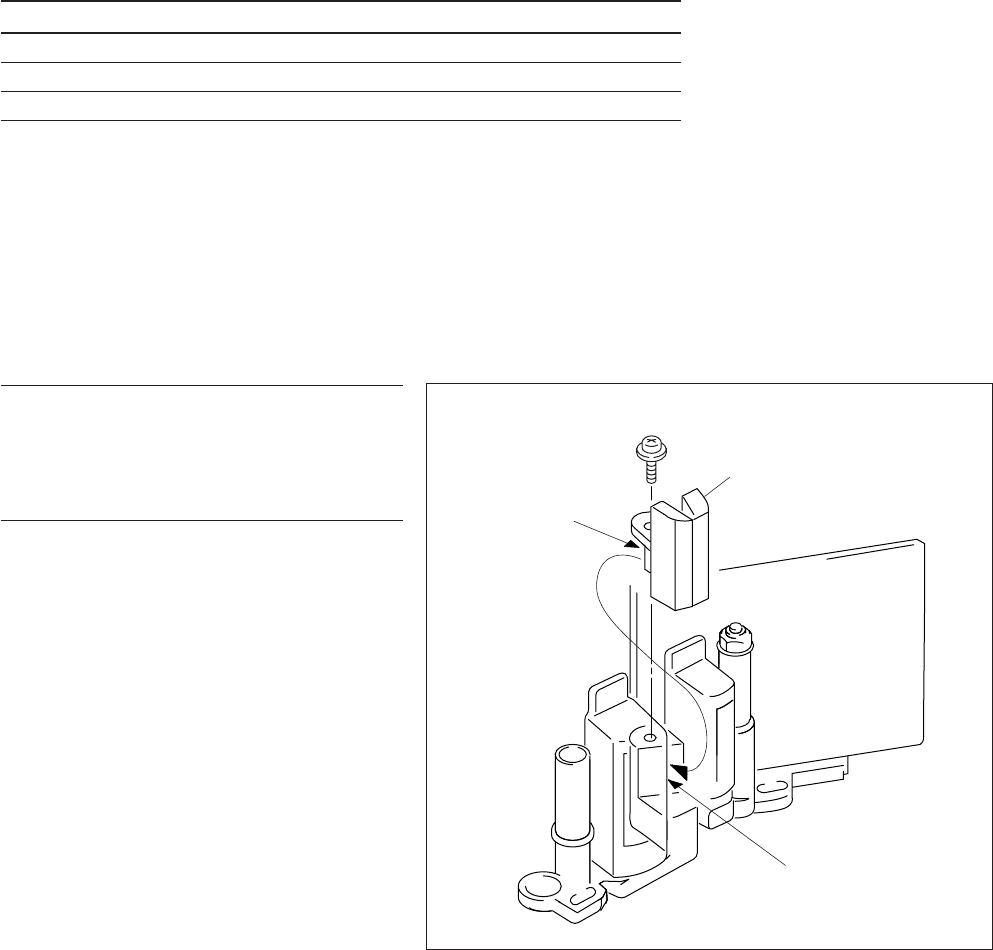
1. Tape Cleaner Removal
Remove the screw and remove the tape cleaner.
Installation
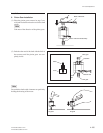
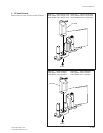
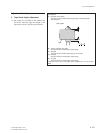
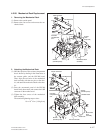
2. Tape Cleaner Installation
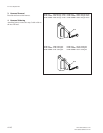
(1) Press part A of the tape cleaner against part B
of the CTL.FE base.
(2) Attach the tape cleaner with a screw.
The standard tightening torque value :
9 x 10
_2
N.m {0.9 kgf.cm}
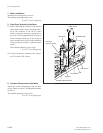
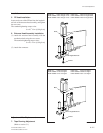
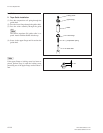
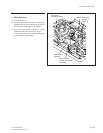
3. Operation Check
(1) Turn on the main power.
(2) While the outside panel is kept open, insert a
cassette tape and enter the PLAY mode.
(3) Confirm that the tape runs while maintaining
contact with the tape cleaner.
4-2-24. Replacement of Tape Cleaner
m
. Tape cleaner is not installed in the product having following serial numbers and higher.
DVW-707 : 10056 and higher
DVW-707P : 40191 and higher
DVW-709WS : 10126 and higher
DVW-709WSP : 40256 and higher
DVW-790WS : 10161 and higher
DVW-790WSP : 40511 and higher
. Do not touch the edge part of the tape cleaner directly. It is very sharp and will cause injuries.
. Do not expose the tape cleaner to shock (dropping it, etc.). As it made of very hard material, its edge may
break. If it has been accidentally dropped, etc., observe the edge part with a magnifying glass and check
that is has not been damaged.
Overviews
Replacement
Tape Cleaner Removal
Tape Cleaner Installation
Operation Check
Preparations
1. Check the unthreading end mode.
2. Turn off the power.
3. Remove the front lid and the outside panel. (Refer to section 1-6 of Maintenance Manual Part 1.)
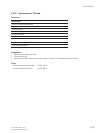
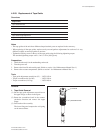
Tools
. Torque screwdriver bit (for M2) : J-6325-380-A
. Torque screwdriver (for 3 kg) : J-6325-400-A
M 2x5
Tape cleaner
Part A
Part B


