Miscellaneous
25
However, when limited to the software owner, analysis
of the object code for the purpose of personal revisions
or debugging is permitted.
MPEG-4 Video Patent Portfolio
License
THIS PRODUCT IS LICENSED UNDER THE MPEG-
4 VISUAL PATENT PORTFOLIO LICENSE FOR
THE PERSONAL AND NON-COMMERCIAL USE
OF A CONSUMER FOR
(i) ENCODING VIDEO IN COMPLIANCE WITH
THE MPEG-4 VISUAL STANDARD (“MPEG-4
VIDEO”)
AND/OR
(ii) DECODING MPEG-4 VIDEO THAT WAS
ENCODED BY A CONSUMER ENGAGED IN A
PERSONAL AND NON-COMMERCIAL
ACTIVITY AND/OR WAS OBTAINED FROM A
VIDEO PROVIDER LICENSED BY MPEG LA
TO PROVIDE MPEG-4 VIDEO.
NO LICENSE IS GRANTED OR SHALL BE
IMPLIED FOR ANY OTHER USE. ADDITIONAL
INFORMATION INCLUDING THAT RELATING TO
PROMOTIONAL, INTERNAL AND COMMERCIAL
USES AND LICENSING MAY BE OBTAINED
FROM MPEG LA, LLC. SEE
HTTP://WWW.MPEGLA.COM
Troubleshooting
Before contacting your retailer or a Sony Support
Center, please check the following items. If the problem
persists, contact them.
The NSR does not work.
• Verify that the power switch is turned on.
• Verify that the power cable is connected correctly.
• Make sure the wall outlet has power. Test it by
plugging another device.
• Verify that the hard disk drives are not being accessed
(the HDD LEDs on the front of the recorder do not
blink), and then turn it off forcibly by pressing and
holding the power switch at the rear of the unit for
approximately 10 seconds. Restart the NSR.
• During the startup procedure, the NSR checks the file
system. The length of this check varies depending on
the amount of data on the NSR (in some extreme case,
it can take as long as two hours). During the file
system check, the HDD LEDs on the front of the
recorder blink.
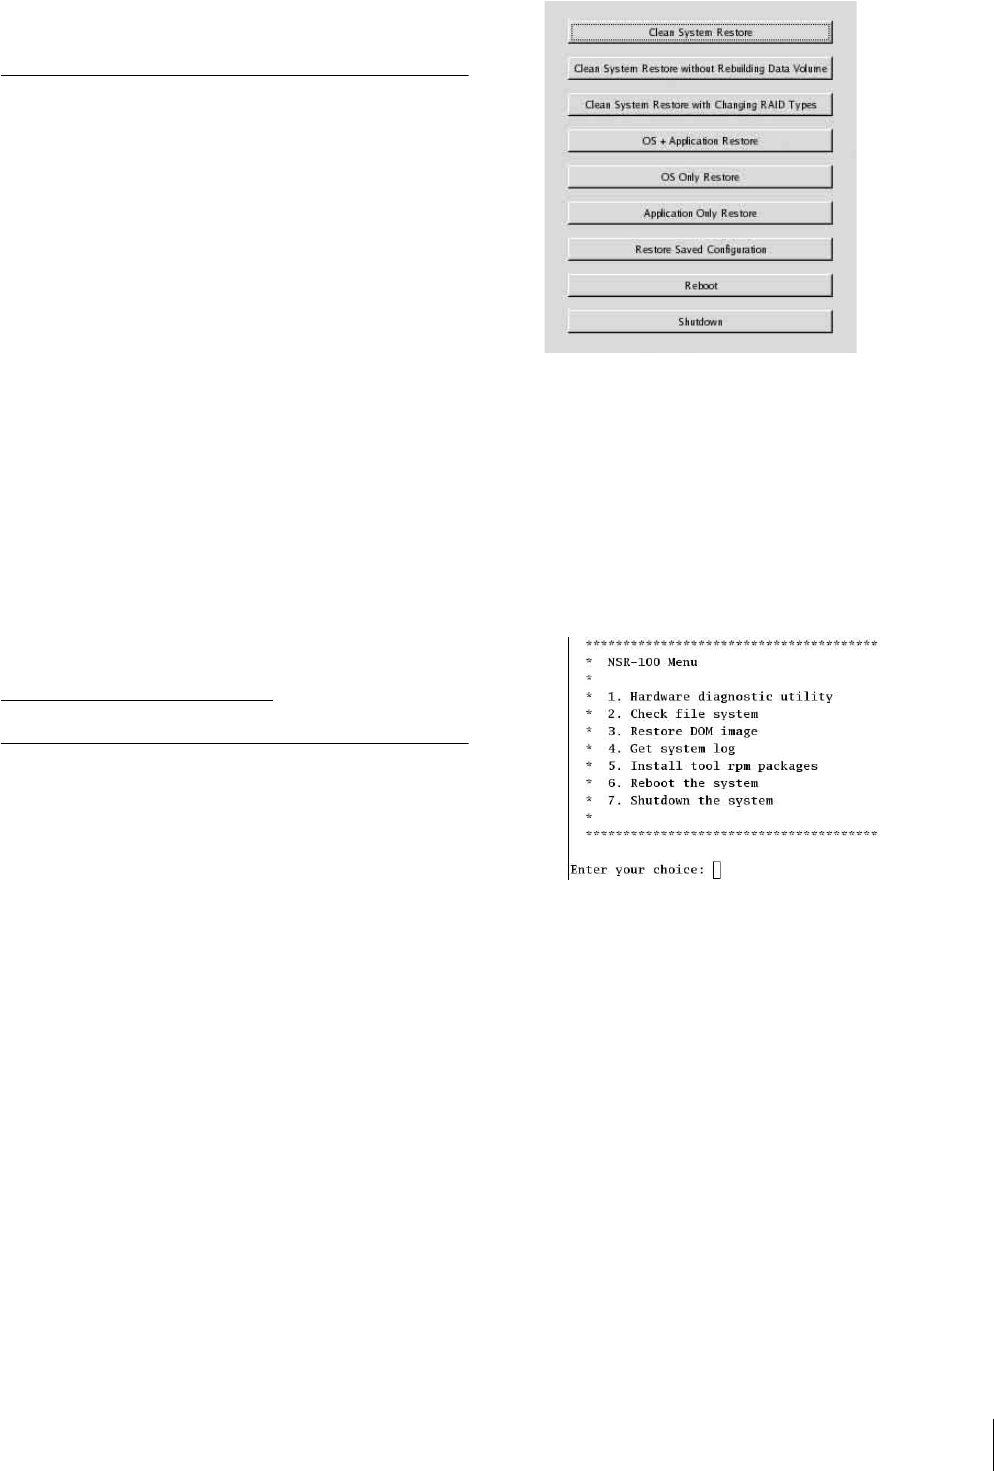
• If the NSR does not start correctly, the following
screen may appear.
Example: For the NSR-100/50
When it does, proceed as follows.
1 Click [Shutdown] and turn off the NSR.
2 Referring to “Cannot access the hard drive.”, verify
whether the NSR hard disks are correctly
connected.
3 Restart the NSR and verify whether it starts.
4 If the same screen as above appears again, insert the
supplied NSR Series Recovery CD into the CD and
DVD drive, and then turn off the NSR. In this state,
restart the NSR, and select “2. Check file System”
when the following screen appears.
Checking the file system may take several hours.
5 When the check is finished, select “7. Shutdown the
system”, and turn off the recorder.
In addition, do not use any menu option other than
“2. Check file system” or “7. Shutdown the
system”, as the others are for maintenance
purposes.
6 Restart the NSR and immediately eject the NSR
Series Recovery CD. Then verify whether the NSR
starts correctly.


