


59-GB
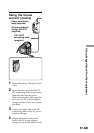
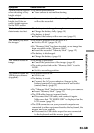
Using image data with other equipment
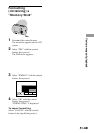
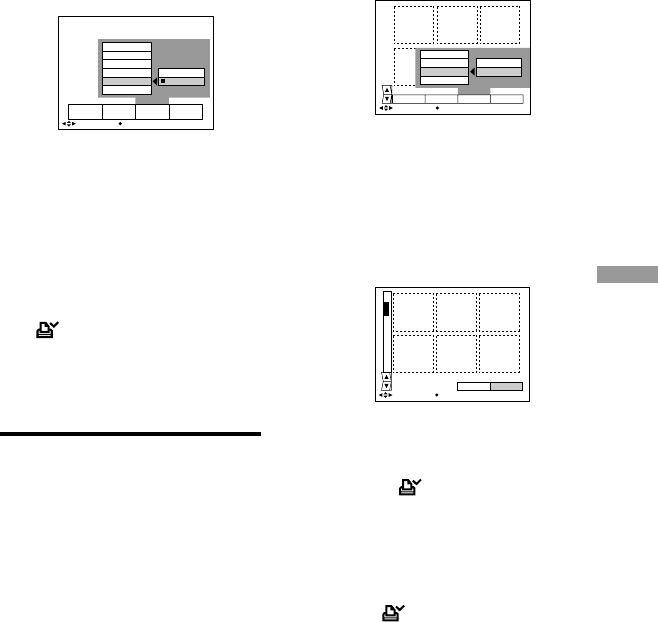
4 Select “PRINT MARK” with the
control button, then press it.
5 Select “ON” with the control
button, then press it.
The print mark is marked on an
image.
6 Press V of the control button
repeatedly.
The menu bar disappears from the
screen.
“ ” is marked on the image.
To unmark the print mark
Select “OFF” with the control button in
the step 5, then press it.
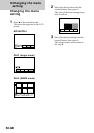
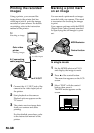
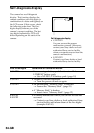
In INDEX mode
1 Display the index screen.
2 Select “PRINT MARK” of “FILE”
with the control button, then press
it.
3 Select “ALL” to unmark all
images, or “SELECT” to mark (or
unmark) selected images with the
control button, then press it.
FILEDELETE SETUPRETURN
SELECT
OK
CANCEL
OFF
PRINT MARK: ALL
PROTECT
COPY
FORMAT
PRINT MARK
OFF
ON
PROTECT
PRINT MARK
COPY
FORMAT
INDEX FILEDELETE SETUP
SELECT
OK
ROTATE (90°)
SLIDE SHOW
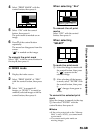
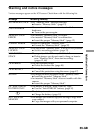
When selecting “ALL”
To unmark the all print
marks
Select “OFF” with the control
button, then press it.
When selecting
“SELECT”
To mark the print mark
1 Select the image to mark with
the control button, then press
it. “ ” appears on the
selected image.
2 After selecting all the images
to mark, select “ENTER” with
the control button, then press
it.
“ ” changes from green to
white.
To unmark the selected print
mark
Select the images to unmark in the step
1, then select “ENTER” with the
control button, then press it.
PNotes
•If the write-protect tab on the “Memory
Stick” is set to LOCK, you cannot mark
a print mark.
•You cannot mark print marks on
moving images.
ENTERPRINT MARK CANCEL
0001-0006/0100
SELECT OK