75-GB
PictureGear 3.2 Lite
5 Click [Next] if the displayed destination folder is acceptable.
If you want to change the destination folder, click [Browse], change the destination
folder, and then click [Next].
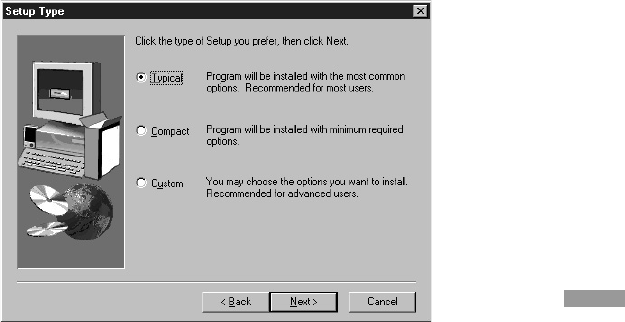
The Setup Type dialog box appears.
6 Click [Next] if you want to perform the Standard setup.
To change the setup type, click either [Compact] or [Custom], and then click
[Next].
• Standard: the PictureGear programme and sample data are installed.
• Compact: only the PictureGear programme is installed.
• Custom: either the PictureGear programme or sample data can be selected to be
installed.
PNote
Some of the still picture samples can be installed only by selecting Custom setup type.
The Select Program Folder dialog box appears.
7 Click [Next] if the displayed program folder name is acceptable.
If you want to change the program folder name, enter the new name for the folder,
and click [Next].
The required files are copied from the CD-ROM to the hard disk.
(Continued on the following page)


