


TV-IP262PI
TRENDnet User’s Guide
© Copyright 2012 TRENDnet. All Rights Reserved.
22
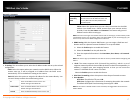
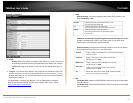
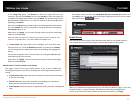
In the Image File option, click Browse to select the image file from your
computer, and then click Upload. You can click Preview to check the image size
and adjust the image position before clicking Upload. The preview image area is
displayed with red dotted line. If you want to remove the preview image before
uploading, click Delete.
Since you click Upload, the preview image area is displayed with white dotted
line. Click Enable and set the transparency setting by whether selecting the
Transparent option or not.
When done, click Apply. You can see the image overlay on the live view image
when you click Live View.
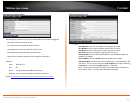
NOTE: The width and height of the input overlay graphic should be multiple of 4 at a
maximum size of 43690 pixels, and in JPG or BMP (24-bit RGB) format.
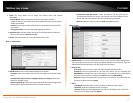
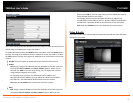
Privacy Mask: This item allows you to configure up to two mask
areas.
Select
the area 1 or 2 from the Window pull-down list, and then click Enable.
You can change the size and position of the area by holding and dragging the
mouse.
You can also change the color of the mask area by clicking the Color box and
then selecting the color you want.
When done, click Apply. You can see the mask area(s) on the live view image
when you click Live View.
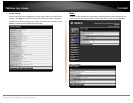
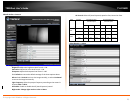
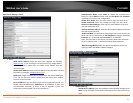
Video & Audio >> Overlay / Mask >> Text Overlay
This page is used to set the text overlay feature of the camera, including the
following three options: date & time, heading text, and background transparency
setting.
Include Date & Time: Select this option to display the date & time information
on the live view image.
Include Text: Select this option and enter your heading text in the box to
display the text information on the live view image.
Enable Opaque: Select this option to display the overlay text with a background
color.
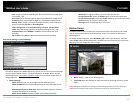
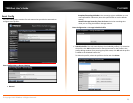
For example, when you select the Include Date & Time and Include Text options and
click Apply, you can see the related information displayed on the live view image
when you click the button.
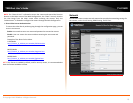
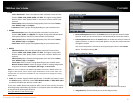
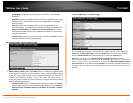
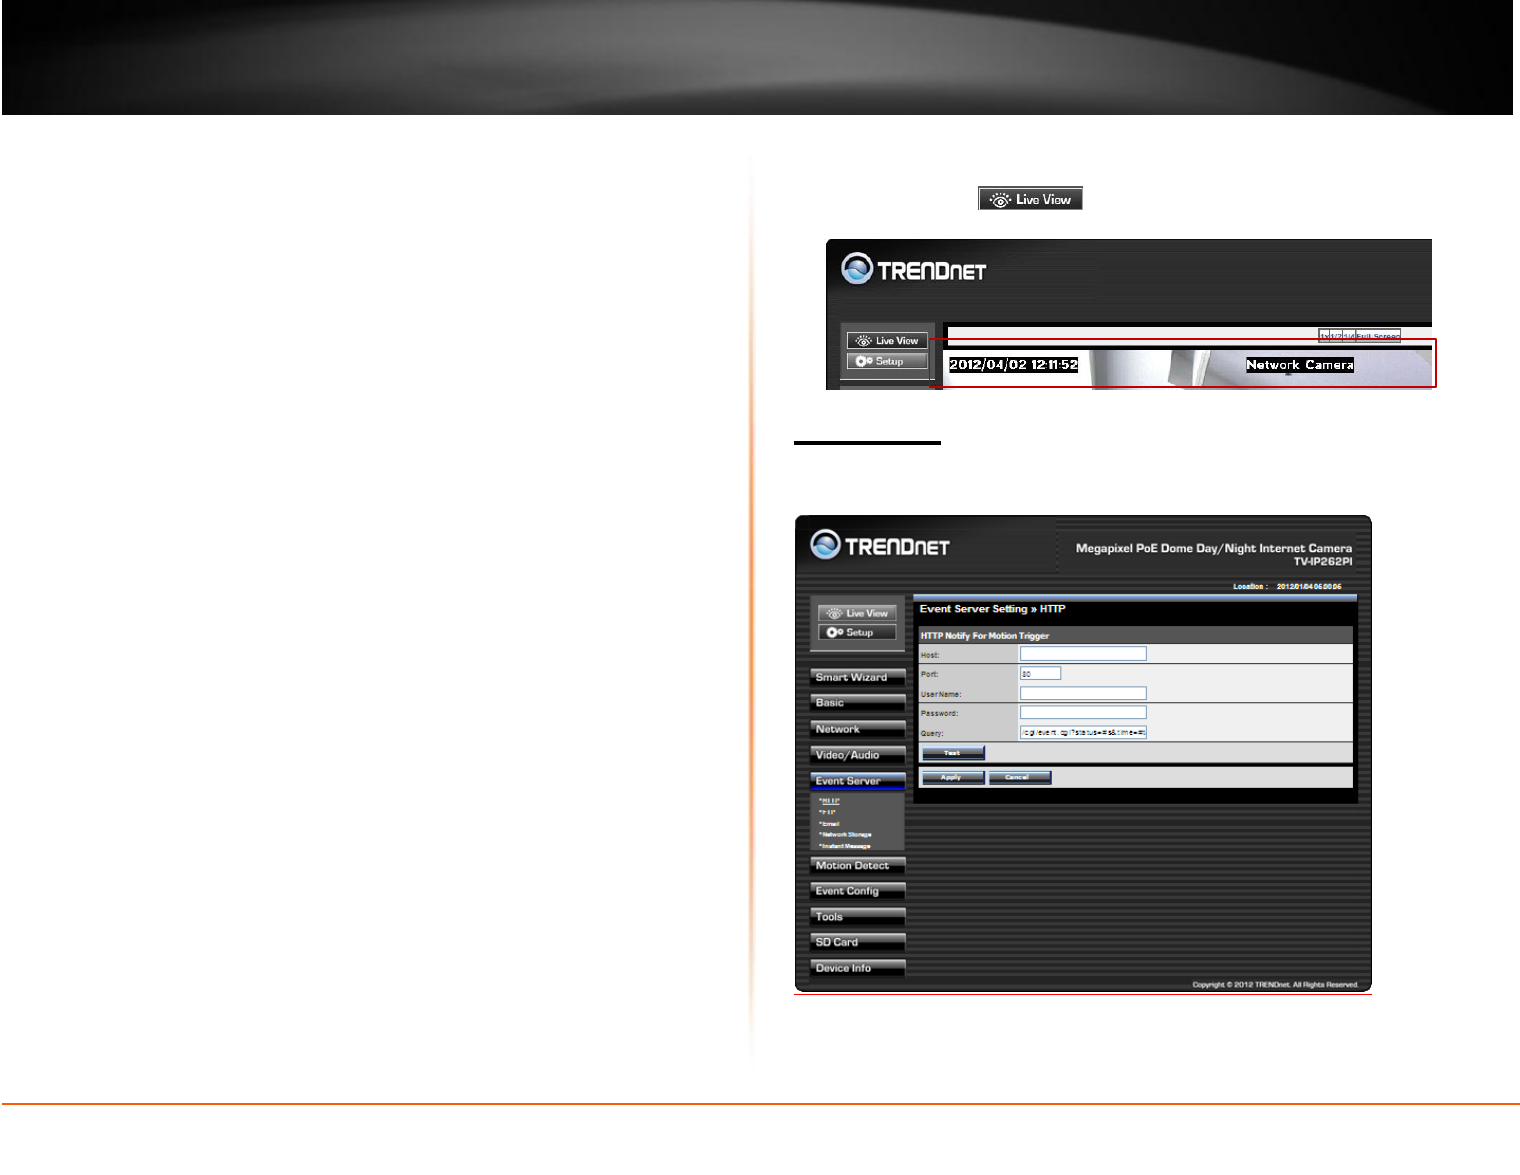
Event Server
The Event Server menu contains three sub-menus that allow you to upload images to
FTP, send emails that include still images, and store the images to a NAS system.
When you complete the required settings for HTTP Notify for Motion Trigger, FTP, Email,
Network Storage, or Instant Message, click Test to test the related configuration is
correct or not. Once the camera connects to the server successfully, click Apply.