


Niagara 2120 User Guide
ViewCast 21
Performing the Initial Start Up
Complete all steps in Tables 4 and 6 for connecting your Niagara 2120. Finally, you must follow a series
of menus that let you set up the initialized system (Table 7). The steps in Table 7 refer to a direct
connection to the Niagara 2120 only.
Table 7. First Start Up Session
Step
Action
1.
Ensure that you connect all devices (power cords, appliances, streaming devices, etc.) to
the Niagara 2120.
2.
Press POWER on the front panel to start the Niagara 2120.
3.
From another computer on the same DHCP/DNS network as the Niagara 2120, launch
Internet Explorer and type in http:// and the serial number of your Niagara 2120.
4.
If you do not have a DHCP network or you cannot connect to the Niagara 2120 through
its DNS name, you can connect a monitor, mouse, and keyboard directly to the Niagara
2120 to obtain or change the IP address. Connect a standard VGA monitor to the service
connector and the mouse/keyboard to USB ports. The Niagara 2120 will have a
Microsoft XP desktop. From the Desktop, you will launch Internet Explorer.
5.
Locate the serial number on the bottom of the appliance (in the format gf10xxxxxx).
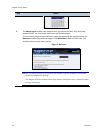
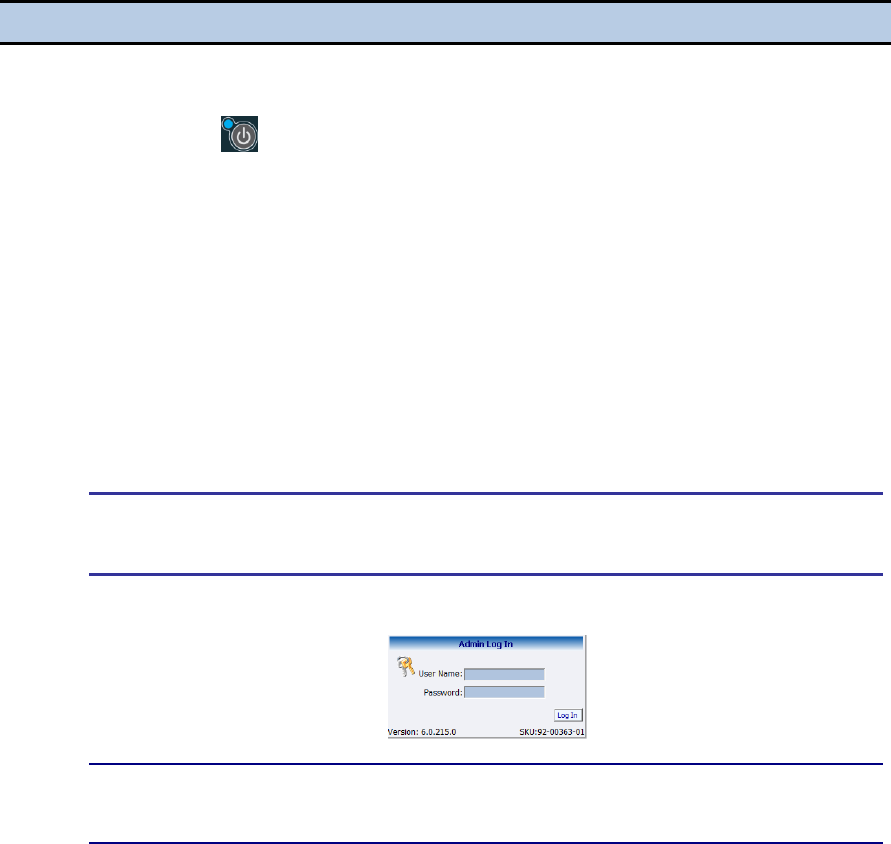
6.
Enter your valid user name and password and click Log In when the Admin Log In
window (Figure 6) displays.
IMPORTANT! The setting to log in for the first time, defaults to the user name admin
and the password admin.
Figure 6. Admin Log In Window
NOTE: System administrators should previously configure all user names and
passwords for those who they allow to log on to the system.
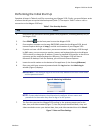
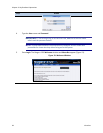
7.
The first time you start the Niagara 2120 and log in, the system prompts you for the
date, time, and video standard (Figure 7). You may accept the default date, time, and
video standard or enter your desired date, time, and video standard then click Submit.
Figure 7. Date and Time Settings