


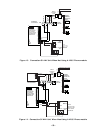
– 57 –
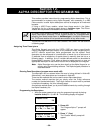
4. Press “0” (No).* The system will then
automatically display the default
descriptor for zone 1.
* The procedure for adding custom words to
the built-in vocabulary will be found later
under “Adding Custom Words”.
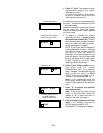
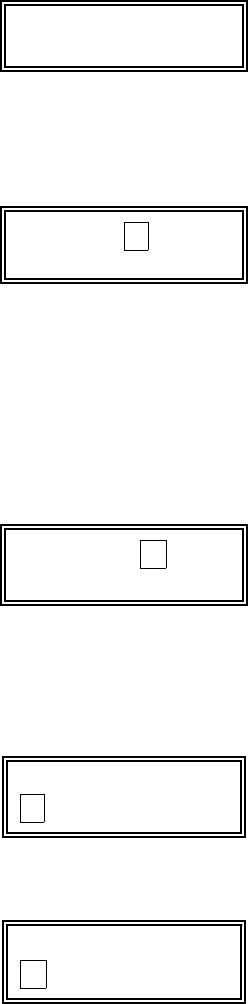
Default Descriptor ↓
✱ ZN 01 ZONE 01
If a descriptor was not entered previously
for zone 1, the default descriptor for zone
1 will be displayed.
Note that no entries can be made. Entries
can be made only when the display
contains a flashing cursor, which signifies
the “entry mode”.
Flashing Cursor (system is
ready for entry of word).
↓
✱ ZN 01 A
5. To delete or change the default
descriptor for zone 1, press [
✱]
plus
the same zone number (01). This will
clear that descriptor and gain access to
the entry mode with flashing cursor,
allowing changes to be made.
NOTE: If you do not wish to change the
existing descriptor for zone 1, enter [
✱]
plus the next zone number for which
you wish to enter (or check) a
descriptor. A summary display for that
zone will appear. You must then press
[
✱]
plus the same zone number again
to gain access to the entry mode
(flashing cursor) for that zone.
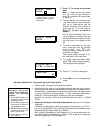
Flashing Cursor
↓
✱ ZN 01 B ACK
✱ ZN 01 BACK
A
↑
Flashing Cursor if “6” is
pressed (system is
ready for next word).
6. Press # plus 3-digit number for the
first word from the “ALPHA
VOCABULARY LIST” on a following
page.
Example:
The descriptor that we
wish to enter for zone 1 is BACK
DOOR. From the list, BACK = 013.
Therefore, you would enter # 0 1 3.
Note: If you accidentally enter the
wrong word, simply press # plus the
correct 3-digit number for the word you
want.
7. Press “6” to accept the selected
word and continue.
Note:
If this is the only word you are
using for the descriptor, press “8”
instead of “6” to save that word in
memory, and then go to step 11.
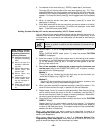
✱ ZN 01 BACK
D OOR
↑ Flashing Cursor
8. Enter the 3-digit number for the next
word. In our example, the word is
DOOR, whose number is “057”.
Enter # 0 5 7. This display will appear: