


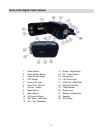

12
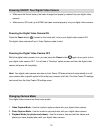
Powering ON/OFF Your Digital Video Camera
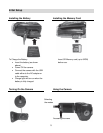
Make sure the lithium battery has been charged and properly inserted into your digital video
camera.
Make sure an SD card (up to 32GB) has been inserted properly into your digital video camera.
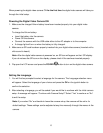
Powering the Digital Video Camera ON
Press the Power button , located on the inside wall, to turn your digital video camera ON.
The digital video camera will be in Video Capture mode to start.
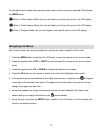
Powering the Digital Video Camera OFF
While the digital video camera is on, you can press the Power button again at any point to turn
your digital video camera OFF. You will see a “Goodbye” splash screen and then the digital video
camera will power off completely.
Note: Your digital video camera also has an Auto Power Off feature that will automatically turn off
your camera after a specific period of time that your camera is left idle. The Auto Power Off settings
can be set from the Auto Power Off settings menu.
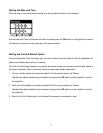
Changing Camera Mode
Your digital video camera has three main modes:
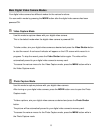
1. Video Capture Mode - Use this mode to capture videos with your digital video camera.
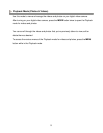
2. Photo Capture Mode - Use this mode to capture photos with your digital video camera.
3. Playback Mode (for photos and videos) - Use this mode to view and edit the videos and
photos you have already taken with your digital video camera.