


16
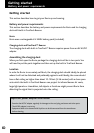
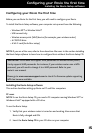
Configuring your Rovio the first time
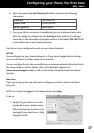
Installing the Rovio Setup software
3. If Autoplay is enabled on your computer, the
Rovio Setup installation dialog will appear. If it
does not, locate the RovioSetup.exe le on the
CD and click on it to begin installation.
The Rovio Setup wizard will appear.
4. Follow the onscreen instructions for installing the Rovio Setup software.
NOTE: If you are using the Rovio Setup CD, you should not turn Rovio on while it is
connected to your computer via USB.
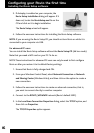
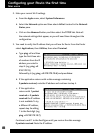
For advanced PC users
You can install the Rovio Setup software without the Rovio Setup CD (Ad hoc mode).
Note that you need a WiFi card on your PC. To do so:
NOTE: These instructions for advanced PC users can only be used to rst congure
Rovio or after you restore it to its default factory settings.
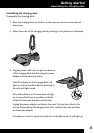
1. Ensure that Rovio is fully-charged and ON.
2. From your Windows Control Panel, select Network Connection or Network
and Sharing Center (Windows Vista), and then click on the option to create a
new connection.
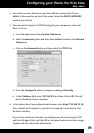
3. Follow the onscreen instructions to create an advanced connection, that is,
you want to connect directly to another computer.
4. Connect to the ROVIO_WOWWEE network (Rovio’s default SSID).
5. In the Local Area Connection Properties dialog, select the TCP/IP option, and
then click on Properties.
The TCP/IP Properties option appears.