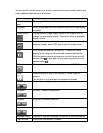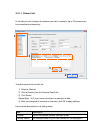
‘Camera Search’ box.
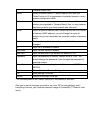
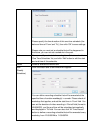
Select Select a camera listed in ‘Camera Search’ box, and click
‘Select’ button to fill all parameters of selected camera in every
camera configuration fields.
Refresh Rescan all cameras on your local network. If you didn’t see the
camera you expected in ‘Camera Search’ box, or new cameras
has been joined to your local network after last scan.
Name* Input the name of camera here. Default value is the first 6 bytes
of camera’s MAC address, you can change the name of
camera so you can remember the camera’s location of purpose
easily.
Model Displays the model of selected camera, this field can not be
changed.
IP* Input the IP address of camera.
Username* Input the user name of camera.
Web Port* Input the web port of the camera. By default it’s ‘80’.
Password Input the password of camera. Default value is ‘1234’. You
should change the password if you changed the password of
selected camera.
Video Format Select the video encoding format of this camera (MJPEG or
MPEG4).
Reset Clear all fields in ‘Camera Configuration’ section.
OK Save settings in this tab.
Cancel Discard all settings in this tab.
* It’s recommended to use ‘Select’ button to fill the content of this field.
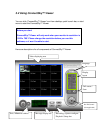
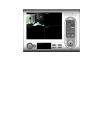
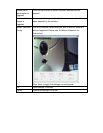
After you’ve set all channels you wish to set, click ‘OK’ to save settings, and if
everything’s correct, you’ll see the camera’s image in ConnectSky™ Viewer’s main
menu:


