AVerMedia User’s Manual
EYES Pro/MP2016/MP3000/MP5000
89
7. Zoom
Click
/ to zoom in/out the image.
8. Print & Save
During playback, you can click the
Print or Save
buttons to print or save the current image.
Note that every image you save with the format of
bmp. provides the functions of anti-counterfeit and
anti-destruction. You can access Image Verify from
Programs to make verification for the saved images.
Video Search
Searches the recorded files shown in tree diagram by year/ month/
date/ hour/ minute/ second consequence.
To enable this function, complete the following tasks:
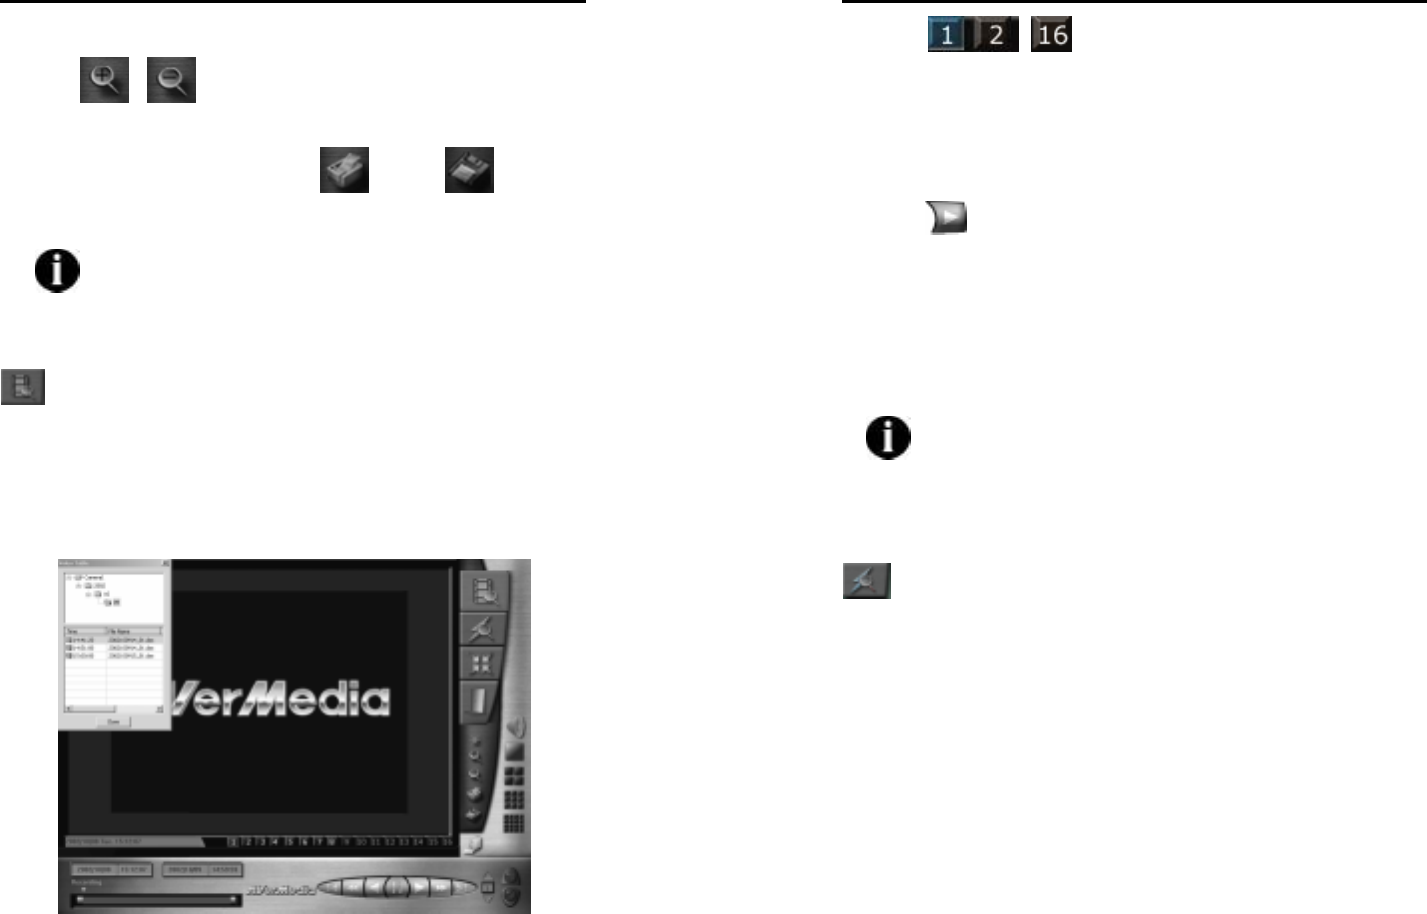
A. Click Video Search and the Video Table searching list will pop up
such as the following window:
AVerMedia User’s Manual
EYES Pro/MP2016/MP3000/MP5000
90
B. Click … the camera no. button to select the
camera no. which is switchable during searching.
C. Select the required recorded file from the Video Table list and
click Close to hide the window.
D. Once the Video Table hides, the initial and end time and status of
the chosen file will be shown on the left bottom of the window
where the start and end time of the files and event indicator locate.
E. Click
Playback button to display the recorded file. During
playing, the indicator in event indicator will move with the display
going and show the playing time in the field of the start time of
the file.
F. Click Search Result to pop up the previous Video Table
searching list and take the steps above to review the recorded file.
Note that the searched peaks in Event indicator field in this
section denote the time points of starting recording instead of
the file positions. Therefore, a peak (not everyone) is likely to
be displayed by clicking on a showed peak directly in Event
indicator field.
Event Search
Searches the recorded files by the alarm condition and action within a
specified period of time.
To make the function workable, complete the following steps:
A. Click Event Search and the playback control panel will turn into
the condition search panel as follows:


