


23
AXIS 214 PTZ
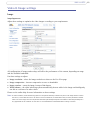
Check the Show crosshair in PTZ joystick mode box to show a red position indicator on the live view page
when joystick navigation mode is selected.
Use PTZ joystick mode as default - Sets
the PTZ mode to joystick, which can be changed temporarily on
the PTZ Control Panel, but will default to joystick if this is selected.
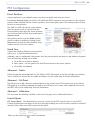
Enable recording button - When
enabled, clicking this button will start an MPEG-4 recording.
Please see the online help for further details.
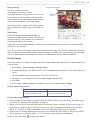
HTML Examples
You can add live video from the AXIS 214 PTZ to your own web site. The camera can transmit a Motion
JPEG or unicast MPEG-4 stream to up to 20 simultaneous connections, although an administrator can
restrict this to fewer. If multicast MPEG-4 is used, the video stream will be available to an unlimited number
of viewers connected to those parts of the network where multicast is enabled. Please note that a separate
MPEG-4 license is required for each viewer.
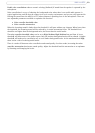
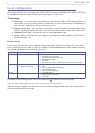
Enter the Vi
deo format, Image type, Image size and other settings to suit your Web page and click Update.
The camera then generates the required source code for your configuration. Copy this code and paste it into
your own Web page code.
Please see the online help for more information.
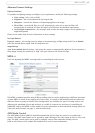
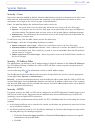
External Video
The AXIS 214 PTZ can also display video images from other Axis network cameras and video servers,
directly on the Live View page. These are known as External Video sources. Once configured, these
external video sources are available from the drop-down list on the Live View page.
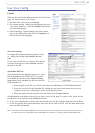
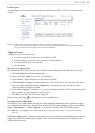
Click the Add button to
open the External Video Source Setup dialog, which is used to make all the
necessary settings. Enter the IP address or host name of the external video source you wish to add.
Depending on the external source, select either MPEG-2, MPEG-4 or Motion JPEG as the type of video
stream to receive.
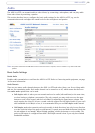
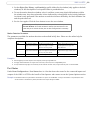
Sequence Mode
The Live View page can be configured to rotate through selected preset positions and/or external video
sources, in a set order or randomly.
Select the desired preset positions/sources and
enter the time to display each one for. Click Save.
The Sequence buttons will appear on the Live
View page, allowing the viewer to start and stop
the sequence mode.