73
Trimming Settings
Set the paper size and page layout
before changing the trimming settings.
1 Open the print settings menu.
Refer to steps 1-2 in Printing after
Changing the Print Settings ( 71).
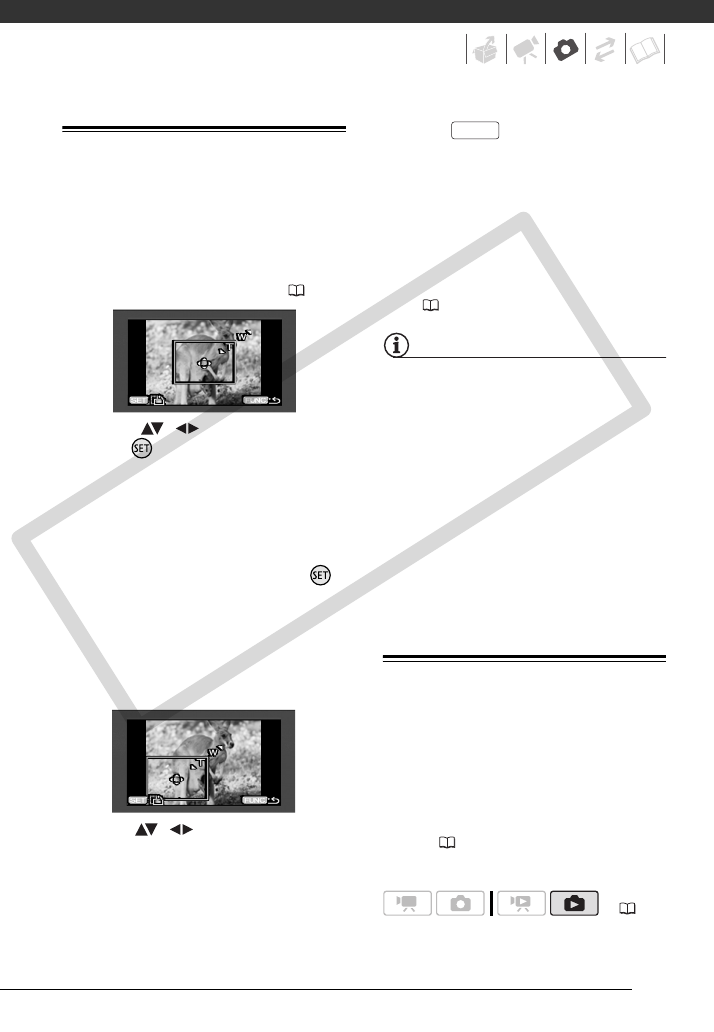
2 Select ( , ) [TRIMMING] and
press .
The trimming frame appears.
3 Change the size of the trimming
frame.
• Move the zoom lever toward T to
shrink the frame, and move it
toward W to enlarge it. Press
to change the orientation of the
frame (portrait/landscape).
• To cancel the trimming settings,
move the zoom lever toward W
until the trimming frame
disappears.
4 Move ( , ) the trimming
frame to the area of the picture
you want to print.
5 Press to return to the print
settings menu.
• The print area selected will be
indicated by a green frame within
the still image's thumbnail.
• To change other print settings and
print the area you selected refer to
steps 3-5 in Printing after
Changing the Print Settings
( 71).
NOTES
• The trimming settings apply to one
image only.
• The trimming settings are canceled in
the following cases:
- When you turn off the camcorder.
- When you disconnect the USB cable.
- When you expand the trimming frame
beyond its maximum size.
- When you change the [PAPER SIZE]
setting.
• You may not be able to set the trimming
settings for a still image not recorded
with this camcorder.
Print Orders
You can mark in advance the still
images you want to print and set the
desired number of copies as a print
order. Later, you can easily print out the
print orders by connecting the
camcorder to a PictBridge-compatible
printer ( 69). You can set print orders
for up to 998 still images.
( 24)
FUNC.
COPY


