


101
1
2
3
4
5
6
7
8
9
10
Cover
Before Use
Common Camera
Operations
Advanced Guide
Camera Basics
Auto Mode
Other Shooting
Modes
P Mode
Playback Mode
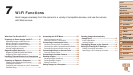
Wi-Fi Functions
Setting Menu
Accessories
Appendix
Index
Basic Guide
Tv, Av, and M
Mode
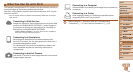
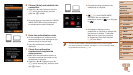
Conguring the Computer for a Wi-Fi
Connection (Windows Only)
On a computer running Windows, congure the following settings before
connecting the camera to the computer wirelessly.
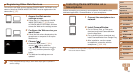
1 Conrmthatthecomputeris
connected to the access point.
For instructions on checking your network
connection, refer to the computer user
manual.
2 Congurethesetting.
Click in the following order: [Start] menu
►
[All Programs]
►
[Canon Utilities]
►
[CameraWindow]
►
[Wi-Fi connection
setup].
In the application that opens, follow the
on-screen instructions and congure the
setting.
• The following Windows settings are congured when you run the utility in
step 2.
- Turn on media streaming.
This will enable the camera to see (nd) the computer to access via Wi-Fi.
- Turn on network discovery.
This will enable the computer to see (nd) the camera.
- Turn on ICMP (Internet Control Message Protocol).
This allows you to check the network connection status.
- Enable Universal Plug & Play (UPnP).
This will enable network devices to detect each other automatically.
• Some security software may prevent you from completing the settings as
described here. Check the settings of your security software.
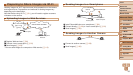
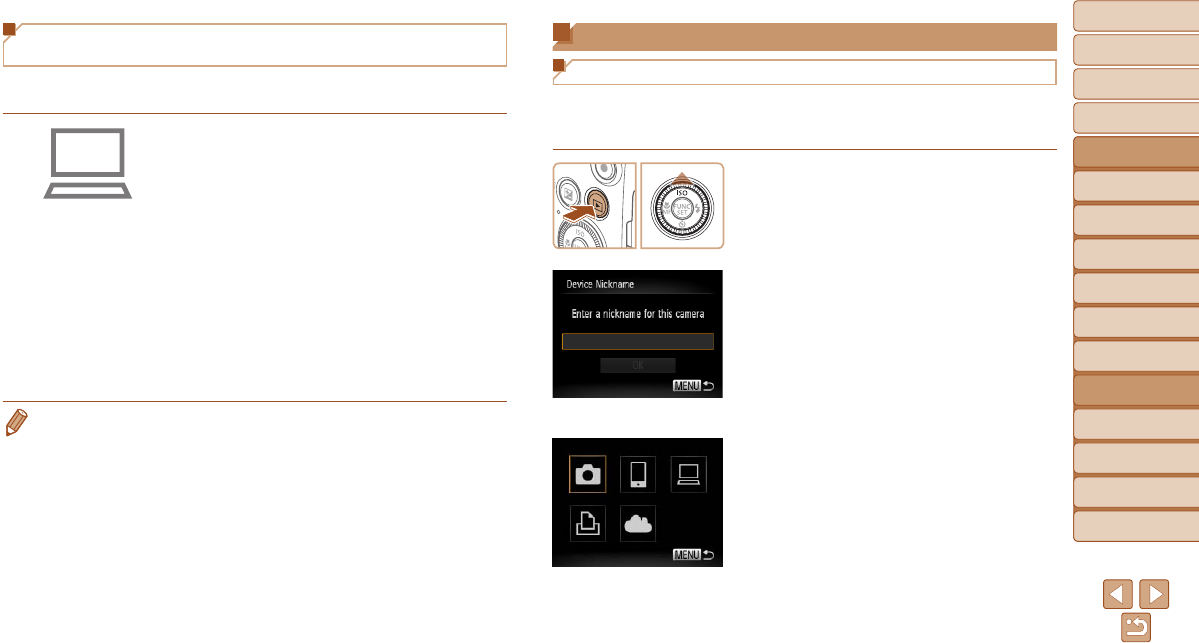
Accessing the Wi-Fi Menu
Initial Connection via Wi-Fi
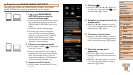
To start with, register a camera nickname.
This nickname will be displayed on the screen of target devices when
connecting to other devices via Wi-Fi.
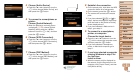
1 Access the Wi-Fi menu.
Press the <1> button to turn the camera
on.
Press the <o> button.
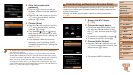
2 Enter a nickname.
Press the <m> button to access the
keyboard, and then enter a nickname
(=
24).
Up to 16 characters can be used.
Press the <o><p> buttons or turn the
<5> dial to choose [OK], and then press
the <m> button.
The Wi-Fi menu is displayed.