


105
1
2
3
4
5
6
7
8
9
10
Cover
Before Use
Common Camera
Operations
Advanced Guide
Camera Basics
Auto Mode
Other Shooting
Modes
P Mode
Playback Mode
Wi-Fi Functions
Setting Menu
Accessories
Appendix
Index
Basic Guide
Tv, Av, and M
Mode
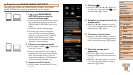
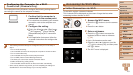
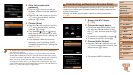
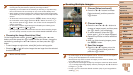
Double-click the connected camera icon.
Driver installation will begin.
After driver installation is complete, and
the camera and computer connection
is enabled, the AutoPlay screen will be
displayed. Nothing will be displayed on
the camera screen.
11
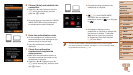
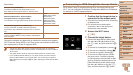
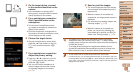
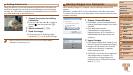
Send or print the images.
The screen displayed when the devices
are connected varies depending on the
target device.
When the camera is connected to a
smartphone or Web service, an image
transfer screen is displayed.
For instructions on sending images, see
“Sending Images” (=
109).
When the camera is connected to a
computer, the camera screen is blank.
Follow the steps in “Saving Images to a
Computer” (=
111) to save images to
the computer.
When the camera is connected to a
printer, you can print by following the
same steps as for printing via USB. For
details, see “Printing Images” (=
133).
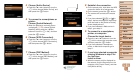
• If you chose [PIN Method] in step 7, a PIN code will be displayed on the
screen. Be sure to set this code in the access point. Choose a device in the
[Select a Device] screen. For further details, refer to the user manual included
with your access point.
• To add multiple destinations, repeat this procedure from the rst step.
Previous Access Points
You can reconnect to any previous access points automatically by following
step 4 in “Connecting to WPS-Compatible Access Points” (=
104).
• To reconnect to the access point, conrm that the target device is already
connected to it, and then follow the procedure from step 9. Note that this
step is not required when connecting to Web services.
• To switch access points, choose [Switch Network] on the screen
displayed when you establish a connection, and then follow the
procedure from step 6.
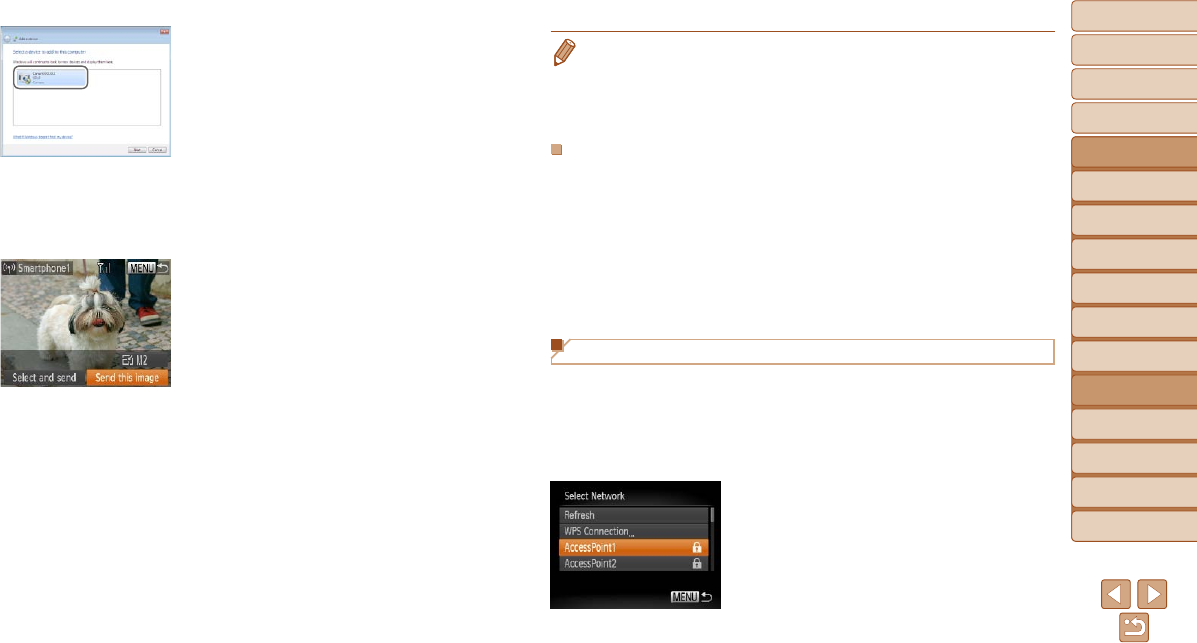
Connecting to Access Points in the List
1 View the listed access points.
View the listed networks (access
points) as described in steps 1 – 5 of
“Connecting to WPS-Compatible Access
Points” (=
103 – 104).
2 Choose an access point.
Press the <o><p> buttons or turn the
<5> dial to choose a network (access
point), and then press the <m> button.