


111
1
2
3
4
5
6
7
8
9
10
Cover
Before Use
Common Camera
Operations
Advanced Guide
Camera Basics
Auto Mode
Other Shooting
Modes
P Mode
Playback Mode
Wi-Fi Functions
Setting Menu
Accessories
Appendix
Index
Basic Guide
Tv, Av, and M
Mode
Adding Comments
Using the camera, you can add comments (alphanumeric characters and
symbols) to images that you send to e-mail addresses, social networking
services, etc. The number of characters and symbols that can be entered
may differ depending on the Web service.
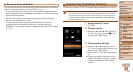
1 Access the screen for adding
comments.
Press the <o><p><q><r> buttons to
choose [
], and then press the <m>
button.
2 Add a comment (=
24).
3 Send the image.
Follow the steps in “Sending Images
Individually” (=
109) to send the image.
• When a comment is not entered, the comment set in CANON iMAGE
GATEWAY is automatically sent.
Saving Images to a Computer
When sending images to a computer, use the computer instead of the
camera.
Windows 7 and Mac OS X 10.6 are used here for the sake of illustration.
For other functions, refer to the help system of the relevant software (some
software excluded).
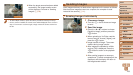
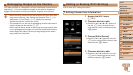
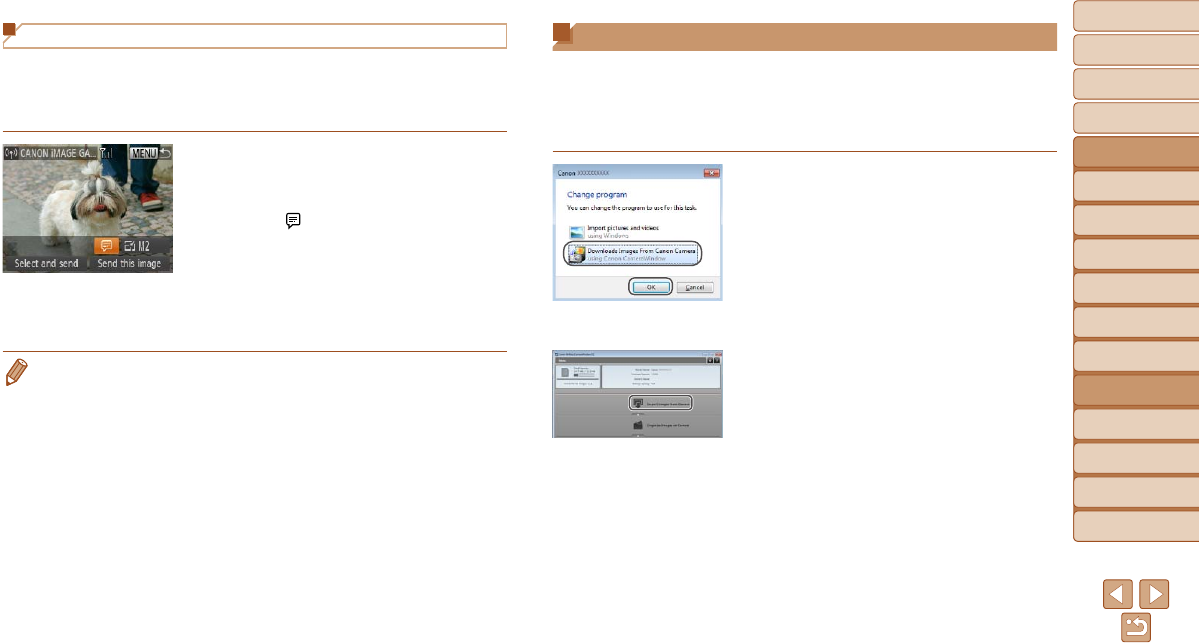
1 Display CameraWindow.
In Windows, access CameraWindow by
clicking [Downloads Images From Canon
Camera].
On a Macintosh computer,
CameraWindow is automatically
displayed when a Wi-Fi connection is
established between the camera and
computer.
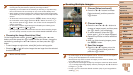
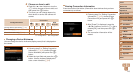
2 Import images.
Click [Import Images from Camera], and
then click [Import Untransferred Images].
Images are now saved to the Pictures
folder on the computer, in separate
folders named by date.
Click [OK] in the screen that is displayed
after image import is complete. For
instructions on viewing images on a
computer, refer to “Software Instruction
Manual” (=
131).