


91
Adding Marks while Recording
NOTES
• There may be up to a 0.5 second delay from when you press the button to when the camcorder adds the shot
mark. When using the Wi-Fi Remote application, the delay may be longer depending on the conditions of the
wireless signal.
• When you are using interval recording or frame recording mode, you cannot add shot marks to a clip.
• When a clip contains either shot mark, ! will appear next to the clip’s thumbnail in the playback index screen.
Adding an $ Mark or % Mark to the Last Clip Recorded
After recording an important clip, you can add an OK mark ($) or check mark (%) to the clip to flag it and set it
apart. When the camcorder is in mode, you can display an index screen that contains only clips with an
$ mark or only clips with a % mark (A 114). Furthermore, you can use the $ mark to protect important clips,
as clips with an $ mark cannot be deleted.
To add an $ mark or % mark to the last clip recorded in mode, you must first set in advance an
assignable button to [Add $ Mark] or [Add % Mark].
1 Set an assignable button to [Add $ Mark] or [Add % Mark] (A 99).
• To add both types of clip marks (to different clips), set one assignable button to [Add $ Mark] and another
assignable button to [Add % Mark].
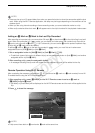
2 After recording a clip, press the assignable button.
• A message indicating the clip mark will appear and the selected clip mark will be added to the clip.
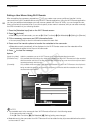
Remote Operation Using Wi-Fi Remote
After completing the necessary preparations (A 47) you can set an $ mark or a % mark remotely from a Wi-
Fi-enabled device using the Wi-Fi Remote application.
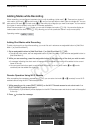
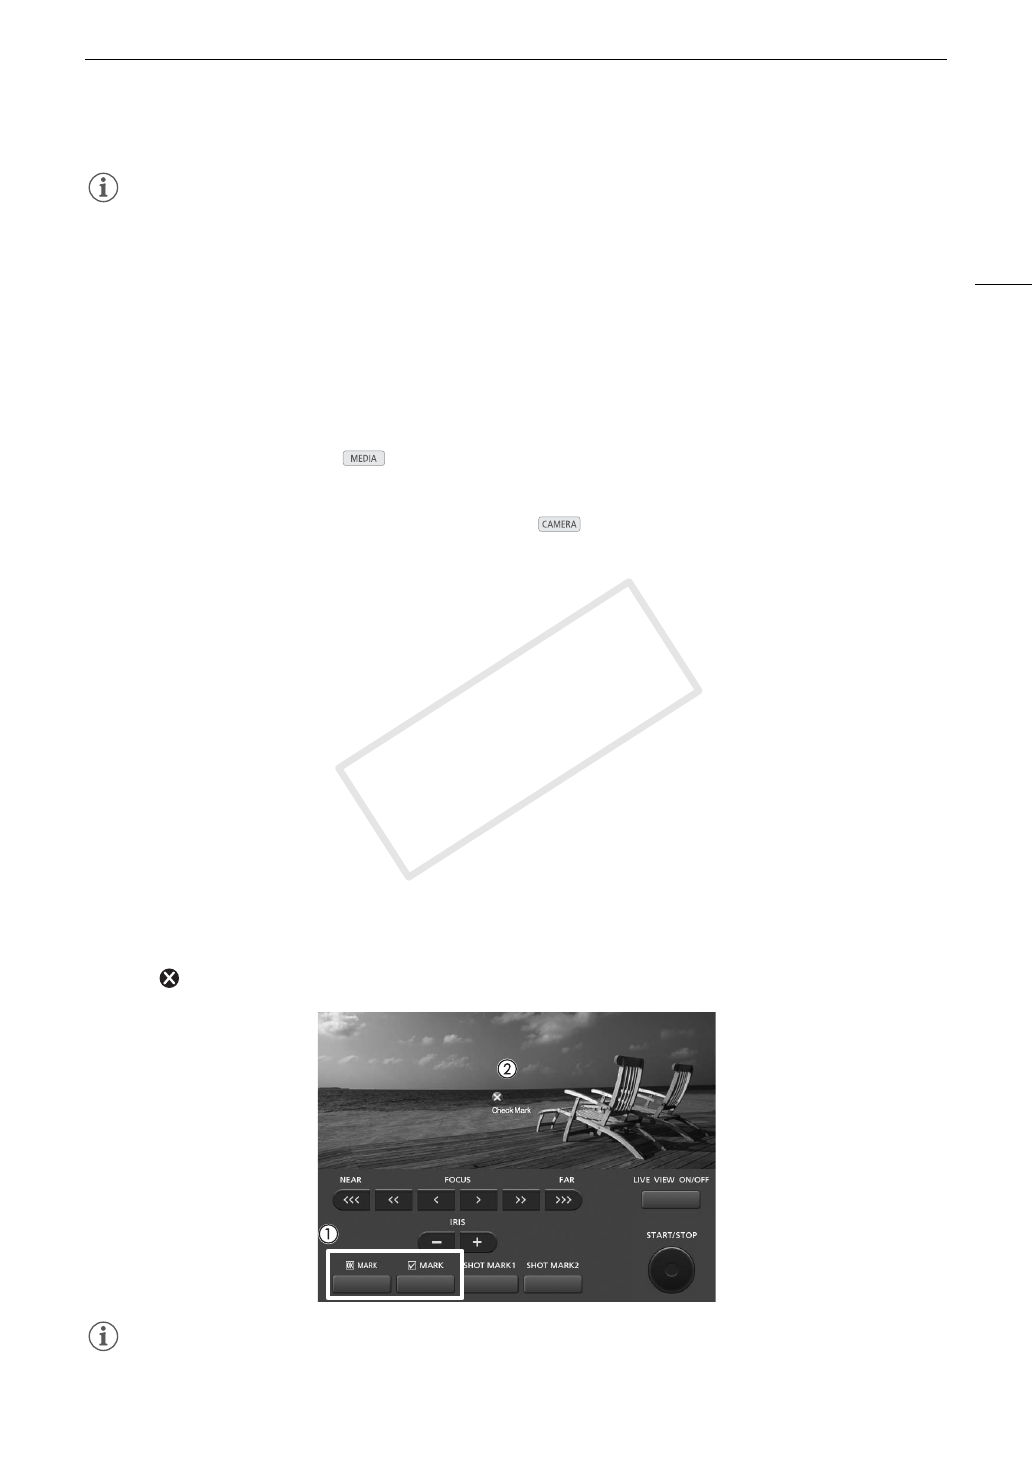
1 After recording a clip, press [$ MARK] on the Wi-Fi Remote screen to set a an $ mark or
[% MARK] to set a % mark.
• [OK Mark] or [Check Mark] will be displayed on the Wi-Fi Remote screen and the mark will be applied to the
clip.
2 Press to close the message.
NOTES
• A clip cannot have both an $ mark and a % mark at the same time.
COPY