OTHER RECORDING FUNCTIONS
101
4.
Use [̇] and [̈] to select the contour
candidate you want to correct.
5.
Use [̆] and [̄] to
select “Trim”, and
then press [SET].
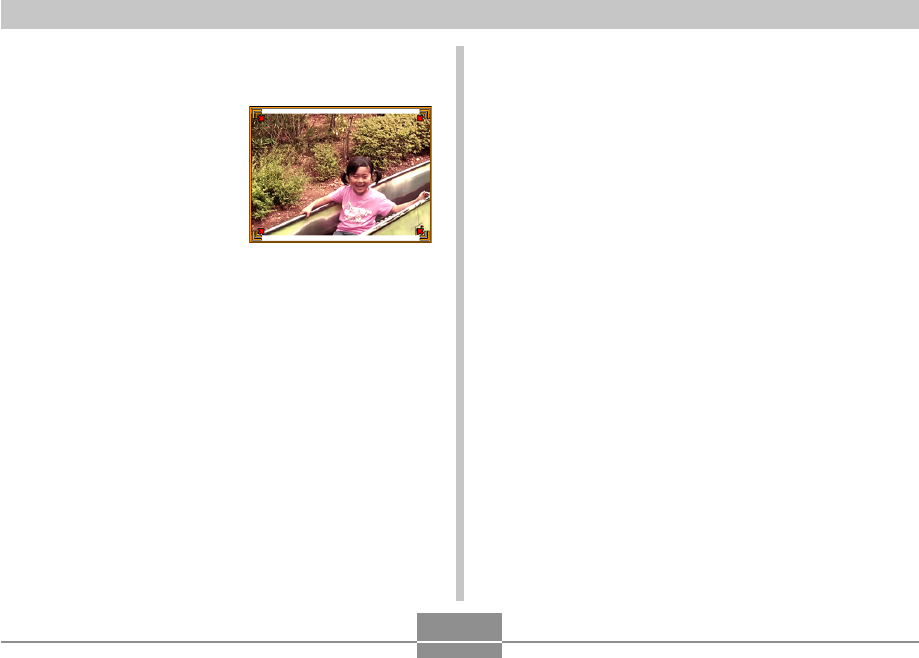
• This displays a cropping
boundary on the
monitor screen.
• If you do not want to
crop the image, select
“Cancel” to store the
image.
6.
Use the zoom button to make the cropping
boundary larger or smaller.
7.
Use [̆], [̄], [̇], and [̈ ] to move the
cropping boundary to the location you want,
and then press [SET].
• The camera will restore color automatically and save
the image.
• If you do not want a border around the image,
configure the cropping boundary so it is slightly
inside of the boundary of the displayed image.
• To cancel the cropping operation at any point and
save the image as-is, press [MENU].
