69
6
68
6.2 Installation on a Windows PC
6.2.1 Load the CD-ROM into your PC
1. Switch on your PC and start up Windows.
✽ If you have already switched on your PC, restart
your PC at this point.
Users of Windows 2000 or Windows XP should log in
using a system administrator account (e.g.
“Administrator”).
2. Quit all other active applications until no
applications are shown in the taskbar.
If a “----.dll file not found.” message appears during
installation, there is another application running in the
background. Forcibly shut down the application. Refer
to your Windows manuals for information on how to
forcibly shut down an application.
3. Load the enclosed CD-ROM into the CD-ROM
drive. The installer starts up automatically.
NOTE
NOTE
Launching the Installer Manually
1. Double-click the “My Computer” icon.
✽ Windows XP users should click “My
Computer” in the “Start” menu.
2. Right-click “FINEPIX” (CD-ROM drive) in
the “My Computer” window and select
“Open”.
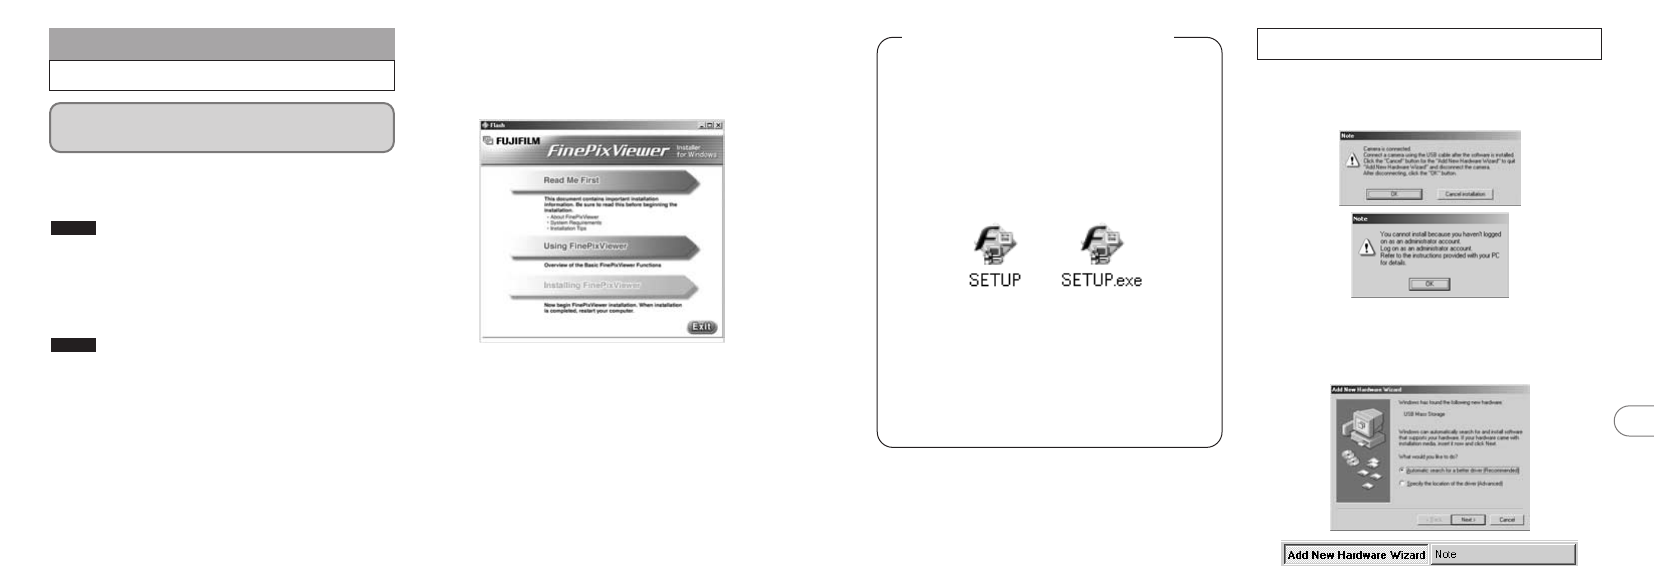
3. Double-click “SETUP” or “SETUP.exe”
in the CD-ROM window.
✽ The way file names are displayed differs as
described below depending on your computer
settings.
• File extensions (3-letter suffixes indicating
the file type) may be shown or hidden. (e.g.
Setup.exe or Setup)
• Text may be shown normally or all in
uppercase (e.g. Setup or SETUP).
1. Pre-installation checking begins. If any
warning messages appear, follow the
instructions given on the screen.
✽ The “Add New Hardware Wizard” may be hidden
behind the “Note” message. Check the taskbar,
move the message window and then click the
[Cancel] button.
Do not connect the camera to your PC until
the software installation is completed.
4. The Setup screen appears. Click the
[Installing FinePixViewer] button.
✽ For more information on what is installed, click the
[Read Me First] button and [Using FinePixViewer]
button.
6.2.2 From FinePixViewer installation to restart


