5 - 2 C156-E097-01EN
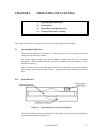
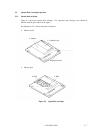
1) Disk insertion slot
Use this slot to insert and eject the optical disk cartridge.
2) Eject button & BUSY LED (display lamp)
On this optical disk drive, this is the push button combining the eject button with the BUSY
LED (display lamp) for ejecting the optical disk cartridge (it lights in green during seeking
and during erasing, writing or reading of data). When ejection is disabled by the SCSI
command, the optical disk cartridge cannot be taken out.
3) Manual eject hole
This hole is used to eject the optical disk cartridge manually at power-off. Manual ejection
may not be possible just after the power is off.
5.1.2 Note
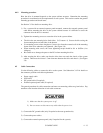
To maintain the performance and reliability of the drive, keep the following point in mind:
• When the drive is in the busy state, do not eject the optical disk cartridge.
• Particularly, do not manually eject the cartridge by force.
• Be careful sufficiently not to insert the different drive (etc. floppy disk) or substance, so it is
cause of the accident.
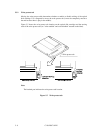
5.1.3 Inserting cartridge
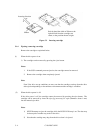
Insert the cartridge as explained below.
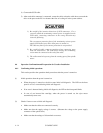
(1) When the drive power is on:
1) Make sure that no disk cartridge is in the drive.
2) Keep the cartridge shutter surface upward.
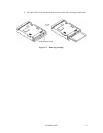
3) Insert the cartridge, shutter first, into the disk insertion slot.
4) Push the cartridge into the slot until it completes moving below (a little further in than the
operator panel).
Loading is started when the cartridge is inserted. After several seconds, the BUSY LED
indicator lamp is turned on and immediately turned off to complete loading.


