


71
Various Recording Techniques
Setting the white
balance manually
(Set)
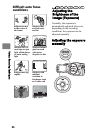
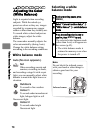
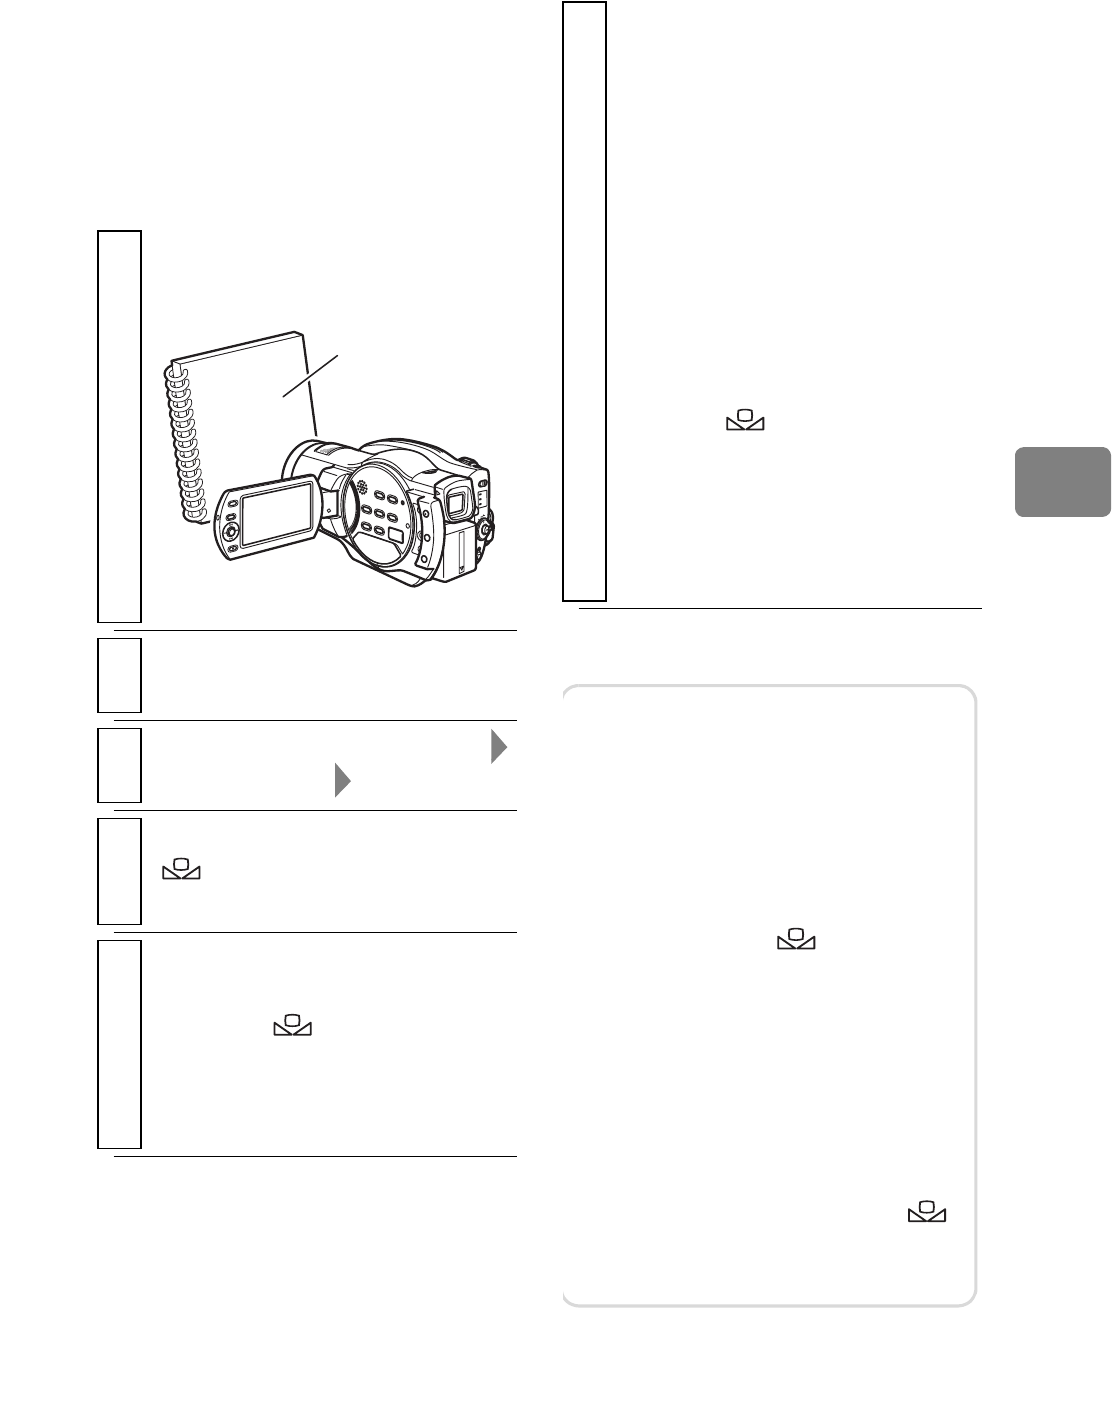
Prepare a white object such a thick
sheet of white paper that is not
translucent.
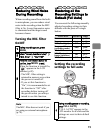
1
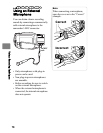
Point the camcorder at the white
object so that it fills the screen.
2
During recording pause, press
MENU
.
3
Select “Camera Functions Setup”
“White Balance” “Set”
4
Press the confirmation button.
“ ” flashes in the LCD
monitor.
5
Press the confirmation button again,
and continue holding the button
down until
“”
stops flashing and
lights steadily.
The white balance setting is
complete.
Thick white
paper
6
Press to end, or to redo, repeat
step 5.
• The white balance setting
selected in “Set” is retained in
memory until the setting is
changed again.
• In order to accurately adjust
the color, readjust the settings
in “Set” each time the
recording conditions change.
If the power is turned off while
white balance is in “Set”
mode, “ ” flashes in the
LCD monitor the next time the
power is turned on to remind
you. As the previous setting is
retained in memory, redo the
settings if needed.
Notes
• It may be difficult to perform this
setting in dark places. Also if the
zoom bar is positioned in the
digital range (p.62), you may not
be able to set the white balance. If
white balance settings cannot be
accomplished, “ ” will
continue to flash. Return the
zoom to the optical range and
redo the settings in a bright
environment.
• If the “Set” settings are not
completed within a few moments,
the camcorder returns to
recording pause mode and “ ”
flashes in the LCD monitor. Redo
the settings from step 1.