


83
Dubbing on BD/DVD (DZ-BD7HA)
This option allows you to collectively
dub all scenes recorded on the HDD
on the same day.
Dubbing All Scenes
Recorded on the Same
Day (“Date”)
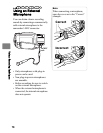
1
Connect the AC adapter/charger to
the camcorder (p.37).
• Dubbing is not possible if a
battery pack is used as a power
source.
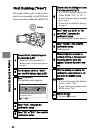
2
Turn the power switch to “MODE”
until the HDD indicator lights (p.25).
3
Press
DUBBING
.
The Dubbing Menu appears.
Hints
• You can also display the
Dubbing Menu from the Disc
Navigation screen. Press DISC
NAVIGATION, press MENU,
select “Scene” “Dubbing”
“Dubbing Menu”, and then press
the confirmation button.
• If you want to use “New”
dubbing for a dubbed scene,
clear the dub marks (p.87).
• If you wish to quit dubbing
while dubbing, press
.
The confirmation message
appears. Select “Yes” and press
the confirmation button to quit
dubbing.
4
Select “Date”, then press the
confirmation button.
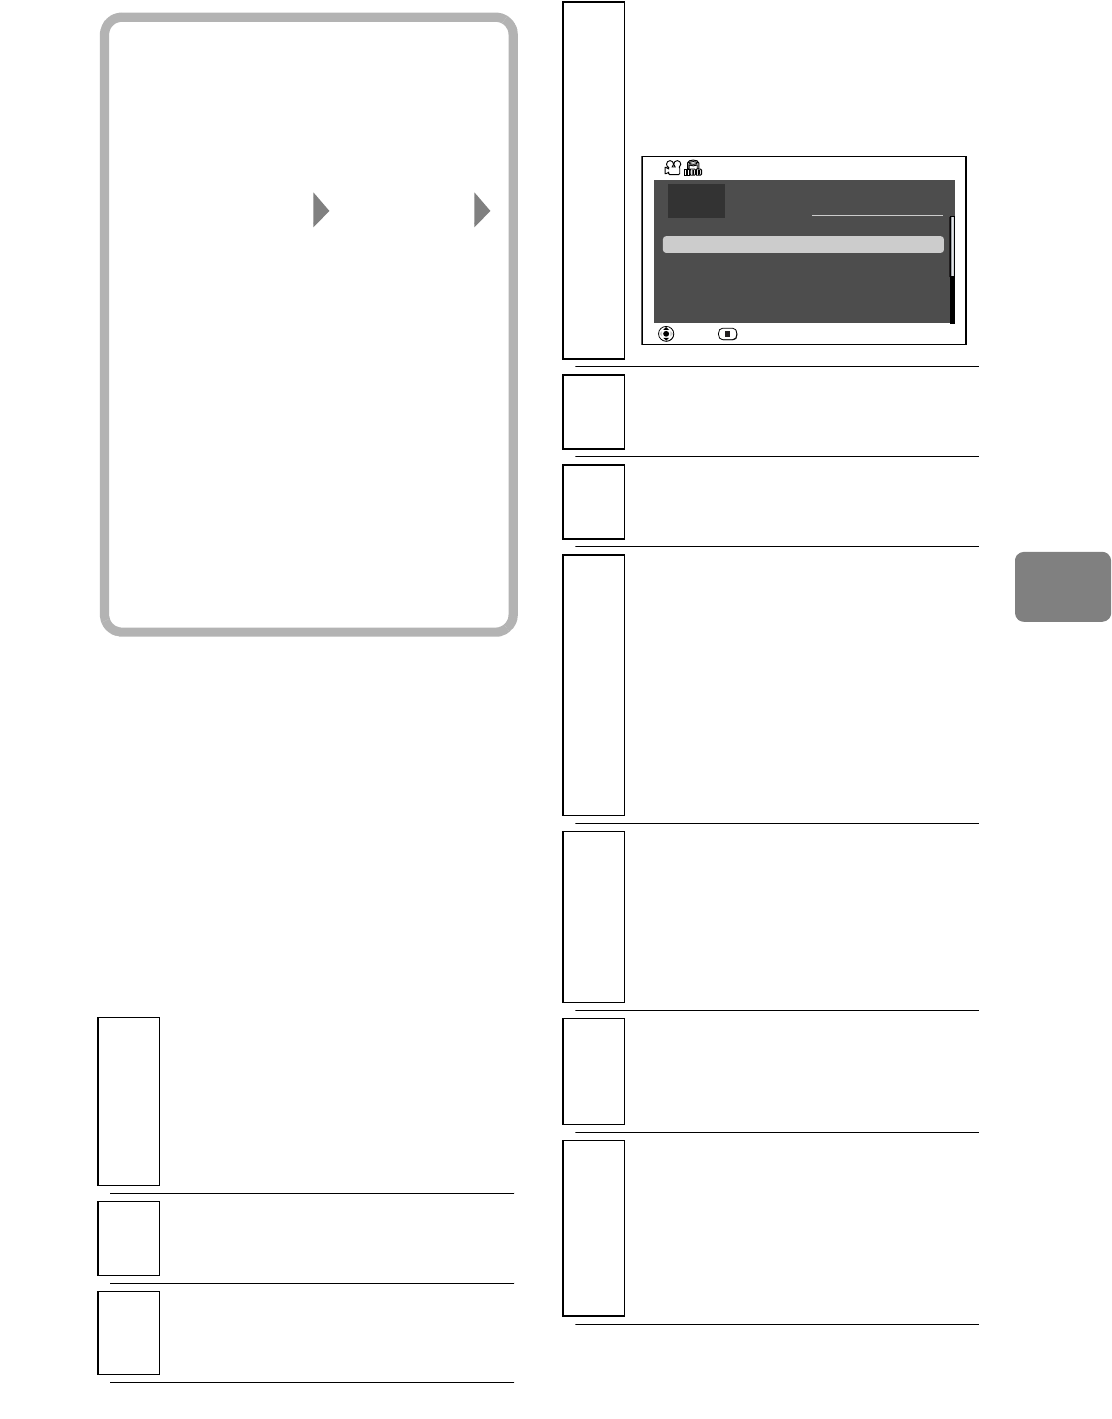
The “Select Date” screen
appears.
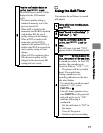
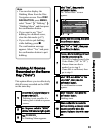
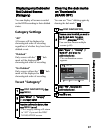
5
Select a date for dubbing, then press
the confirmation button.
6
Select “BD” or “DVD”, then press
the confirmation button.
7
Choose a disc for dubbing and insert
it into the camcorder (p.33).
• If a DVD is loaded, specify the
Video Mode (“SX” or “SF”).
• If more than one disc is
needed, go to step 8.
• If one disc is sufficient, then
go to step 9.
8
Select “With auto divide” or “No
auto divide”, then press the
confirmation button.
The confirmation screen
appears.
9
Select “Execute“, then press the
confirmation button.
Dubbing starts.
10
When another disc is needed to
continue dubbing, a message screen
requesting another blank disc
appea
rs. Replace a disc with a new
one.
Total Scenes
001 9/ 1 / 2007
9/ 4 / 2007
9/12 / 2007
10/11 / 2007
11/ 1 / 2007
15min25sec
003 1
1hour55min37sec004 3
55min36sec
005 12
006 38
5min27sec
32min45sec
002 10
20
1hour 1min 6sec
RETURNENTER
9/ 3 / 2007
Select Date