


49
ENGLISH
Continued on next page
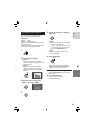
Preparation: Turn off all units.
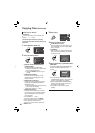
8 To connect using the i.LINK connector
(digital dubbing)
NOTES
•
Be sure to use the optional JVC VC-
VDV206U or VC-VDV204U i.LINK cable
depending on the connector type (4 or
6 pins) of the VCR/DVD recorder.
•
To dub videos in high-defi nition quality:
- Connect a device that supports high-defi nition
quality videos.
- Use the i.LINK connector.
- Set the [i.LINK OUTPUT (DUB)] to [1440
CBR]. (੬ p. 70)
- Make a playlist consisted of 1440 CBR video
only, and dub the playlist. (੬ p. 50)
•
To dub videos in standard quality:
- Use the i.LINK connector.
- Set the [i.LINK OUTPUT (DUB)] to [DV].
(੬ p. 70)
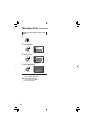
8 To return to the top screen
Press the MENU button, then select [YES].
8 To fi nalize the disc after copy is fi nished
1) Connect the camera to the DVD burner.
(੬ p. 46)
2) Turn on the camera.
3) Select [FINALIZE].
4) Select [EXECUTE].
5) When [COMPLETED] appears, select
[OK].
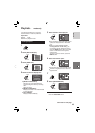
8 To play back the created disc using the
camera
1) Connect the camera to the DVD burner.
(੬ p. 46)
2) Turn the DVD burner on fi rst, then turn
the camera on.
3) Select [PLAYBACK].
4) Select the desired folder.
5) Select the desired fi le. To return to
previous screen, press the INDEX
button.
NOTE
In case of [CREATE BY PLAYLIST], date/time
on the fi le information display shows the date
of copying the fi le, not of the actual recording.
Using a VCR/ DVD Recorder to Dub
Files from the Camera
You can connect the camera to a VCR or DVD
recorder, and dub the camera’s fi les directly
onto those devices.
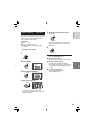
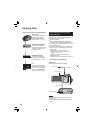
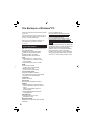
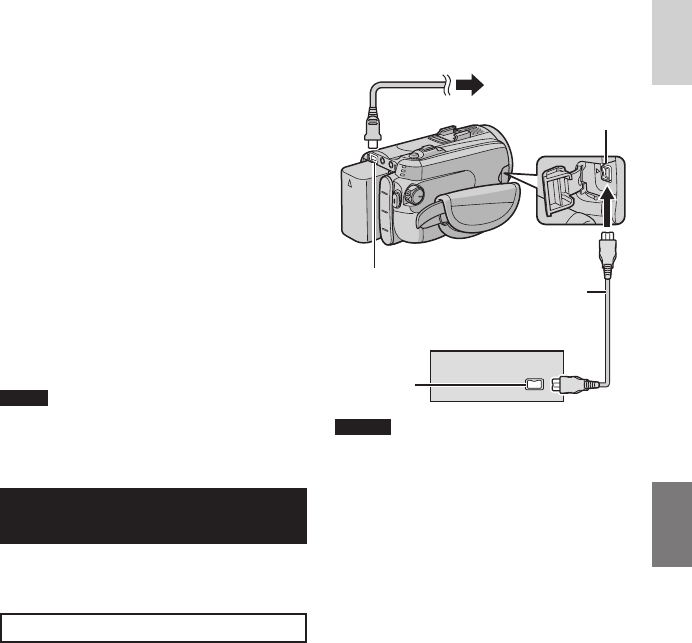
Connection with a VCR/DVD Recorder
You can connect using either the i.LINK
connector or AV connector.
i.LINK
Connector
AC Adapter
VCR/DVD Recorder
i.LINK Connector
i.LINK Cable
(optional)
DC Connector
To AC Outlet