


50
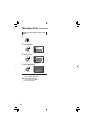
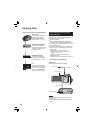
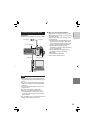
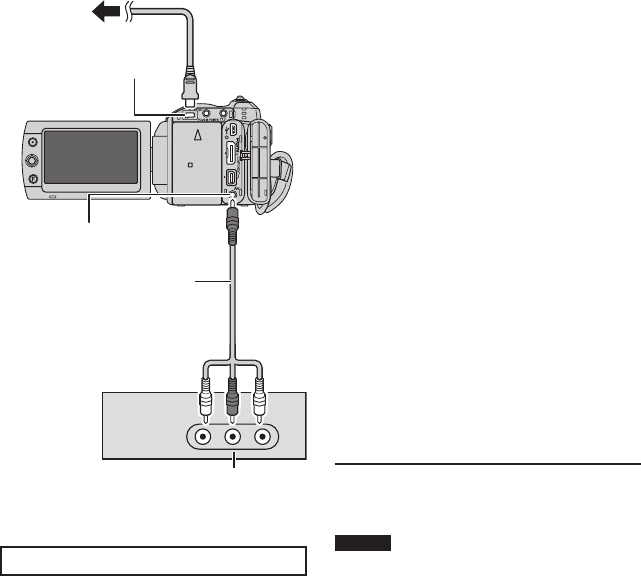
8 To connect using the AV connectors
(analog dubbing)
Dubbing Operation
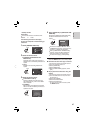
1 Set the VCR/DVD recorder to its AUX
input mode.
Check that the images from the camera
are input correctly to the VCR/DVD
recorder.
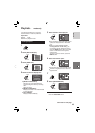
2 Start playback on the camera.
•
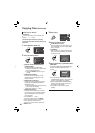
To play back videos
•
To play back playlists
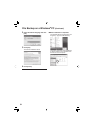
1) Press the FUNCTION button.
2) Select [DUBBING PLAYBACK].
3) Move the set lever to . *
1
4) Select [START PLAYBACK]. (A black
screen is displayed for 5 seconds at
the fi rst and the last scene. *
2
)
*
1
When dubbing using the i.LINK
connection and with [i.LINK OUTPUT
(DUB)] set to [1440 CBR], a
confi rmation screen is displayed after
operation. Select [OK] and proceed to
step 4).
*
2
When dubbing using the i.LINK
connection and with [i.LINK OUTPUT
(DUB)] set to [1440 CBR], the image
to be dubbed is not displayed on the
camera’s screen. Check the images
on a TV connected to the VCR/DVD
recorder.
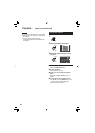
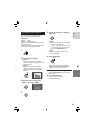
3 At the point you want to start
dubbing, start recording on the VCR/
DVD recorder.
Refer to the VCR/DVD recorder’s
instruction manual
.
8 To stop dubbing
Stop recording on the VCR/DVD recorder,
then press the REC button again.
NOTES
•
The date displays, effects and wipe/fader
effects cannot be dubbed using the i.LINK
connection.
•
When playing back images dubbed using
the i.LINK on a VCR/DVD recorder, the
images may stop momentarily at junctions
between scenes.
Copying Files (Continued)
AV Cable
DC Connector
AC Adapter
To AC Outlet
AV Connector
VCR/DVD Recorder