


66
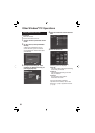
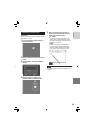
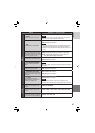
1 Select the menu mode.
MENU
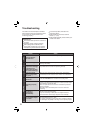
2 Select the desired fi rst menu item.
: VIDEO
: IMAGE
: GENERAL
: OUTPUT SETTING
: MEDIA
Select
Set
SP
ZOOM
QUALITY
OIS
VIDEO
SELECT
SET QUIT
SCENE COUNTER
EXTERNAL MIC LEVEL
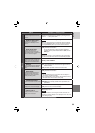
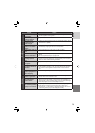
3 Select the desired second menu item.
For details on each menu, see below.
Select
Set
DISPLAY
DISPLAY ON TV
CLOCK ADJUST
LANGUAGE
DATE DISPLAY STYLE
GENERAL
SELECT
SET QUIT
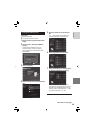
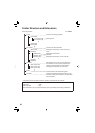
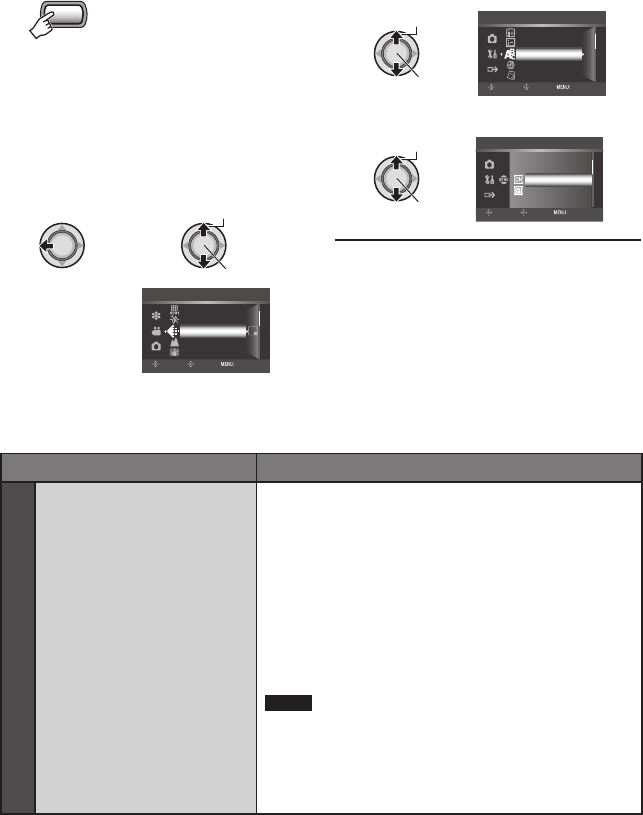
4 Select the desired setting.
Select
Set
ON
OFF
DEMO MODE
SELECT
SET QUIT
8 To return to the previous screen
Move the set lever to .
8 To exit the screen
Press the MENU button.
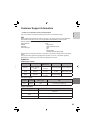
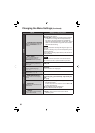
Menus Settings: [ ] = Factory-preset
VIDEO
QUALITY
Sets the picture quality for
videos.
[FHD] : Record in 1920 x 1080i (full high-defi nition),
VBR (Variable Bit Rate).
SP : Record in 1440 x 1080i (high-defi nition), VBR
(Variable Bit Rate). Select this to record in the
higher picture quality.
LP : Record in 1440 x 1080i (high-defi nition), VBR
(Variable Bit Rate). Select this in order to record for
a long time.
1440 CBR : Record in 1440 x 1080i (high-defi nition),
CBR (Constant Bit Rate). Select this to copy a
recorded video in high-defi nition using the i.LINK
connector.
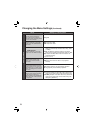
NOTE
If you switch the quality settings between FHD/SP/LP and
1440 CBR, a new fi le management folder is created in the
HDD or microSD card. (SP and LP fi les are stored in same
folders.) If you change the settings frequently, you may not
be able to record due to a limited quantity of folders. In this
case, perform the operation on page 77.
FURTHER INFORMATION
Changing the Menu Settings