


43
ENGLISH
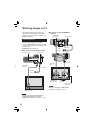
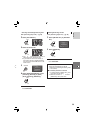
4 Select the desired fi le.
Select
Set
If you slide and hold the zoom lever
towards T, the preview screen of the still
image is displayed.
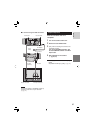
5 Select the number of prints. (max. 15
prints)
Select
Set
To set print information for other images,
repeat steps 4 and 5. (You can set up to
999 fi les.)
6
FUNCTION
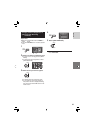
8 To exit the screen
Press FUNCTION.
8 To cancel the selection
Set the number of prints to “00” in step 5.
8 To confi rm DPOF settings
In step 3, move the set lever to / to
select [CHECK SETTINGS], then press down.
•
If necessary, change the number of
prints for the desired fi le by following
steps 4 and 5.
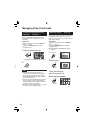
8 To reset DPOF settings
1) In step 3, move the set lever to / to
select [RESET], then press down.
2) Move the set lever to / to select
[EXECUTE], then press down.
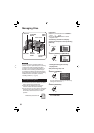
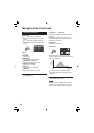
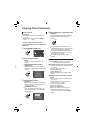
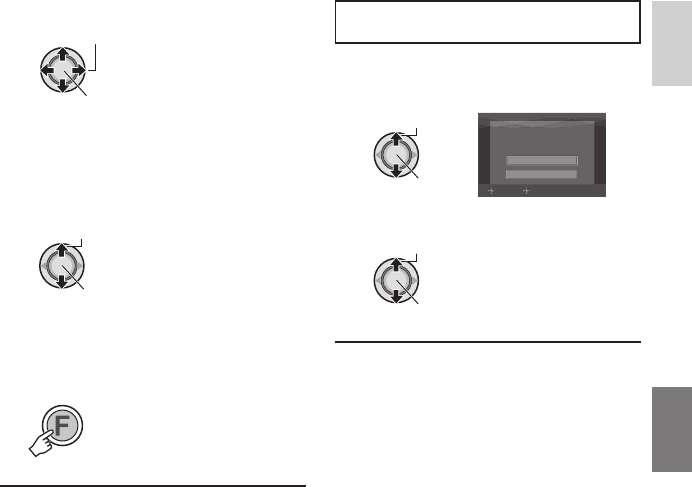
Setting All Files Together (One Print for
Each)
After performing steps 1-2
3 Select [ALL1].
Select
Set
ALL1
EXECUTE
CANCEL
SELECT
SET
4 Select [EXECUTE].
Select
Set
8 To exit the screen
Press FUNCTION.
8 To cancel the selection
Set the number of prints to “00” in step 5.
8 To confi rm DPOF settings
In step 3, move the set lever to / to
select [CHECK SETTINGS], then press down.
•
If necessary, change the number of
prints for the desired fi le by following
steps 4 and 5.
8 To reset DPOF settings
1) In step 3, move the set lever to / to
select [RESET], then press down.
2) Move the set lever to / to select
[EXECUTE], then press down.