


92
S
ETUP MENU
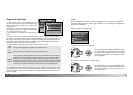
Folder name
All recorded images are stored in folders on the memory card or in the camera’s
internal memory. Two folder-name formats are available in section 2 of the setup
menu, standard and date.
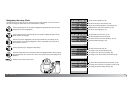
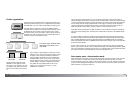
Standard folders have an eight character name. The initial folder is named
100KM027. The first three digits are the folder’s serial number, which will increase
by one each time a new folder is created. The next two letters refer to Konica
Minolta, and the last three numbers indicate the camera used; 027 indicates a
DiMAGE Z20.
A date folder name also starts with the three digit serial number and is followed by
one register for the year, two register for the month, and two registers for the day:
101YMMDD. The folder 10150325 was created in 2005 on March 25th.
With the date folder format selected, when an image is recorded, a new folder with the day’s date is
created. All images recorded that day are placed in that folder. Images recorded on a different day
are placed in a new folder with the corresponding date. If the file number memory function is off (p.
91), when a new folder is created, the serial number in the image-file name is reset to 0001. If file
number memory function is on, the serial number in the image-file is one greater than the last image
saved. For more information on folder organization and file names, see page 102.
100KM027
(Standard)
10150325
(Date)
93
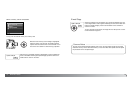
Date imprinting
Every time a still image is recorded, it is stored with an exif tag that contains the date and time
of recording as well as shooting information. This information can be viewed with the camera
in the Quick View or playback mode, or on a computer with the DiMAGE Viewer software.
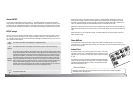
Camera Notes
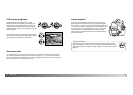
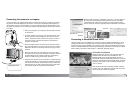
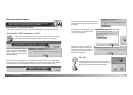
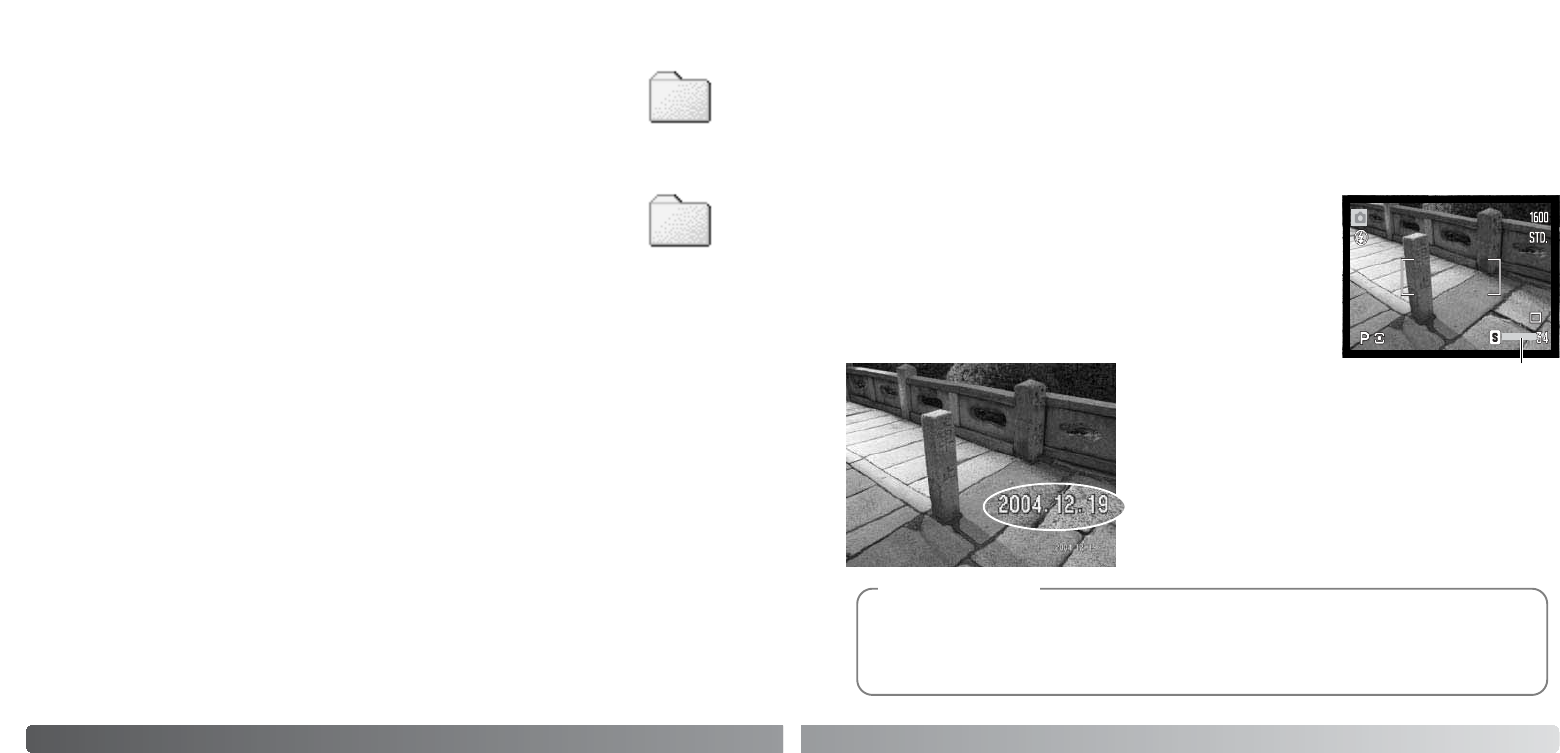
The date is imprinted in the lower right corner of the image
when viewed horizontally. It is printed directly on the pho-
tograph writing over the image information. The date can
be imprinted in three formats: year / month / day, month /
day / year, and day / month / year. The date and date for-
mat are set in section 2 of the setup menu (p. 87).
The date of recording can be printed directly on the image. The
imprinting function must be activated in section 2 of the setup menu
(p. 87) before the image is taken. Once activated, the date will con-
tinue to be imprinted until the function is reset; a yellow bar is dis-
played behind the frame counter to indicate the imprinting function
is active.
Date-imprinting indicator
Date and time setup
It is important to accurately set the clock. When a still image or a movie clip is recorded, the date
and time of the recording are saved with the image and are displayed during playback or can be
read with the supplied DiMAGE Viewer software. The date format that is displayed or imprinted can
be changed: YYYY/MM/DD (year, month, day), MM/DD/YYYY (month, day, year), DD/MM/YYYY
(day, month, year). See page 18 for instructions on how to set the clock and calendar.